How do I set up a Solo 401k with Carry?
*Please note that all Carry Solo 401k plans must also maintain all of their assets on Carry as well. We do not support a Solo 401k plan with assets custodied with another firm(s).
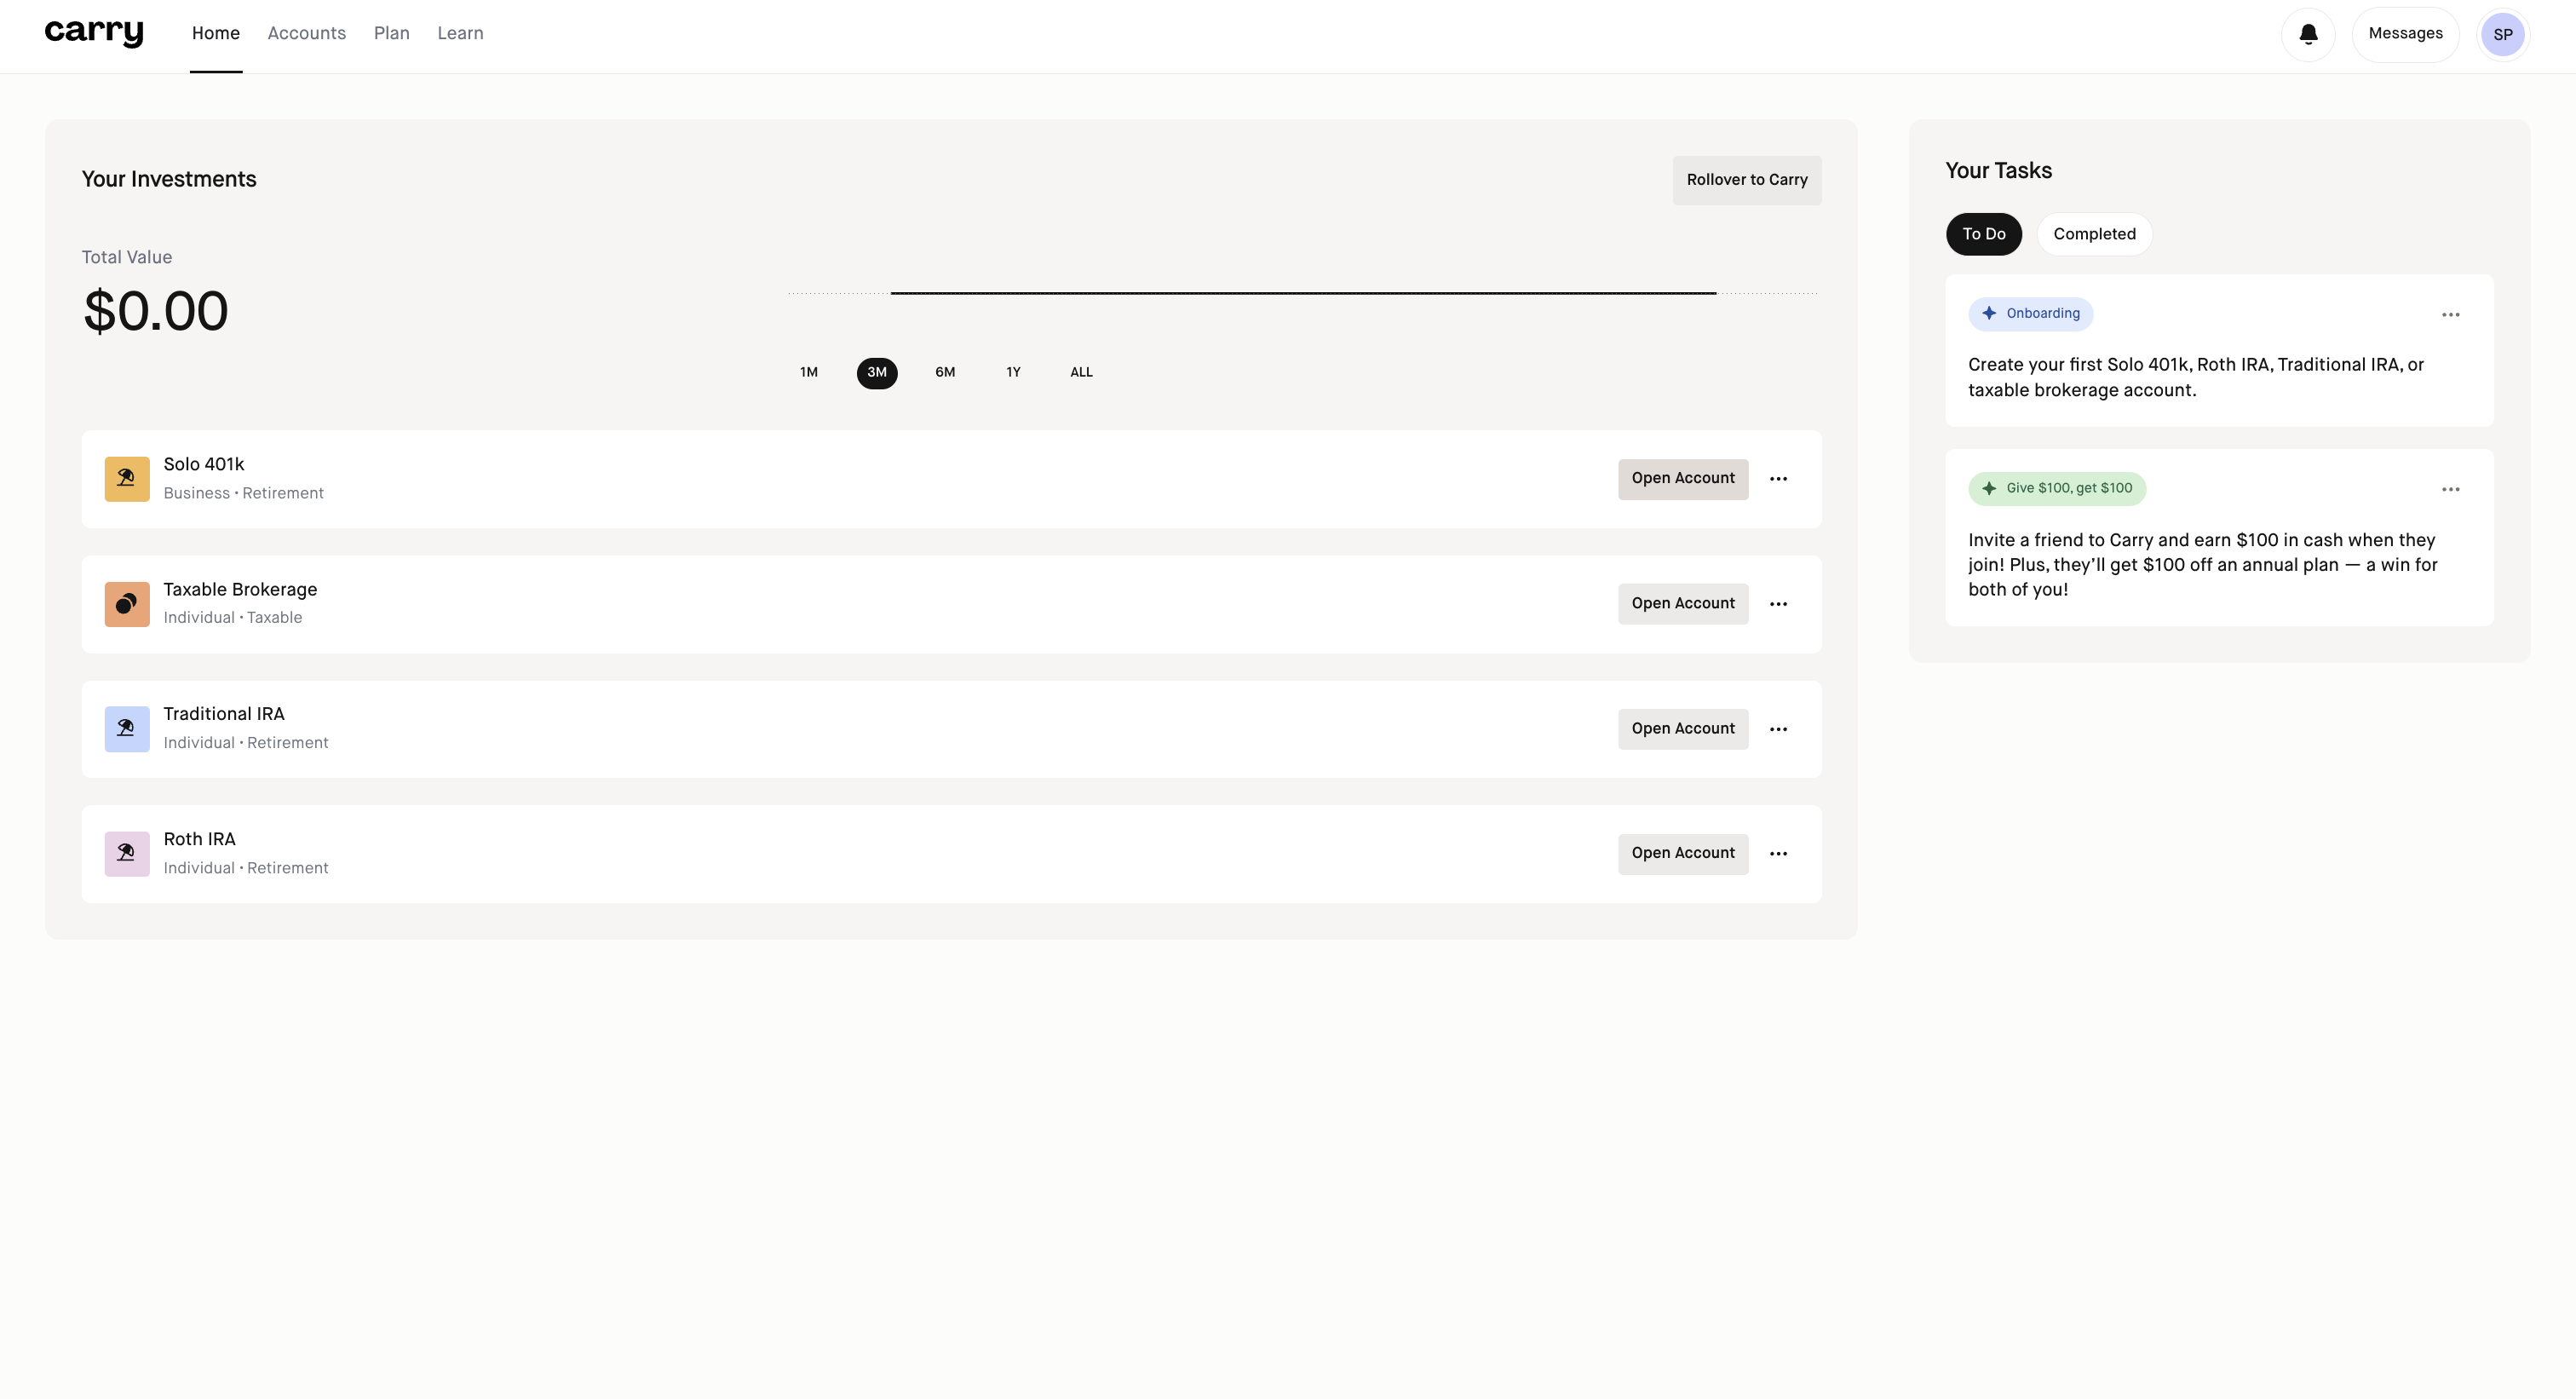
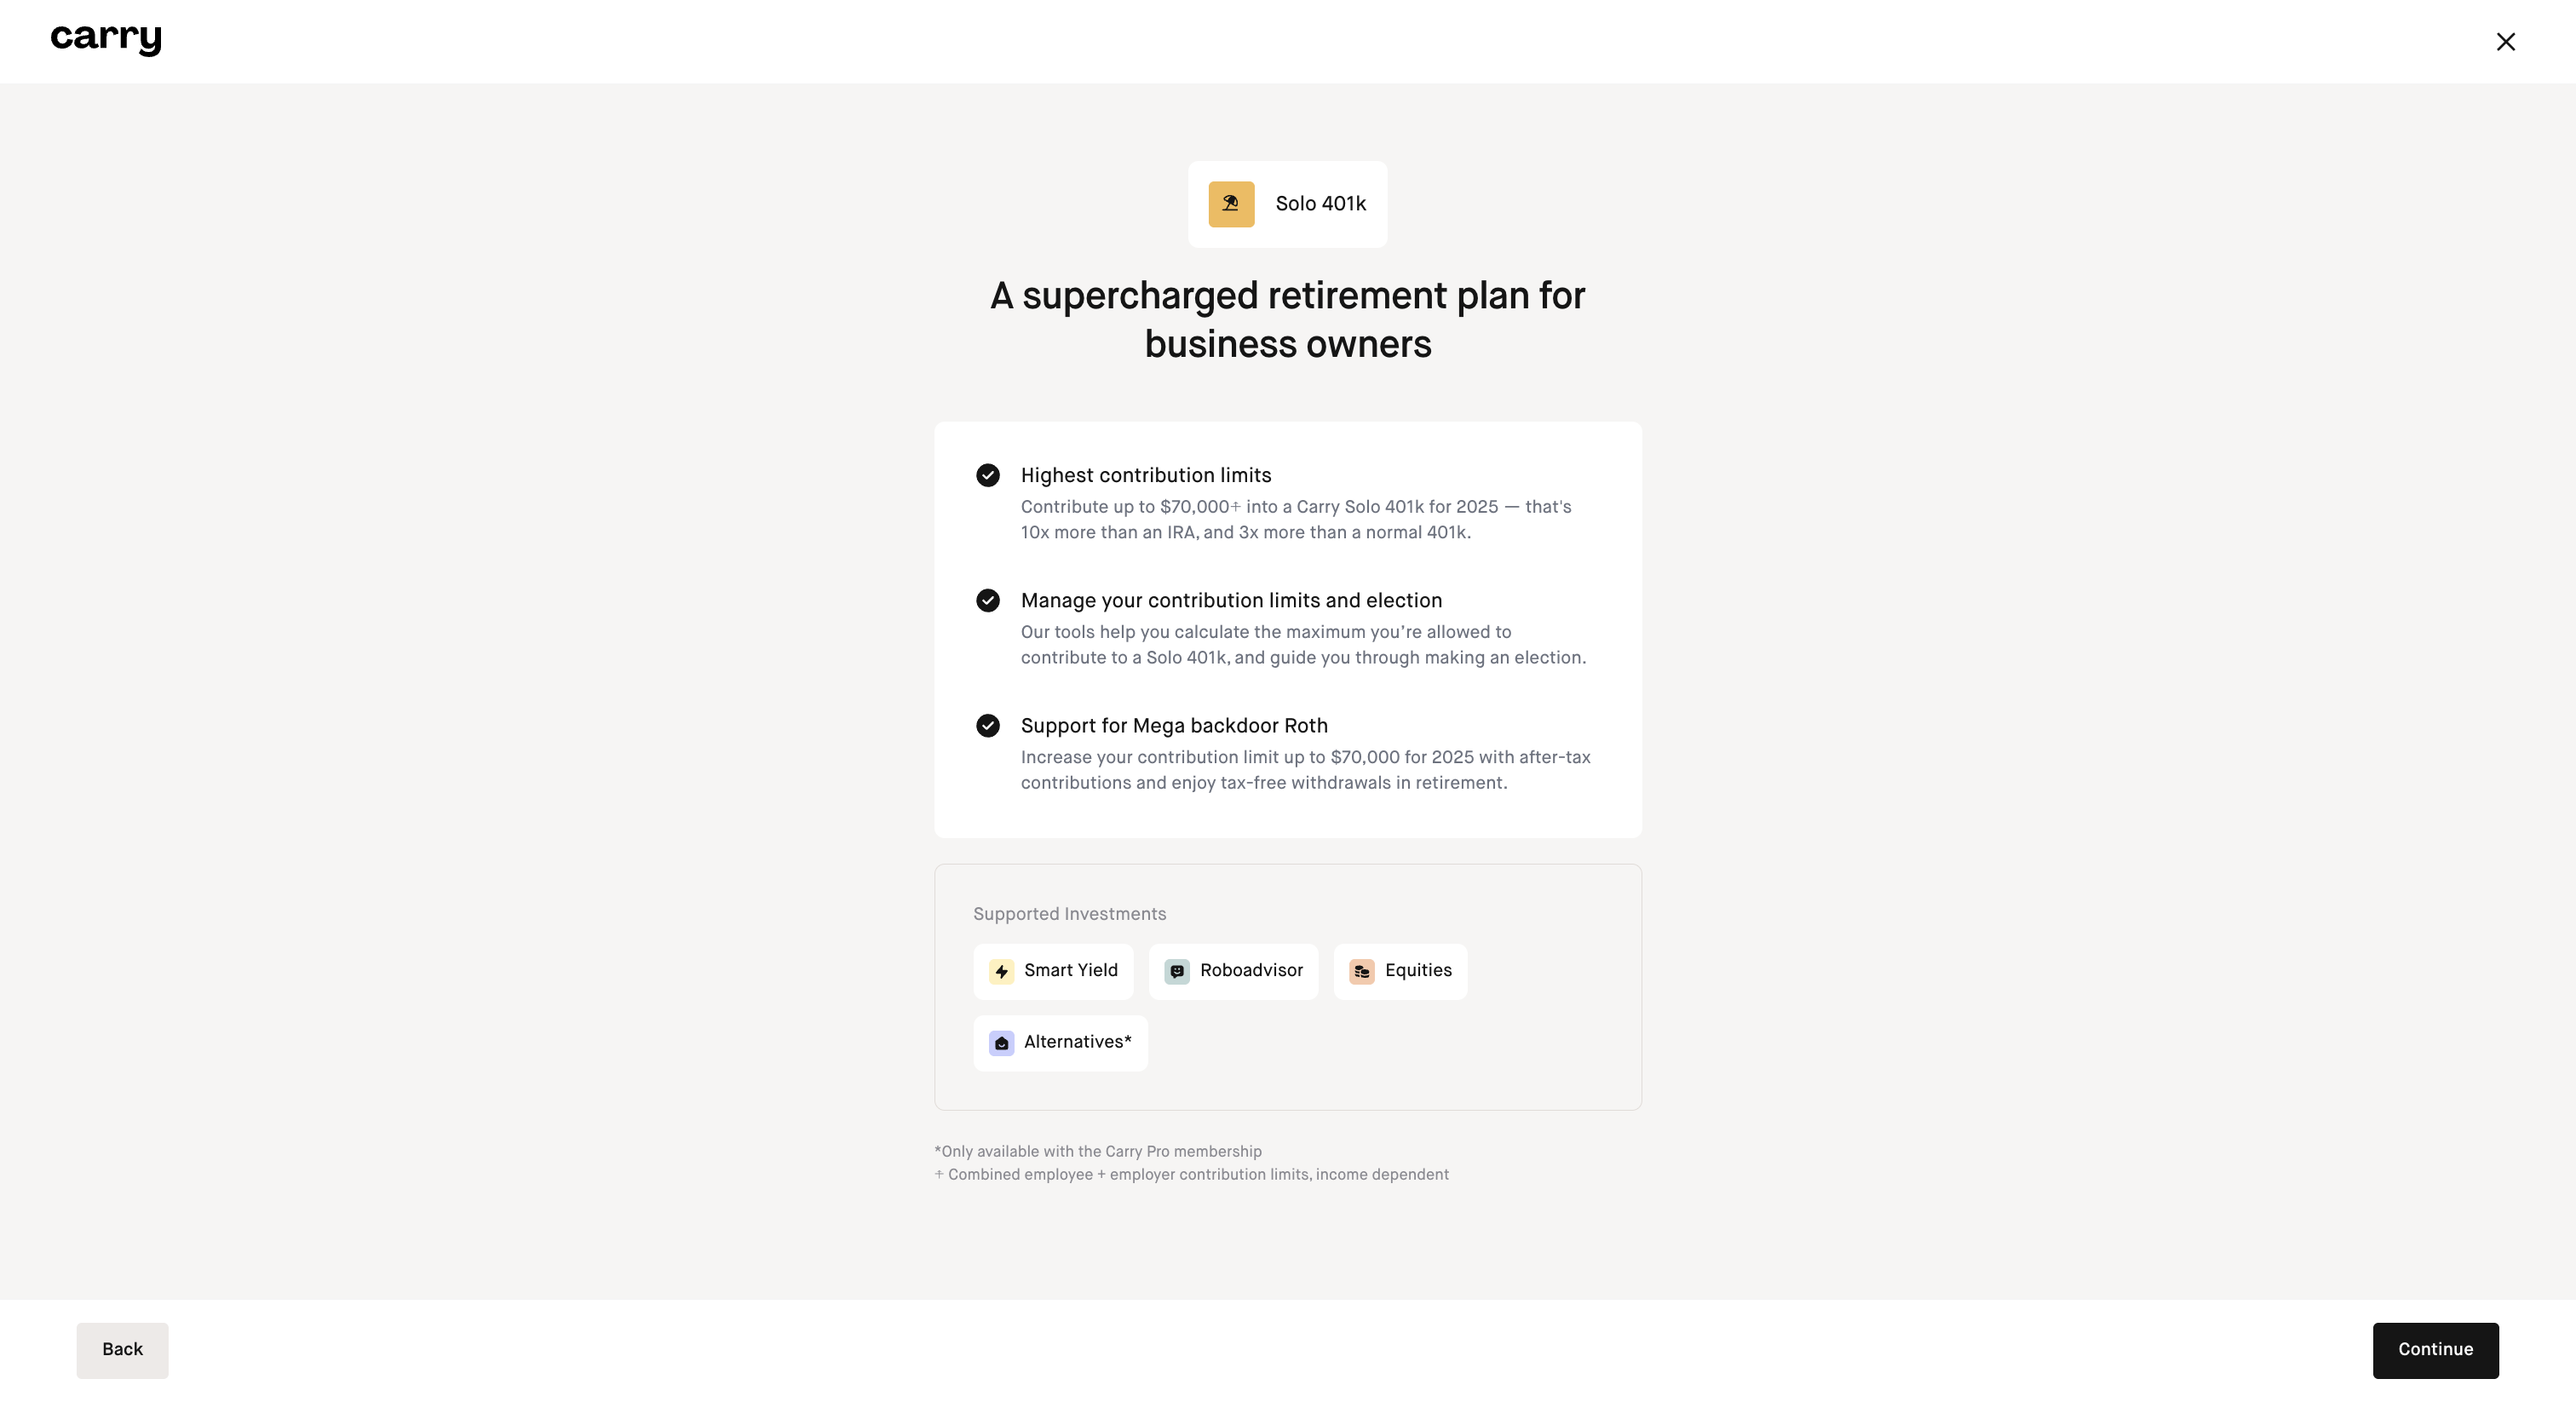
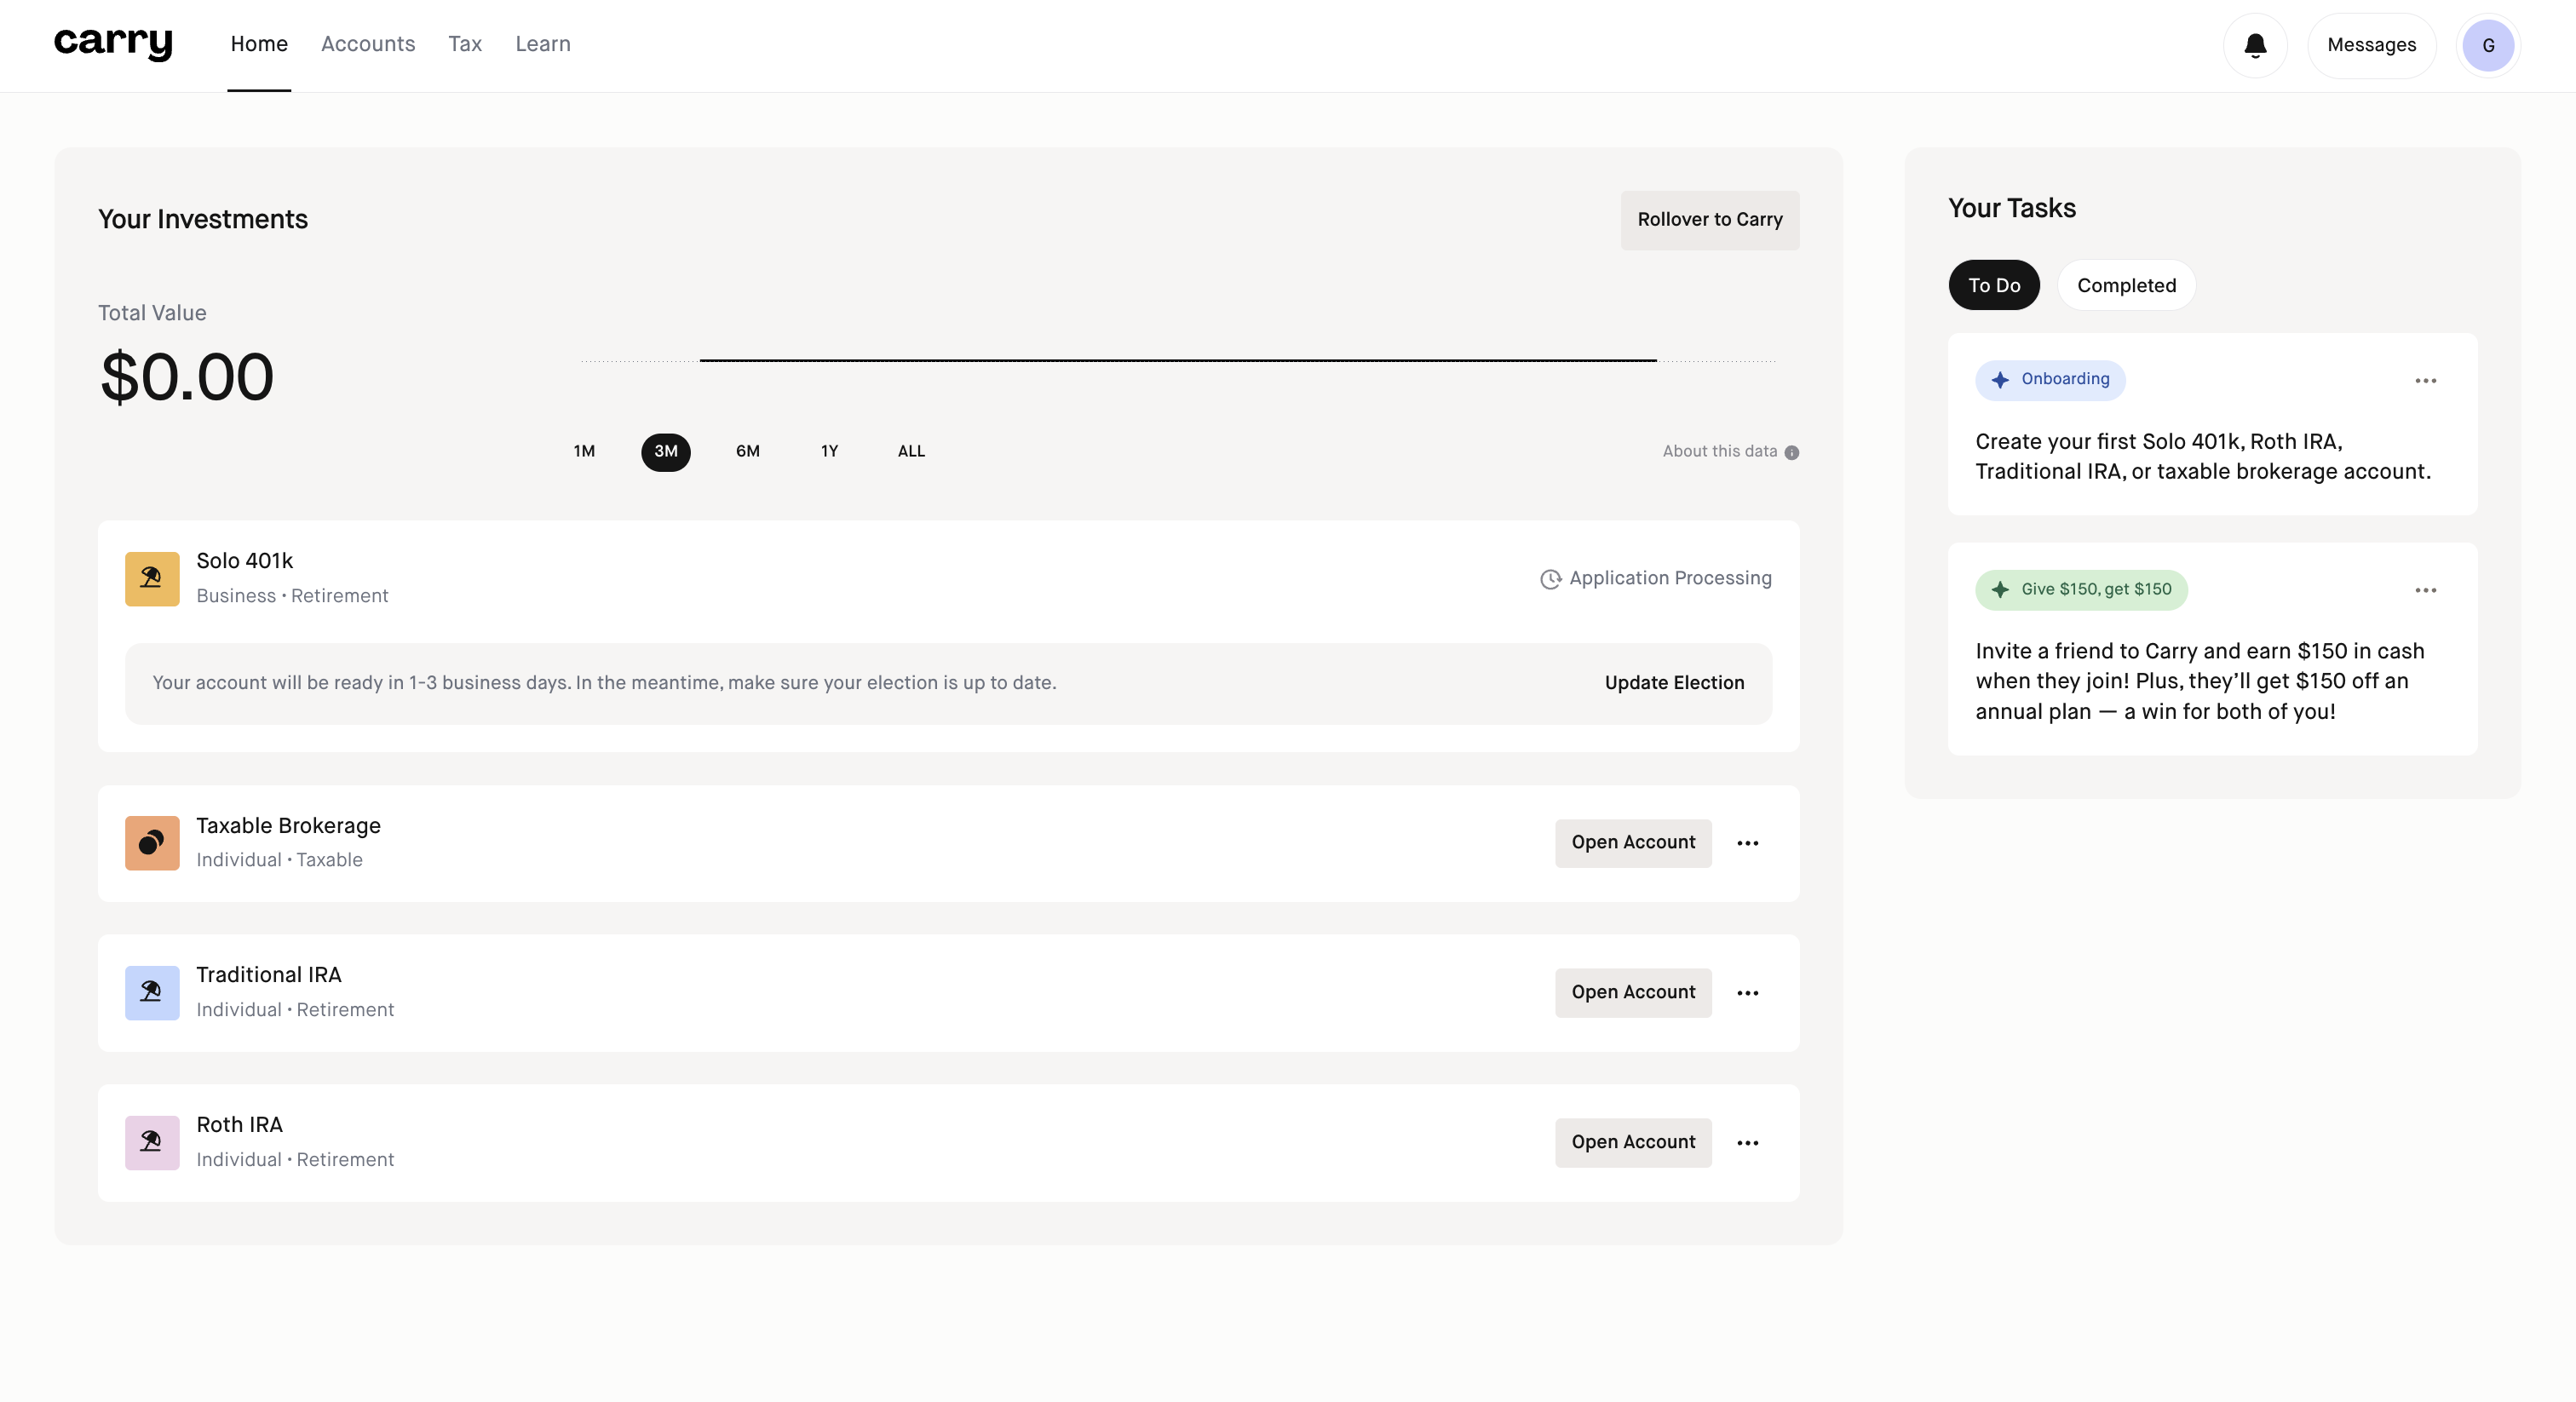
Step 1: Click Open Account next to Solo 401k on your Home page
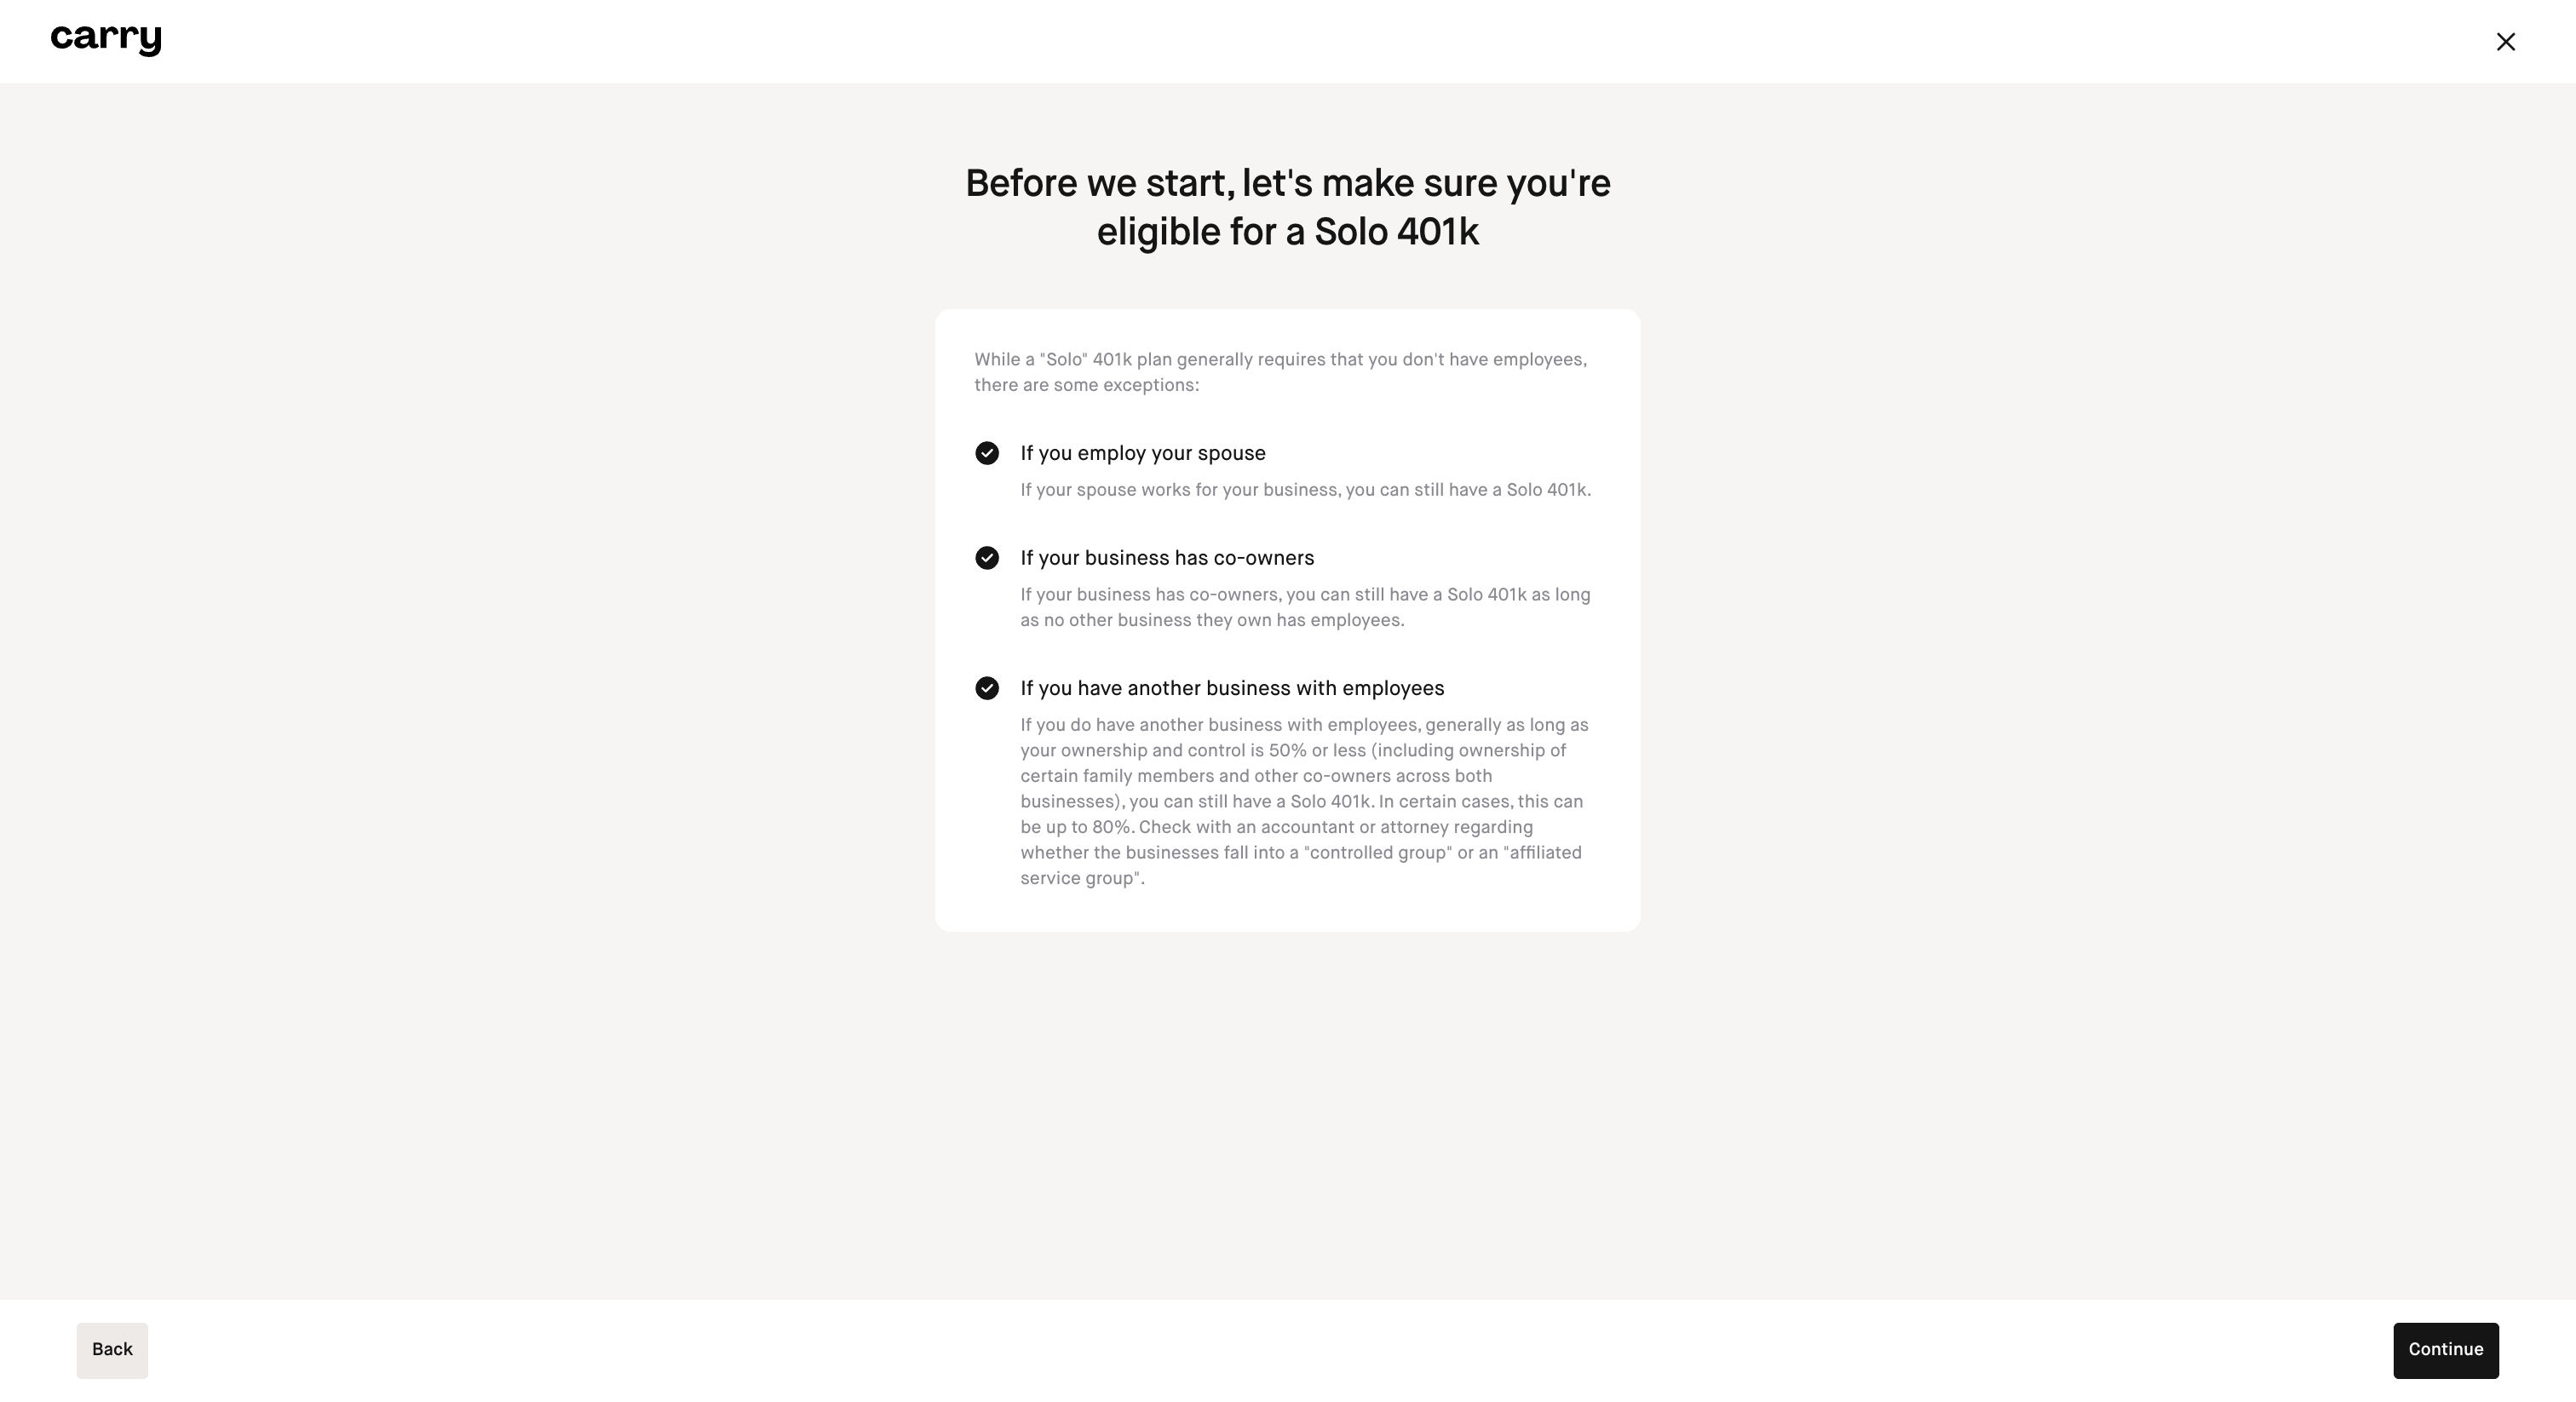
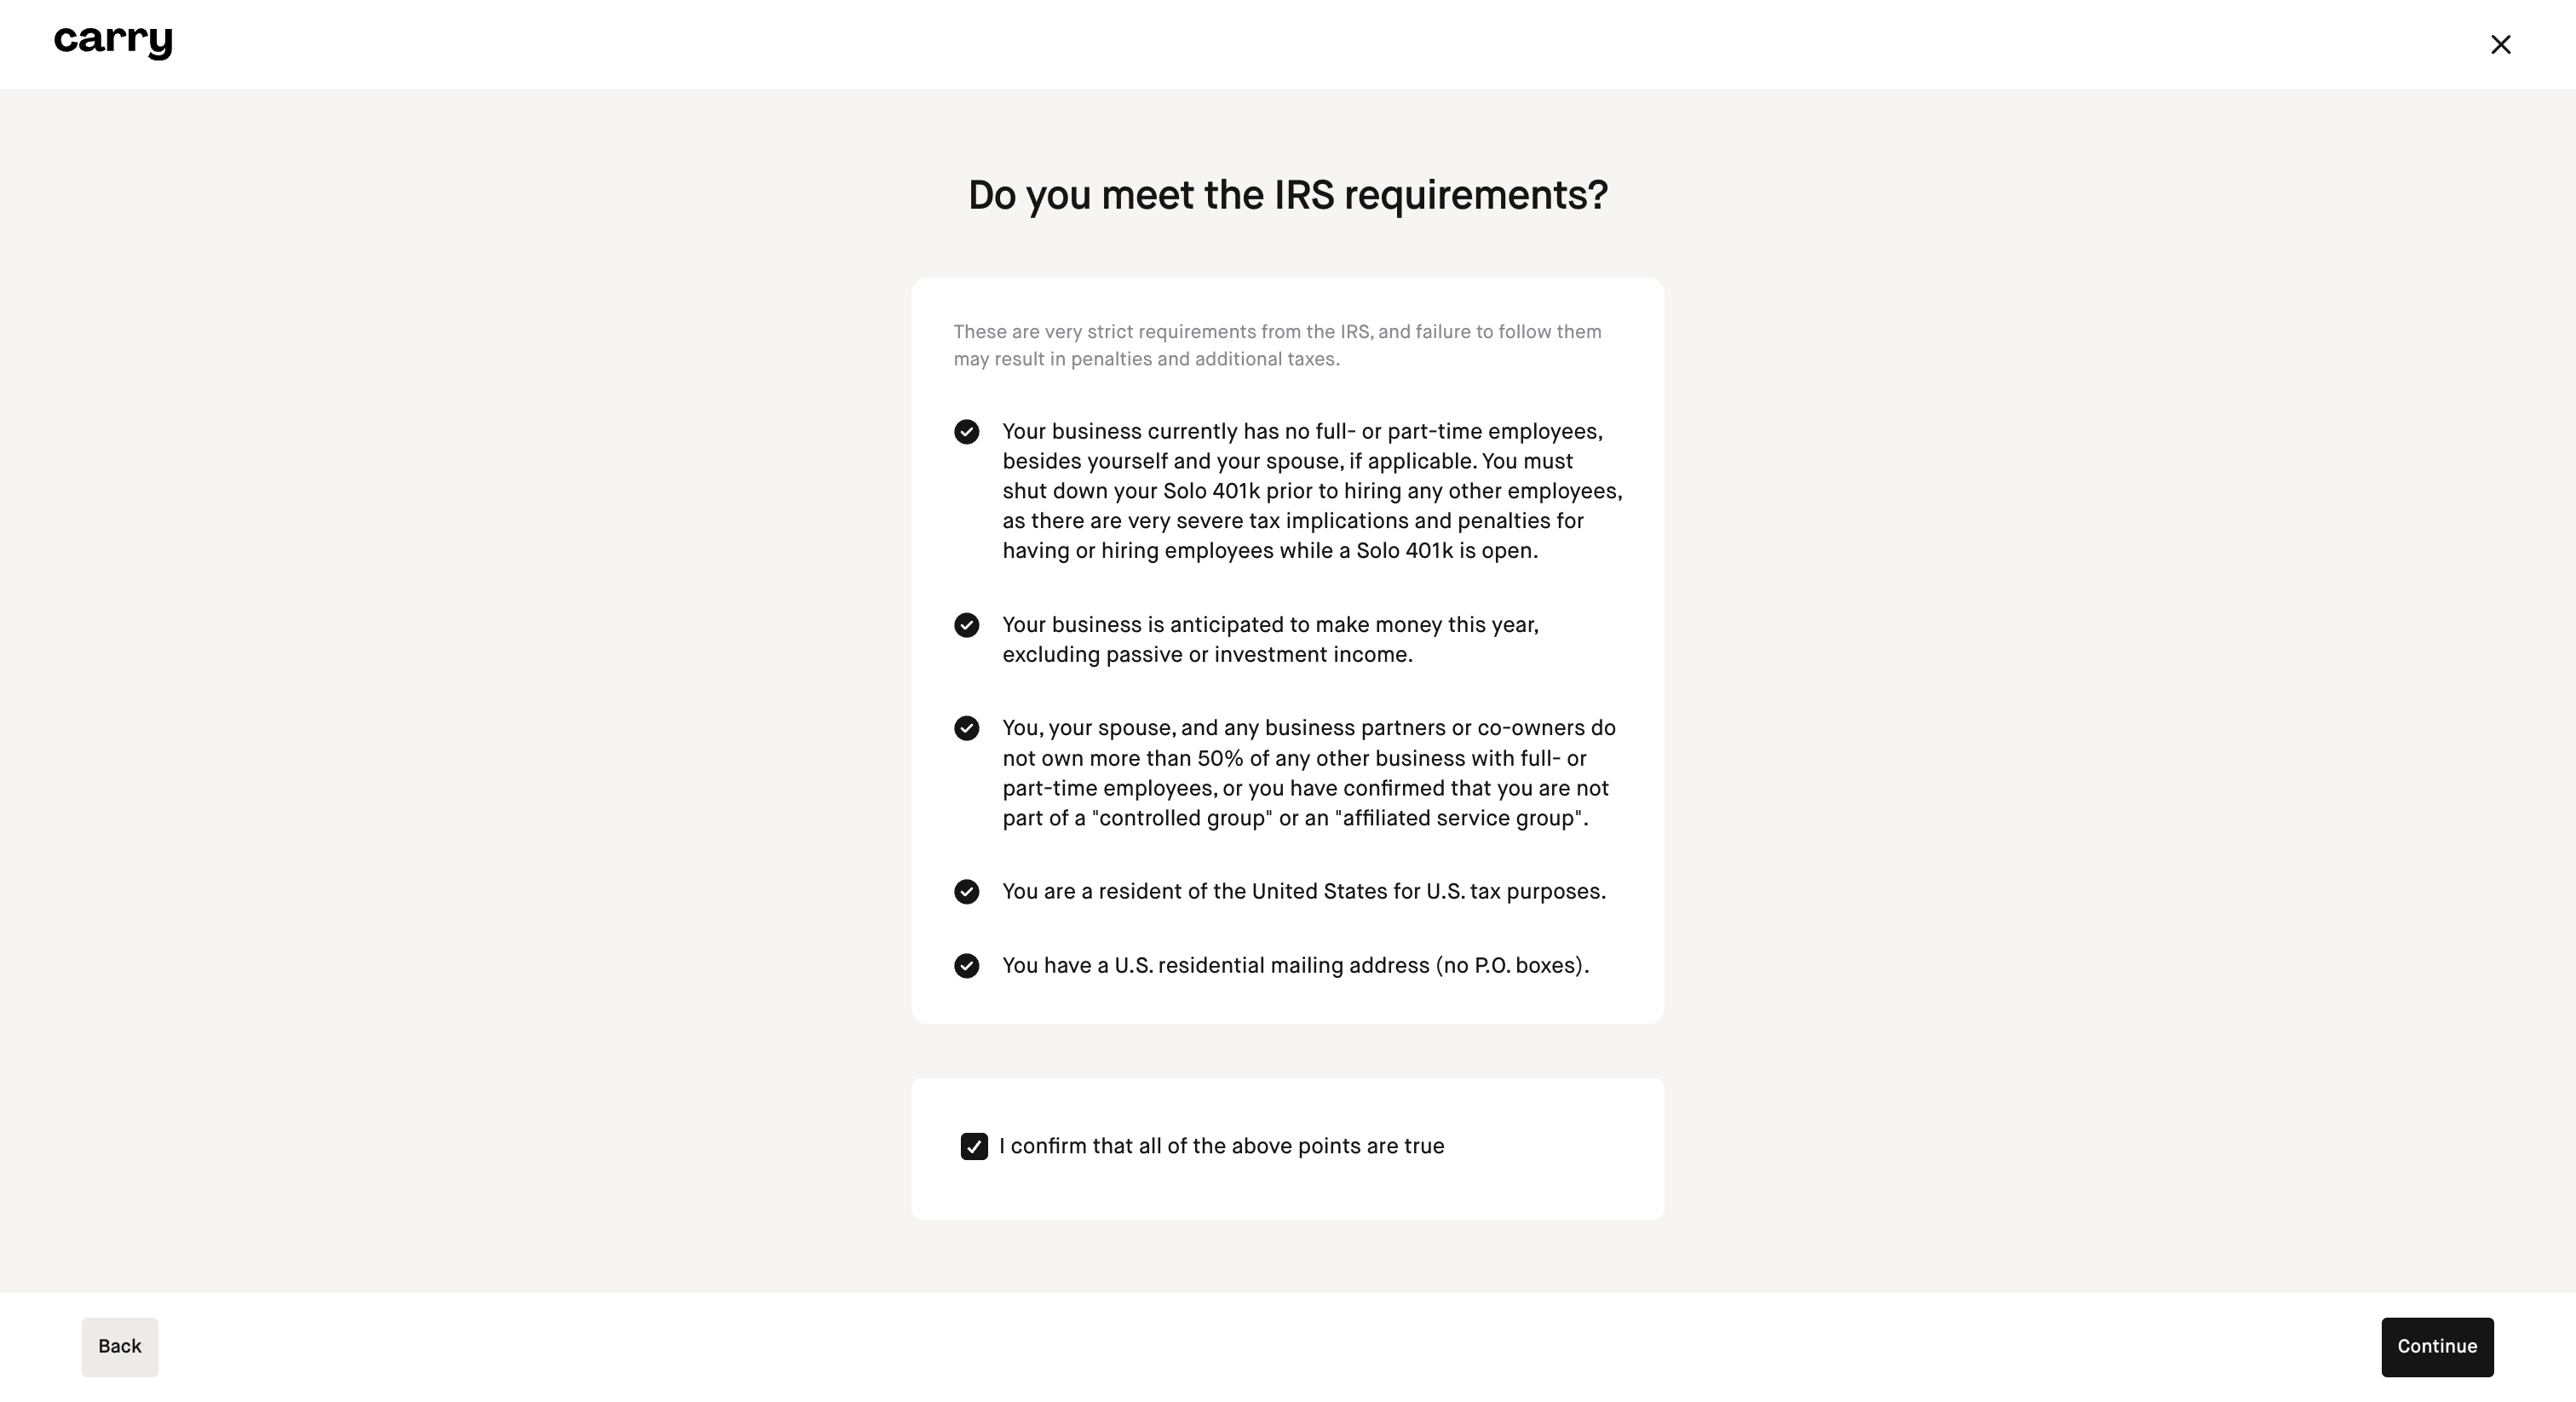
Step 2: Verify your eligibility for a Solo 401k
Click Continue after reading through each screen and entering any necessary information.
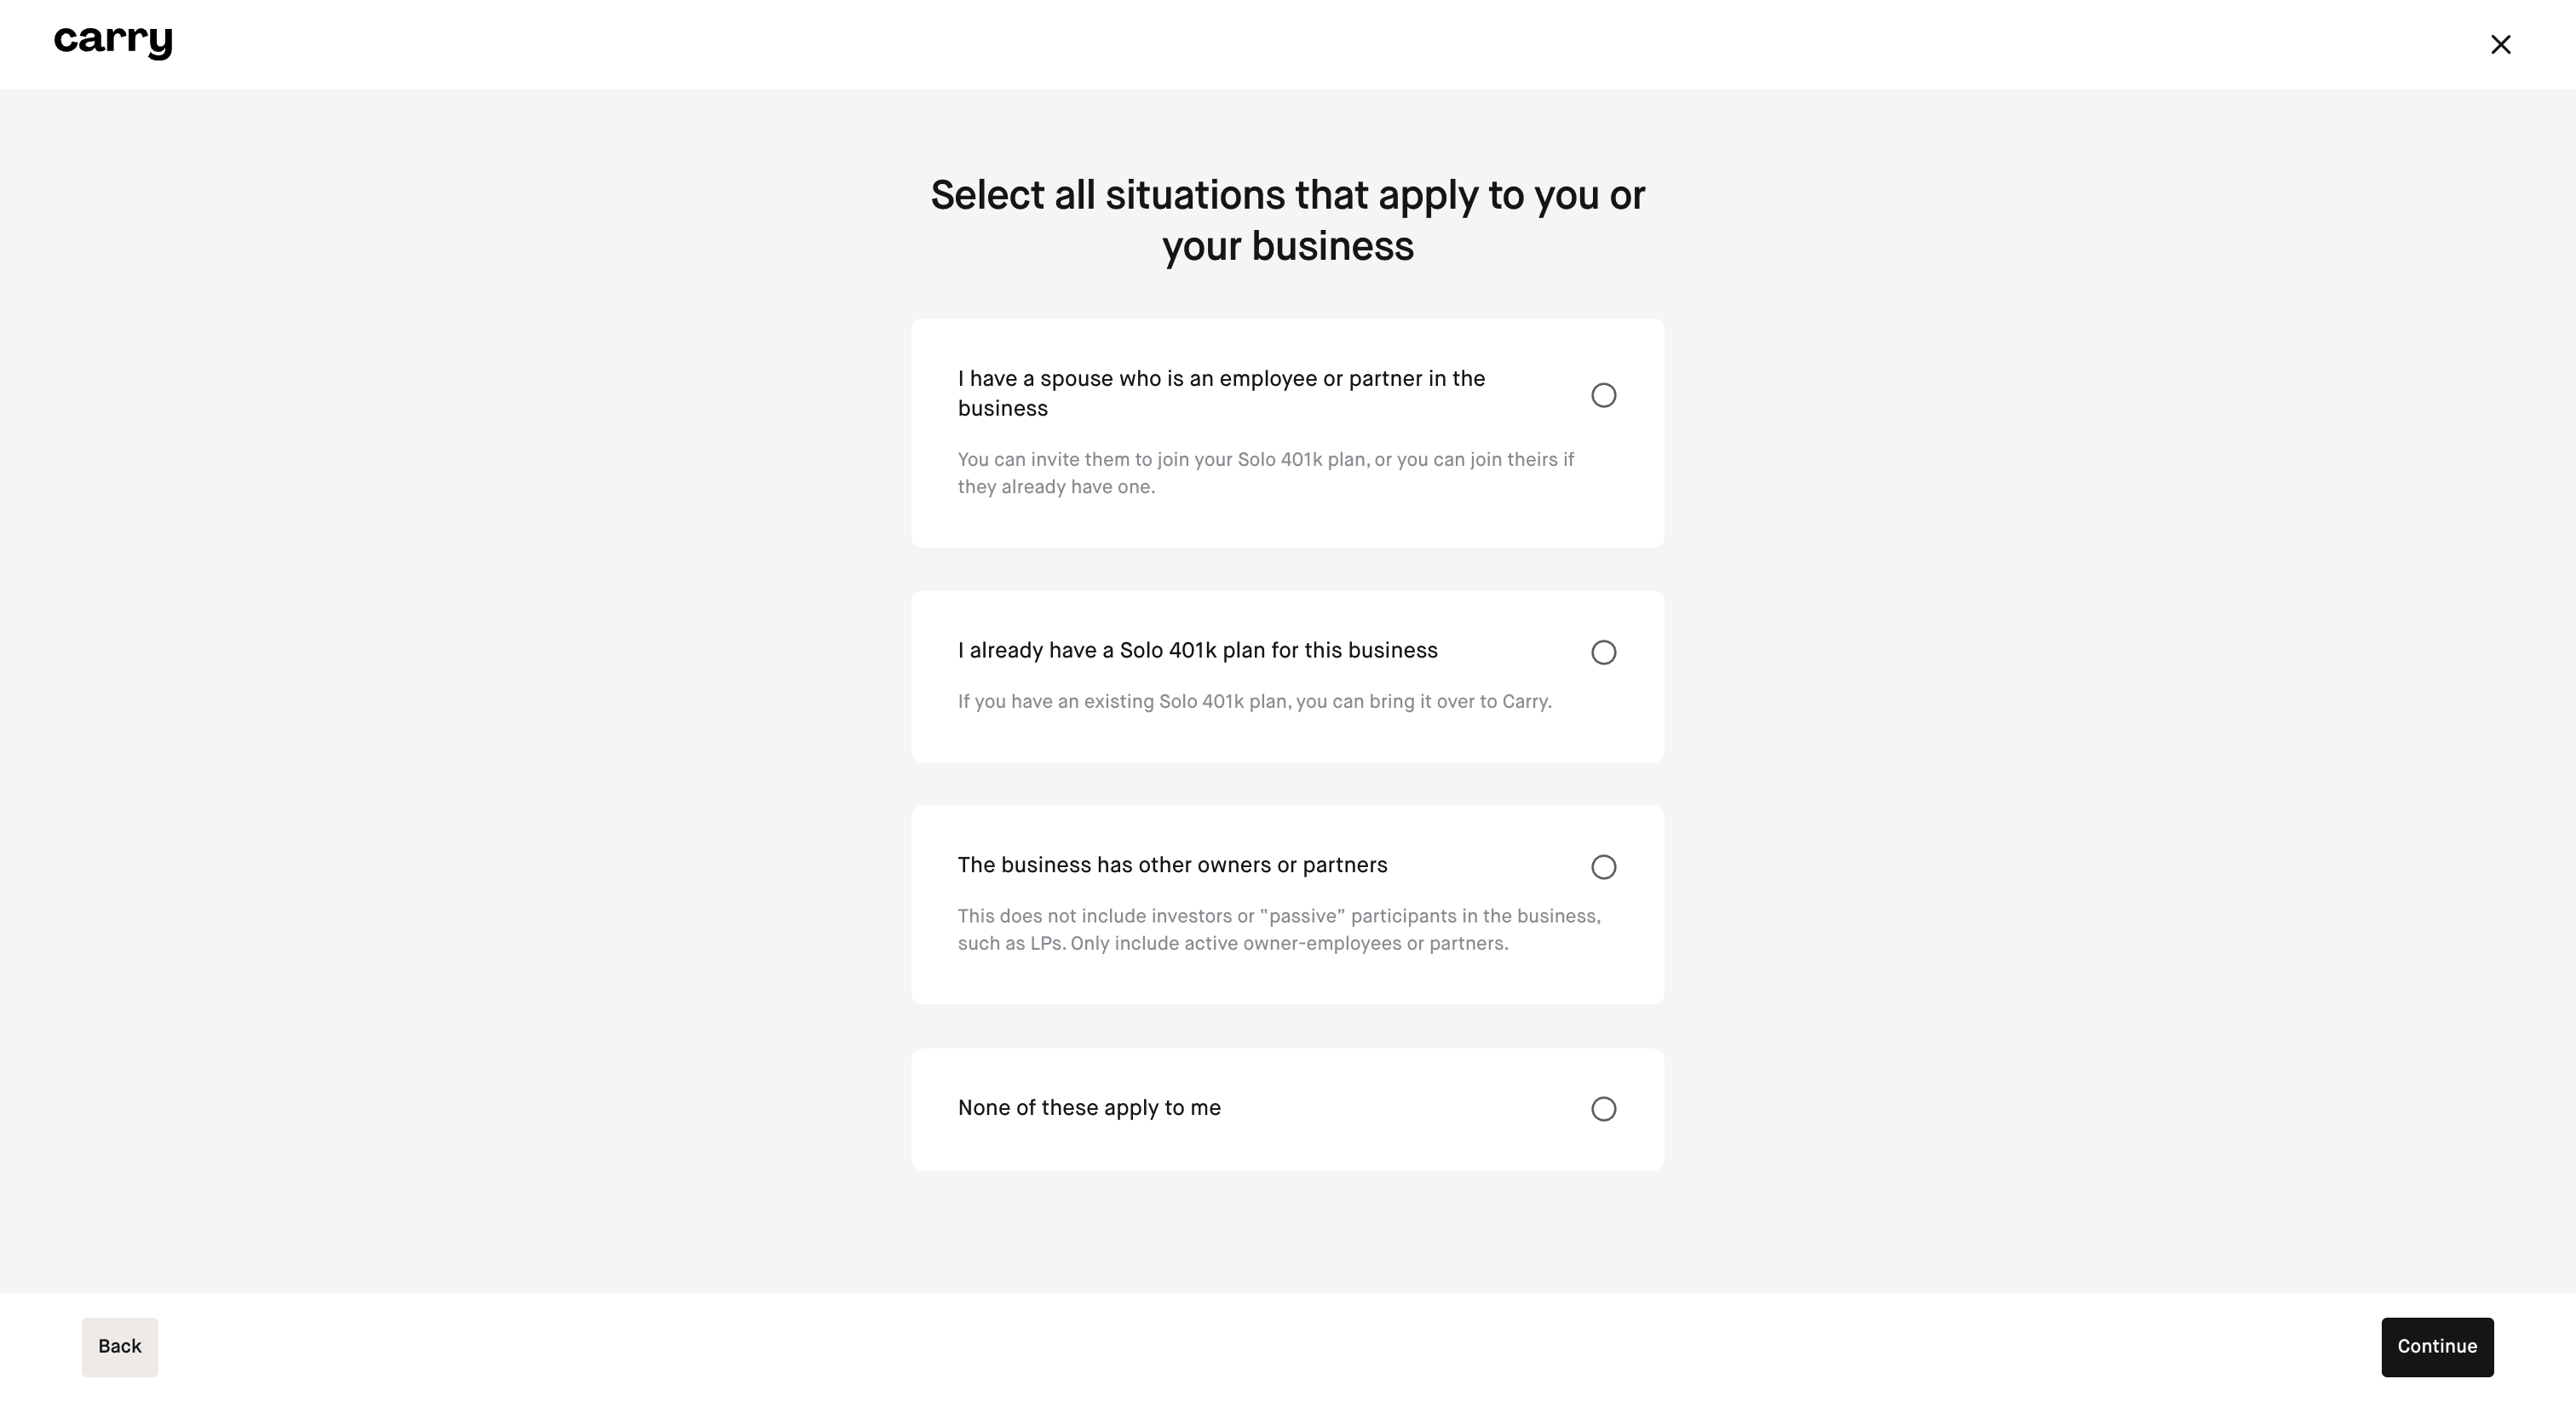
Step 3: If you satisfy any of the following conditions be sure to indicate this during your application on this screen and click 'Continue'.
Your spouse is an employee, owner, or partner in your business (For more details on Spousal Solo 401k set up, check out this article. Each you and your spouse will need to have your own individual Carry membership to make contributions.)
You have an existing Solo 401k plan for your business
Your business has other owners or partners
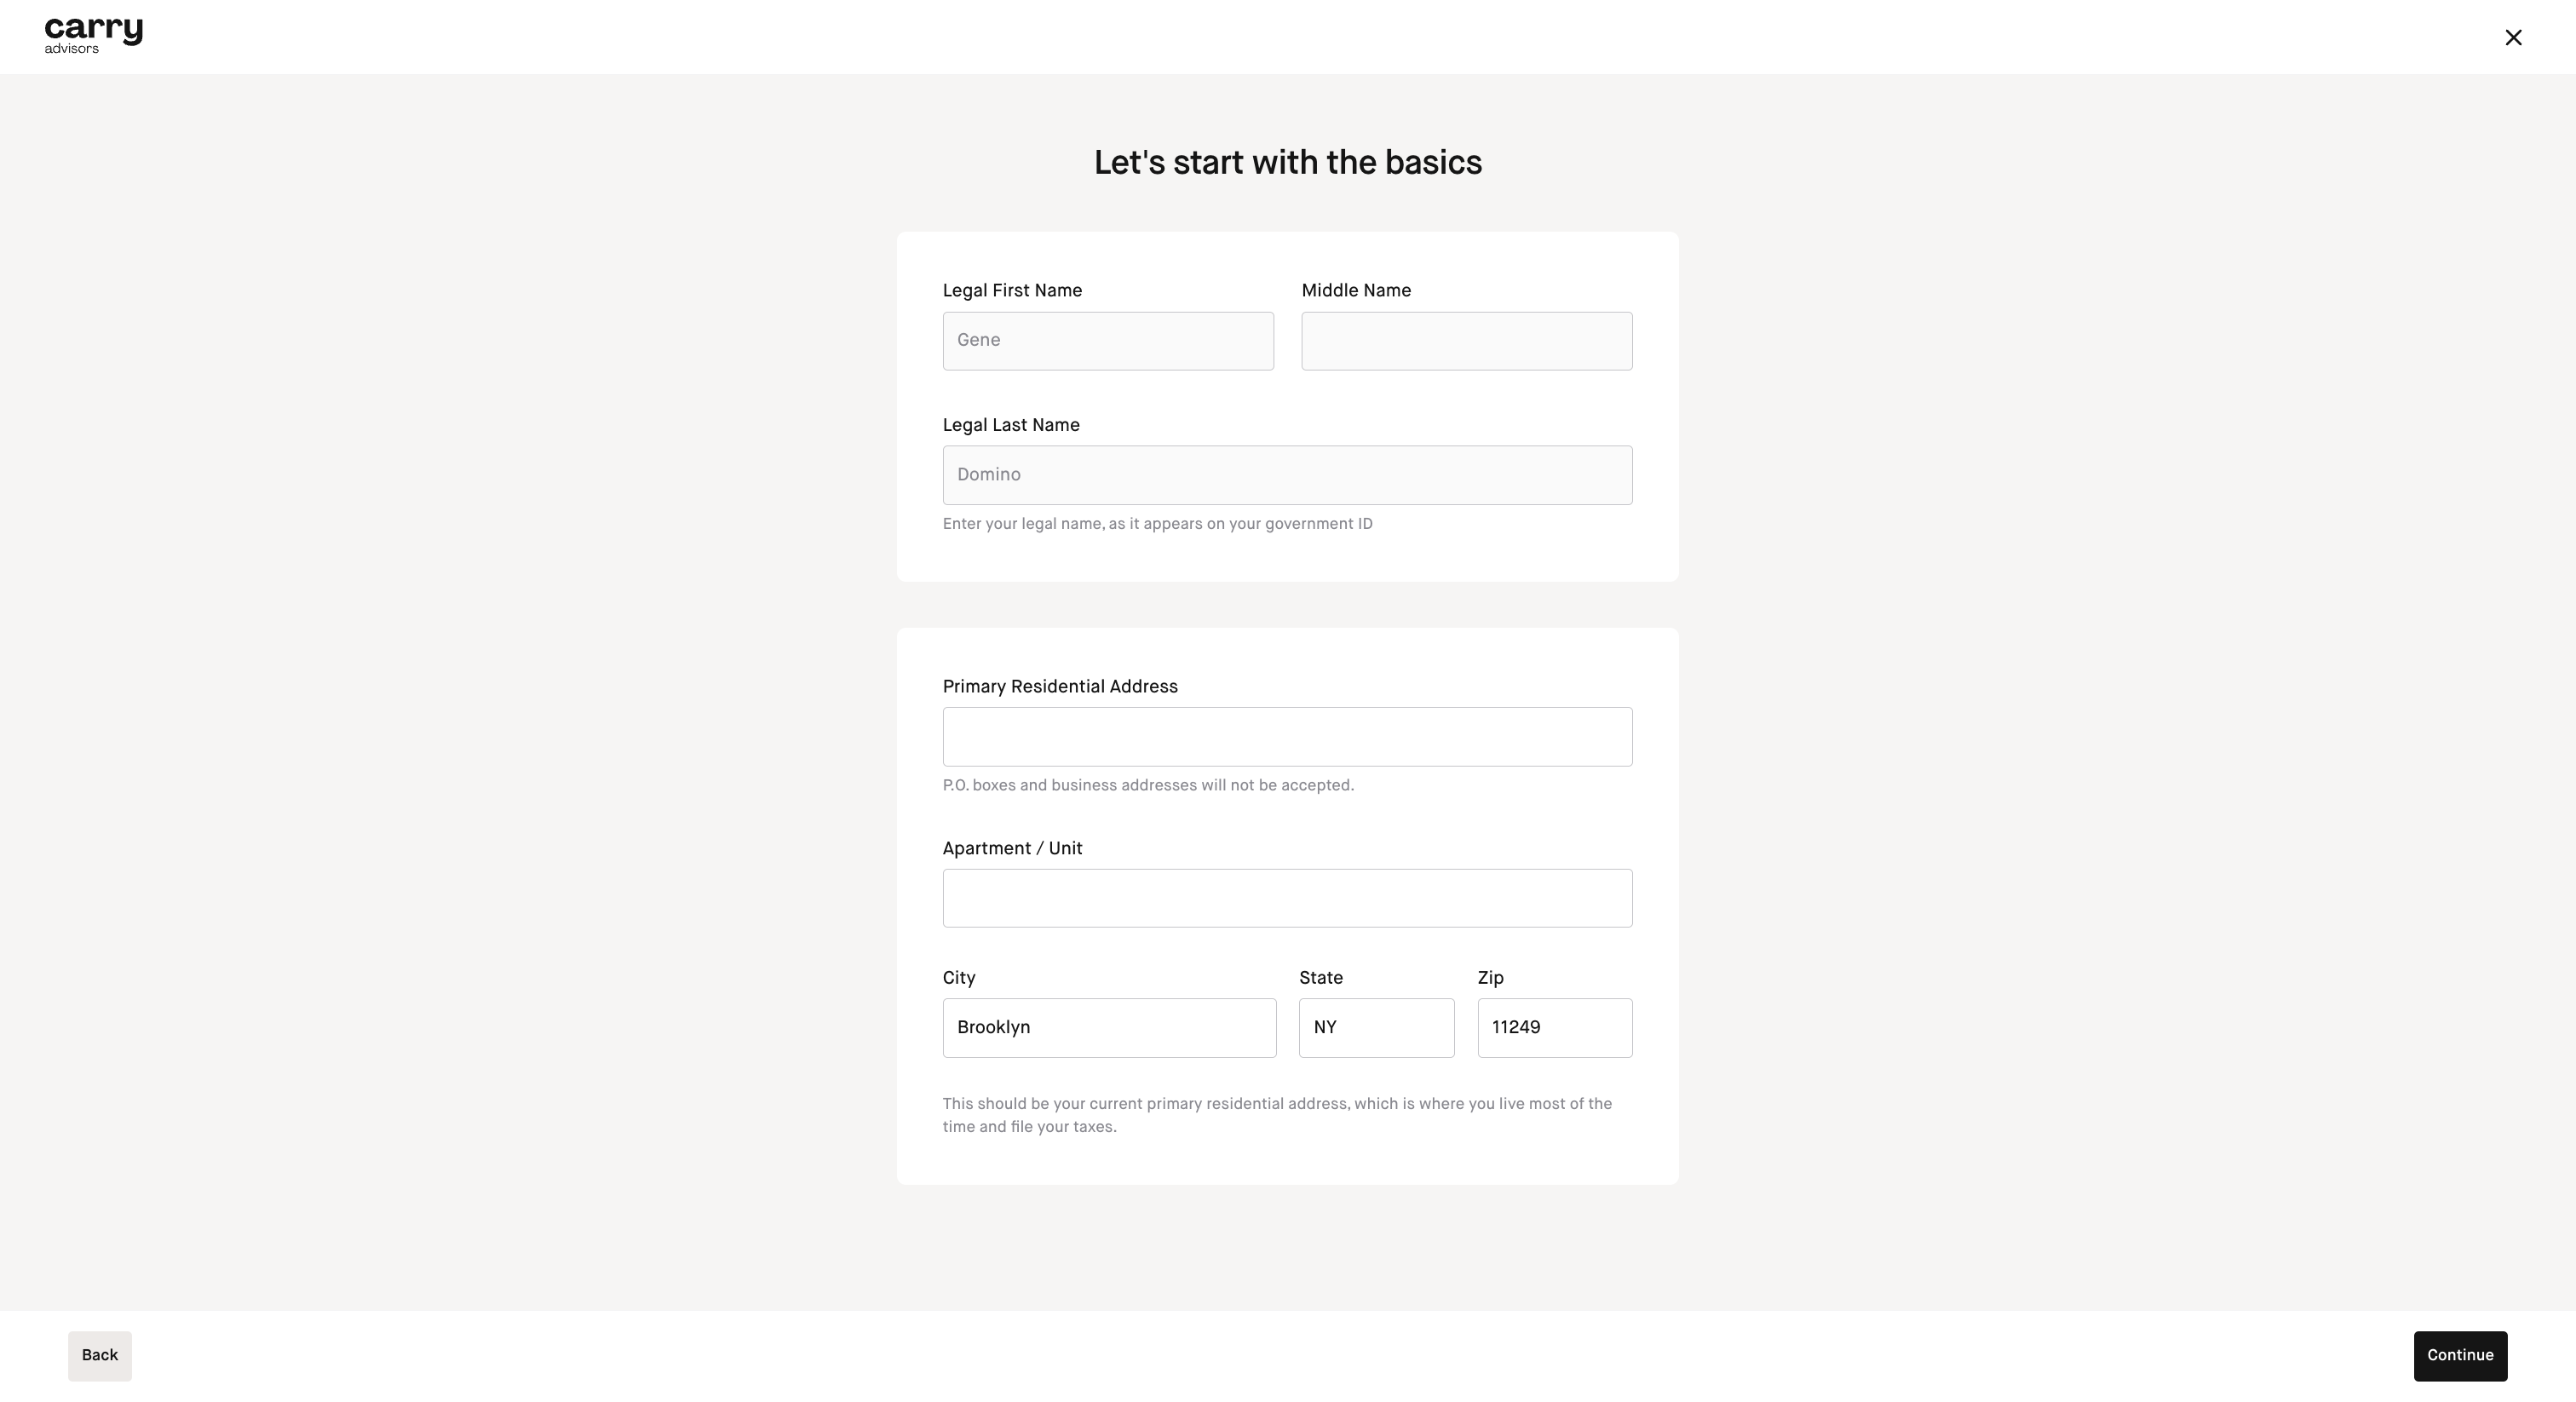
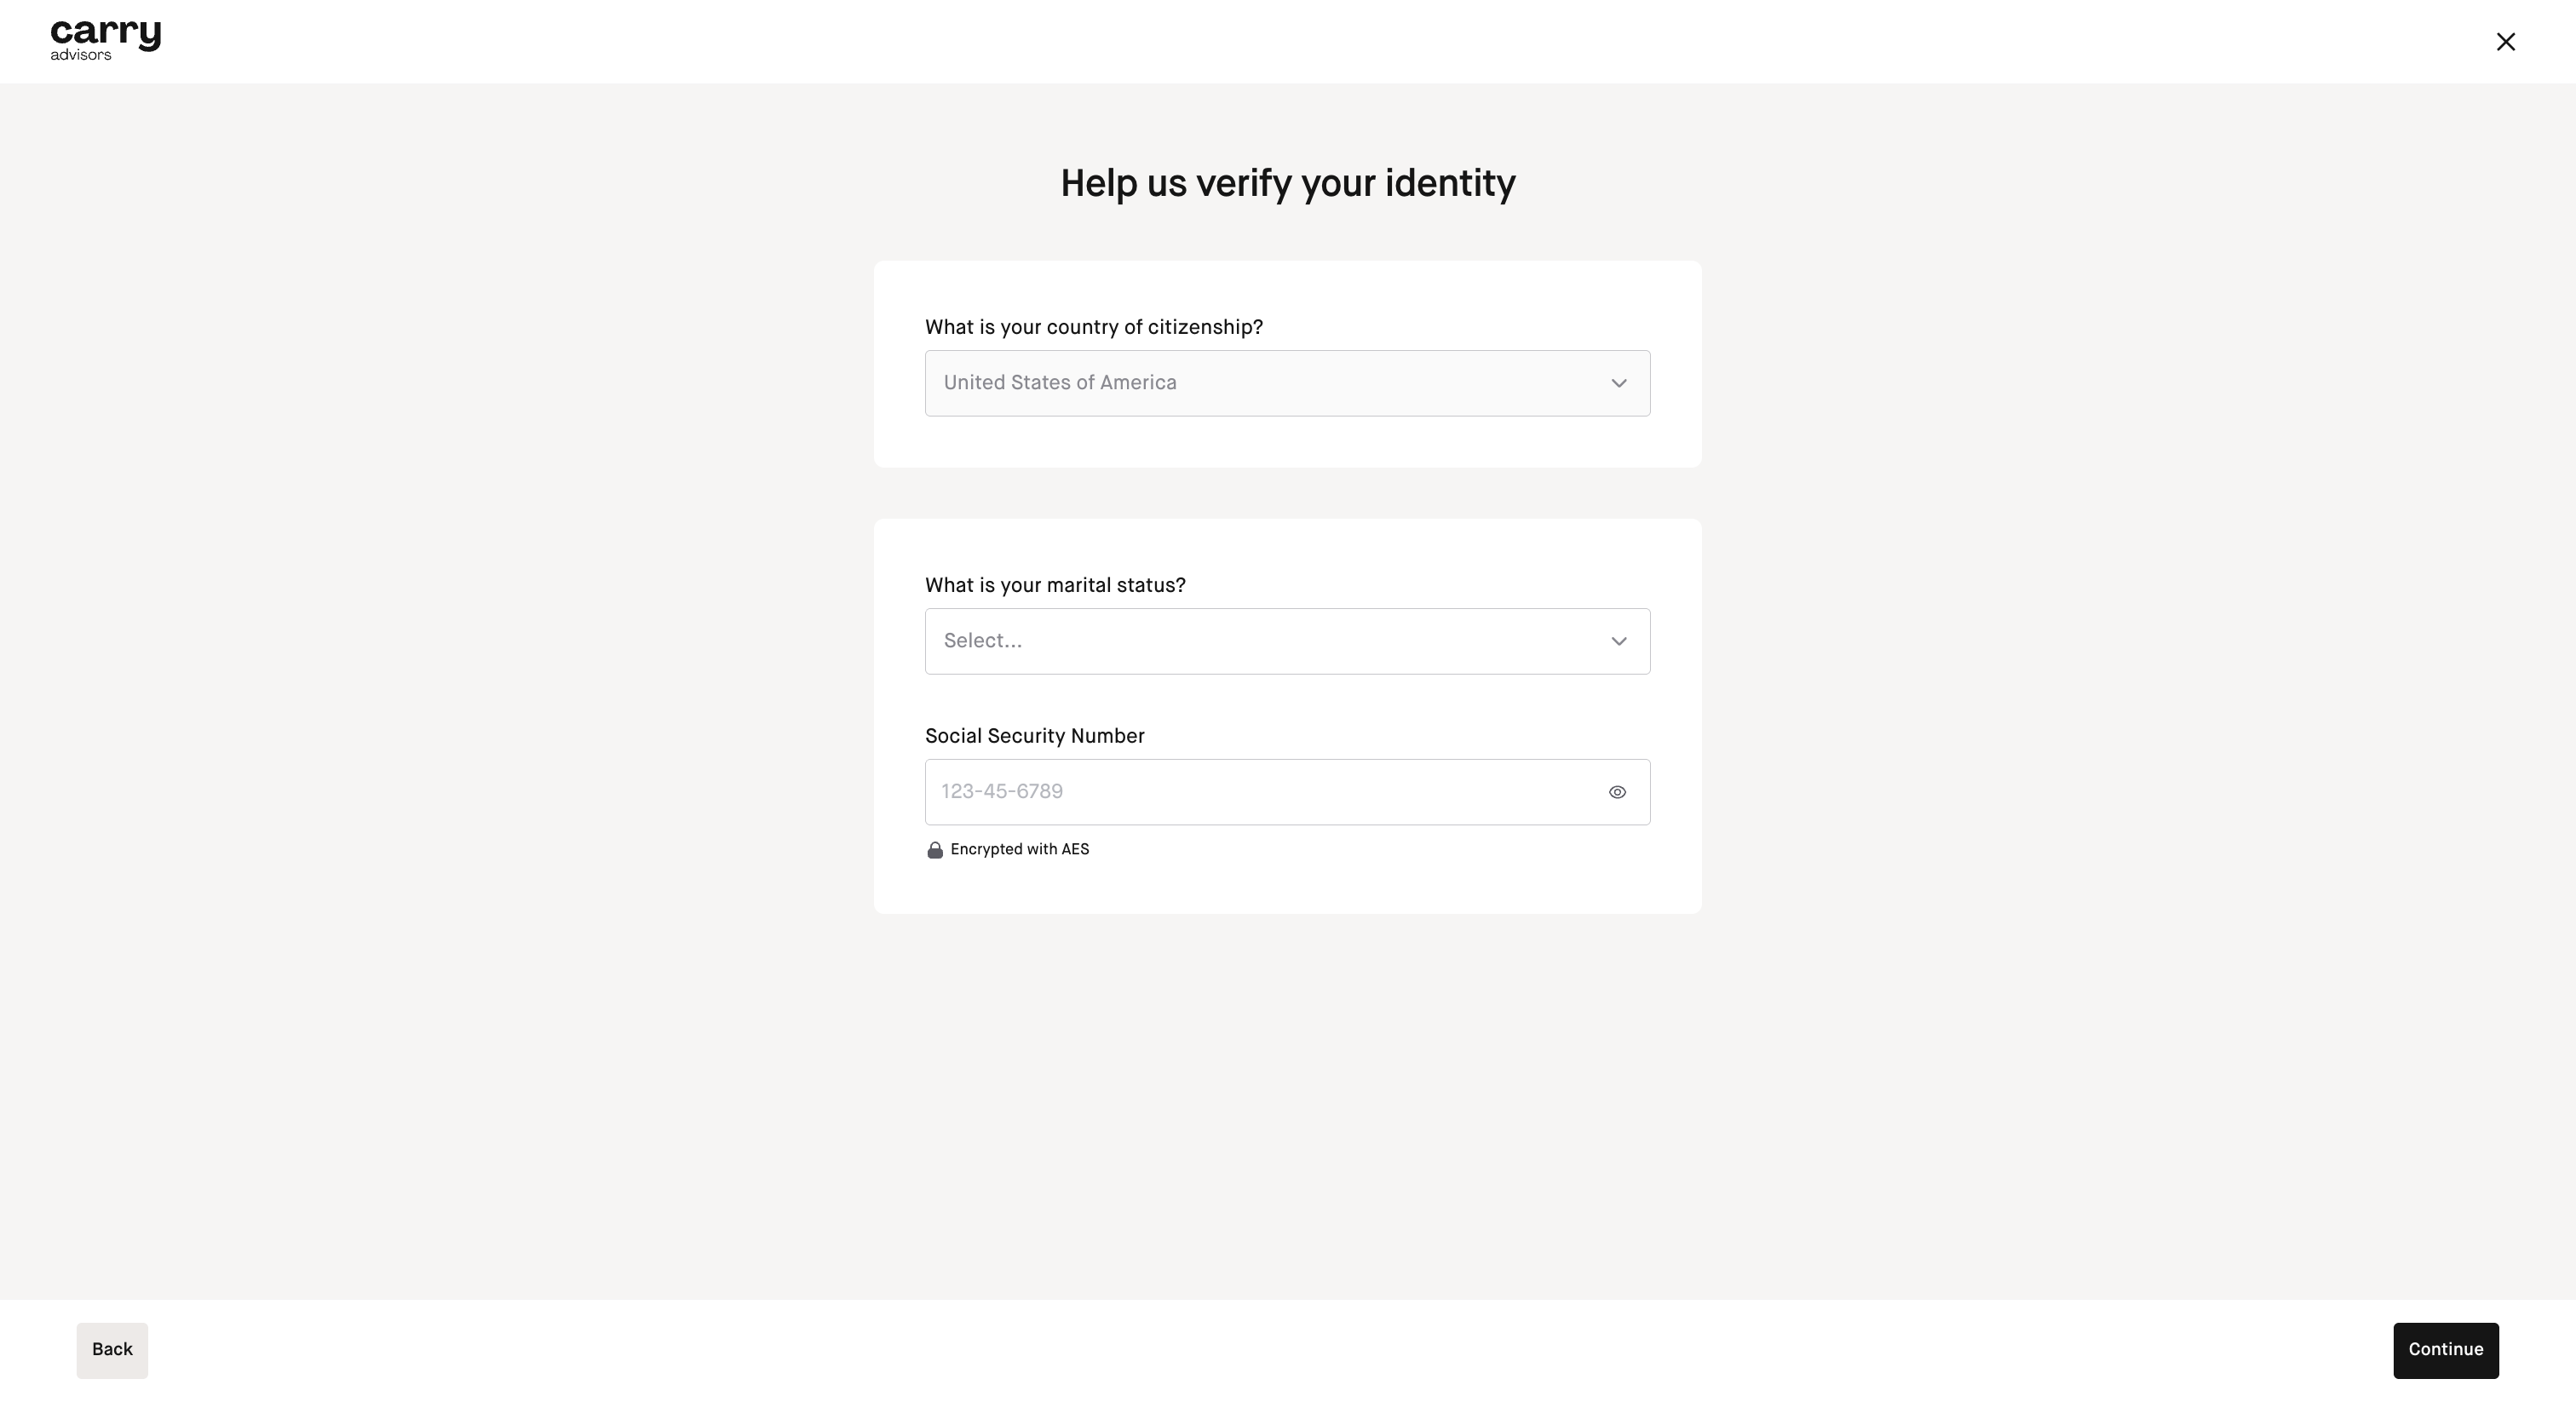
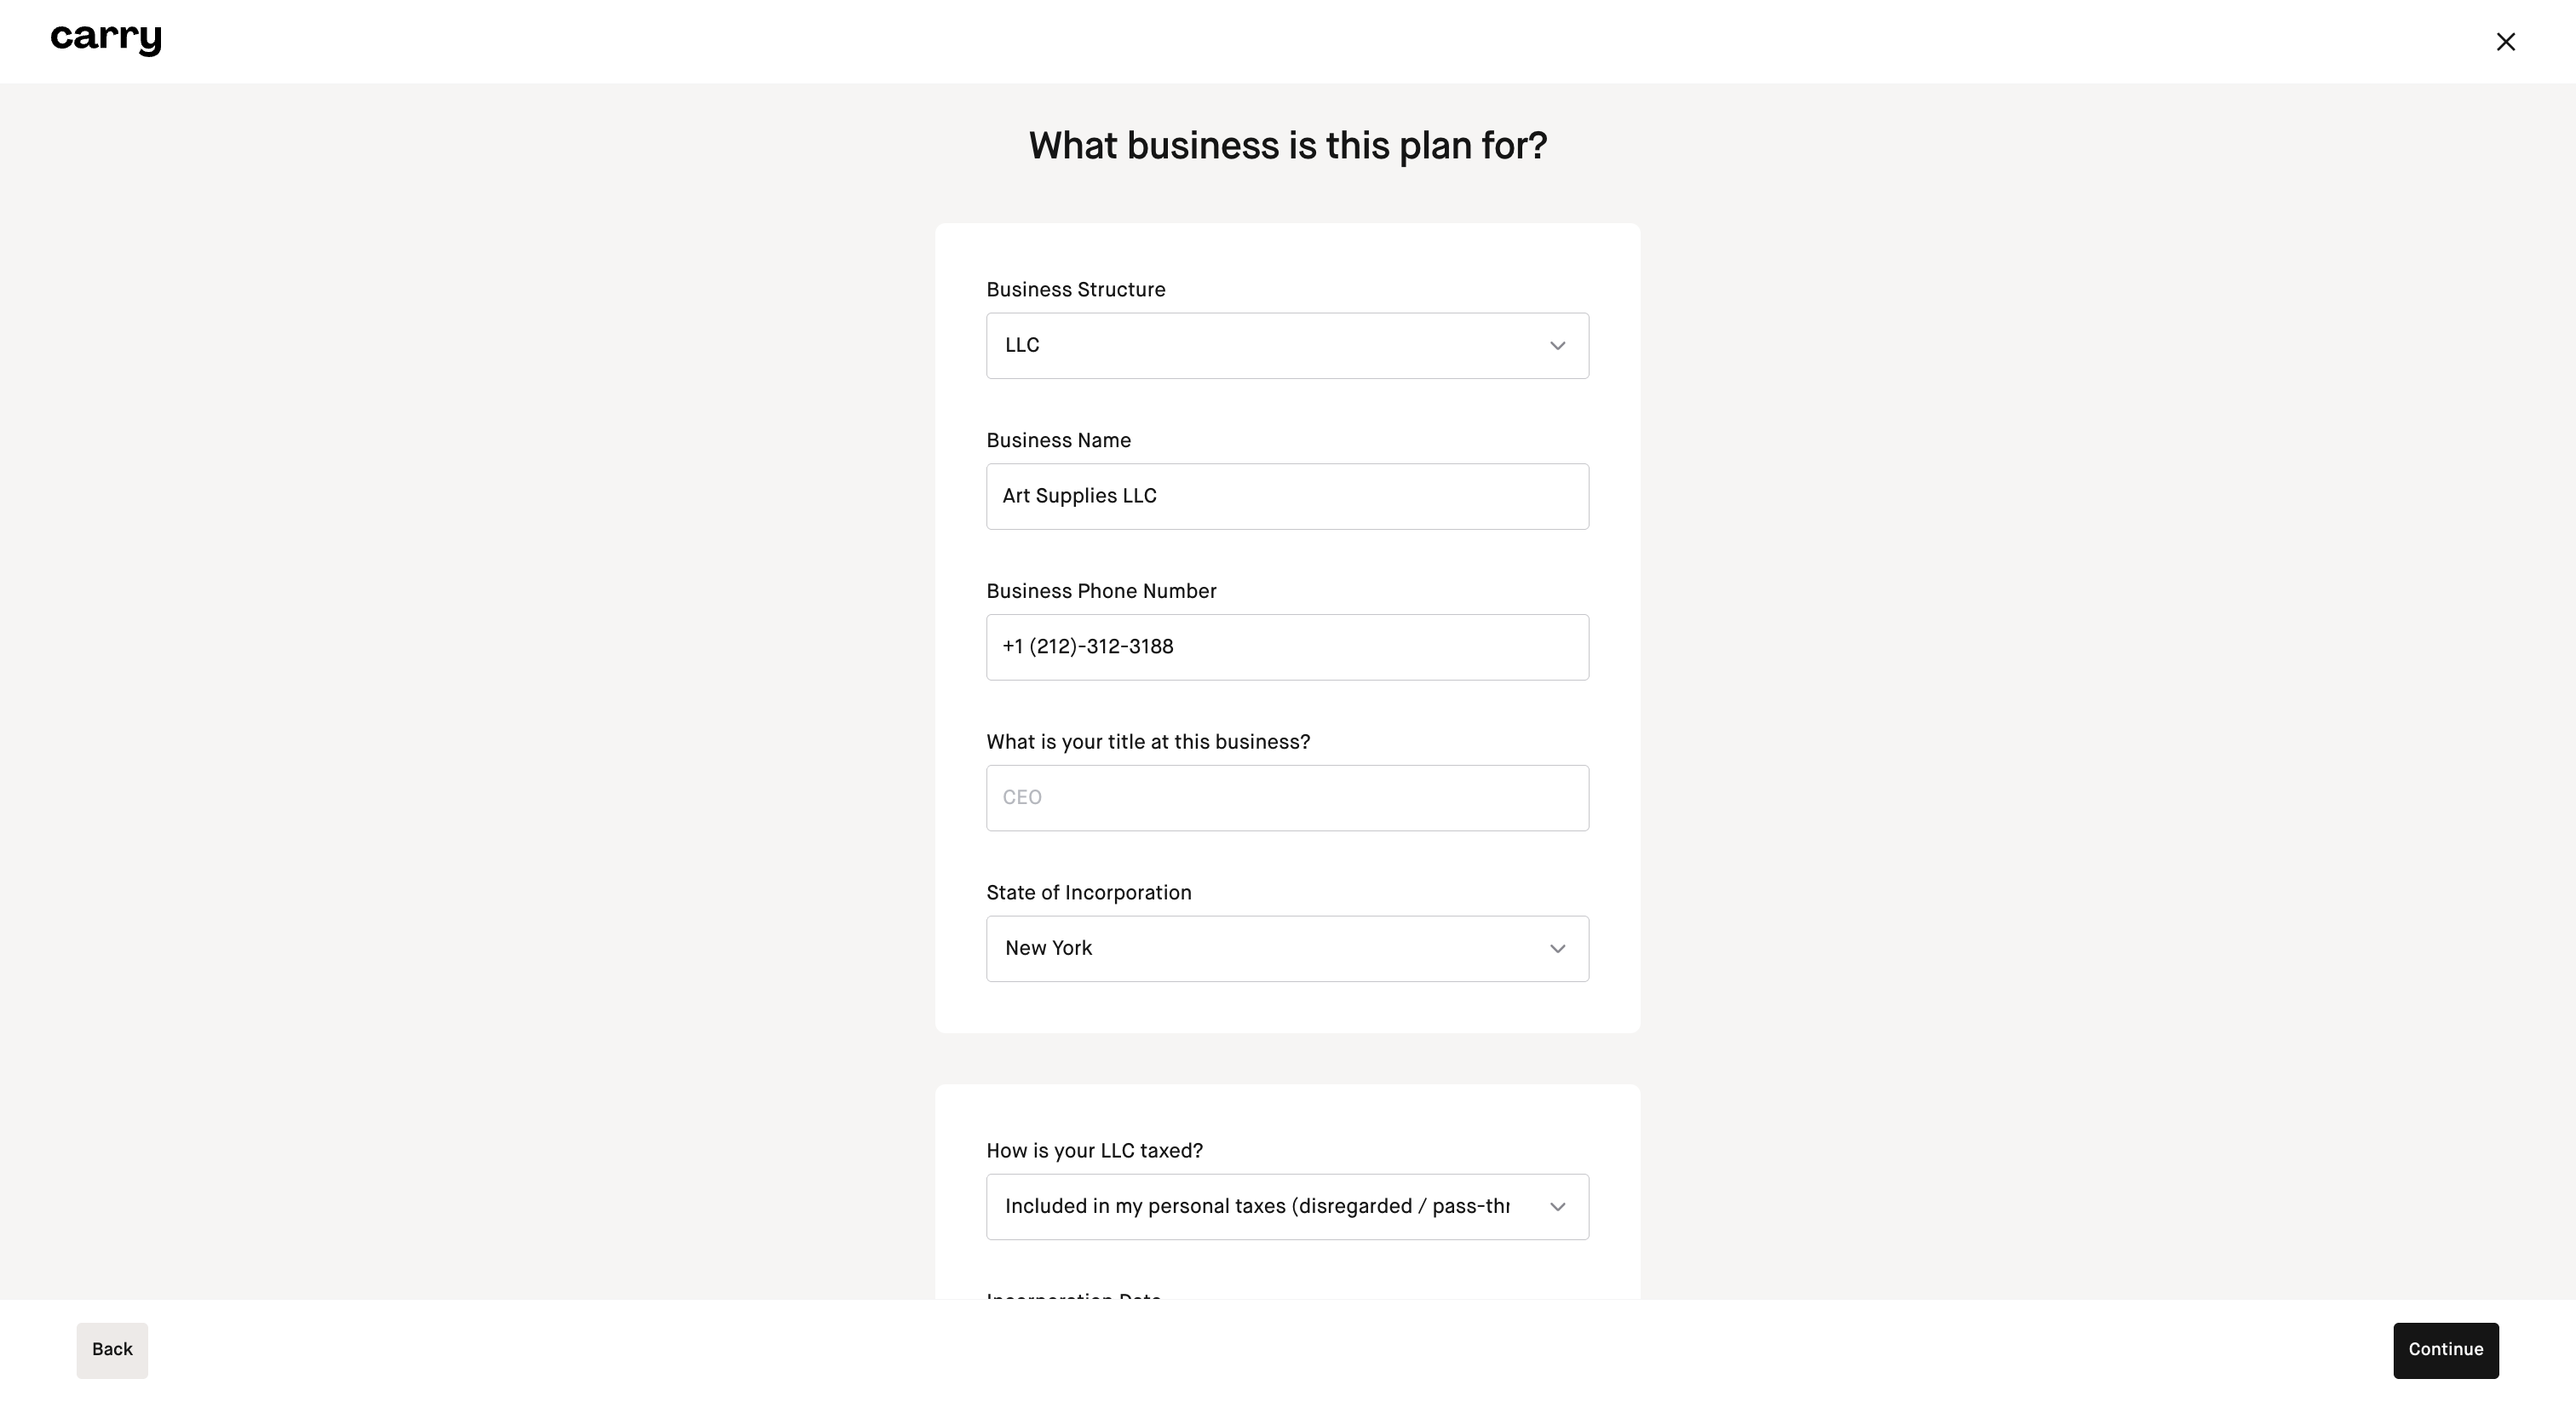
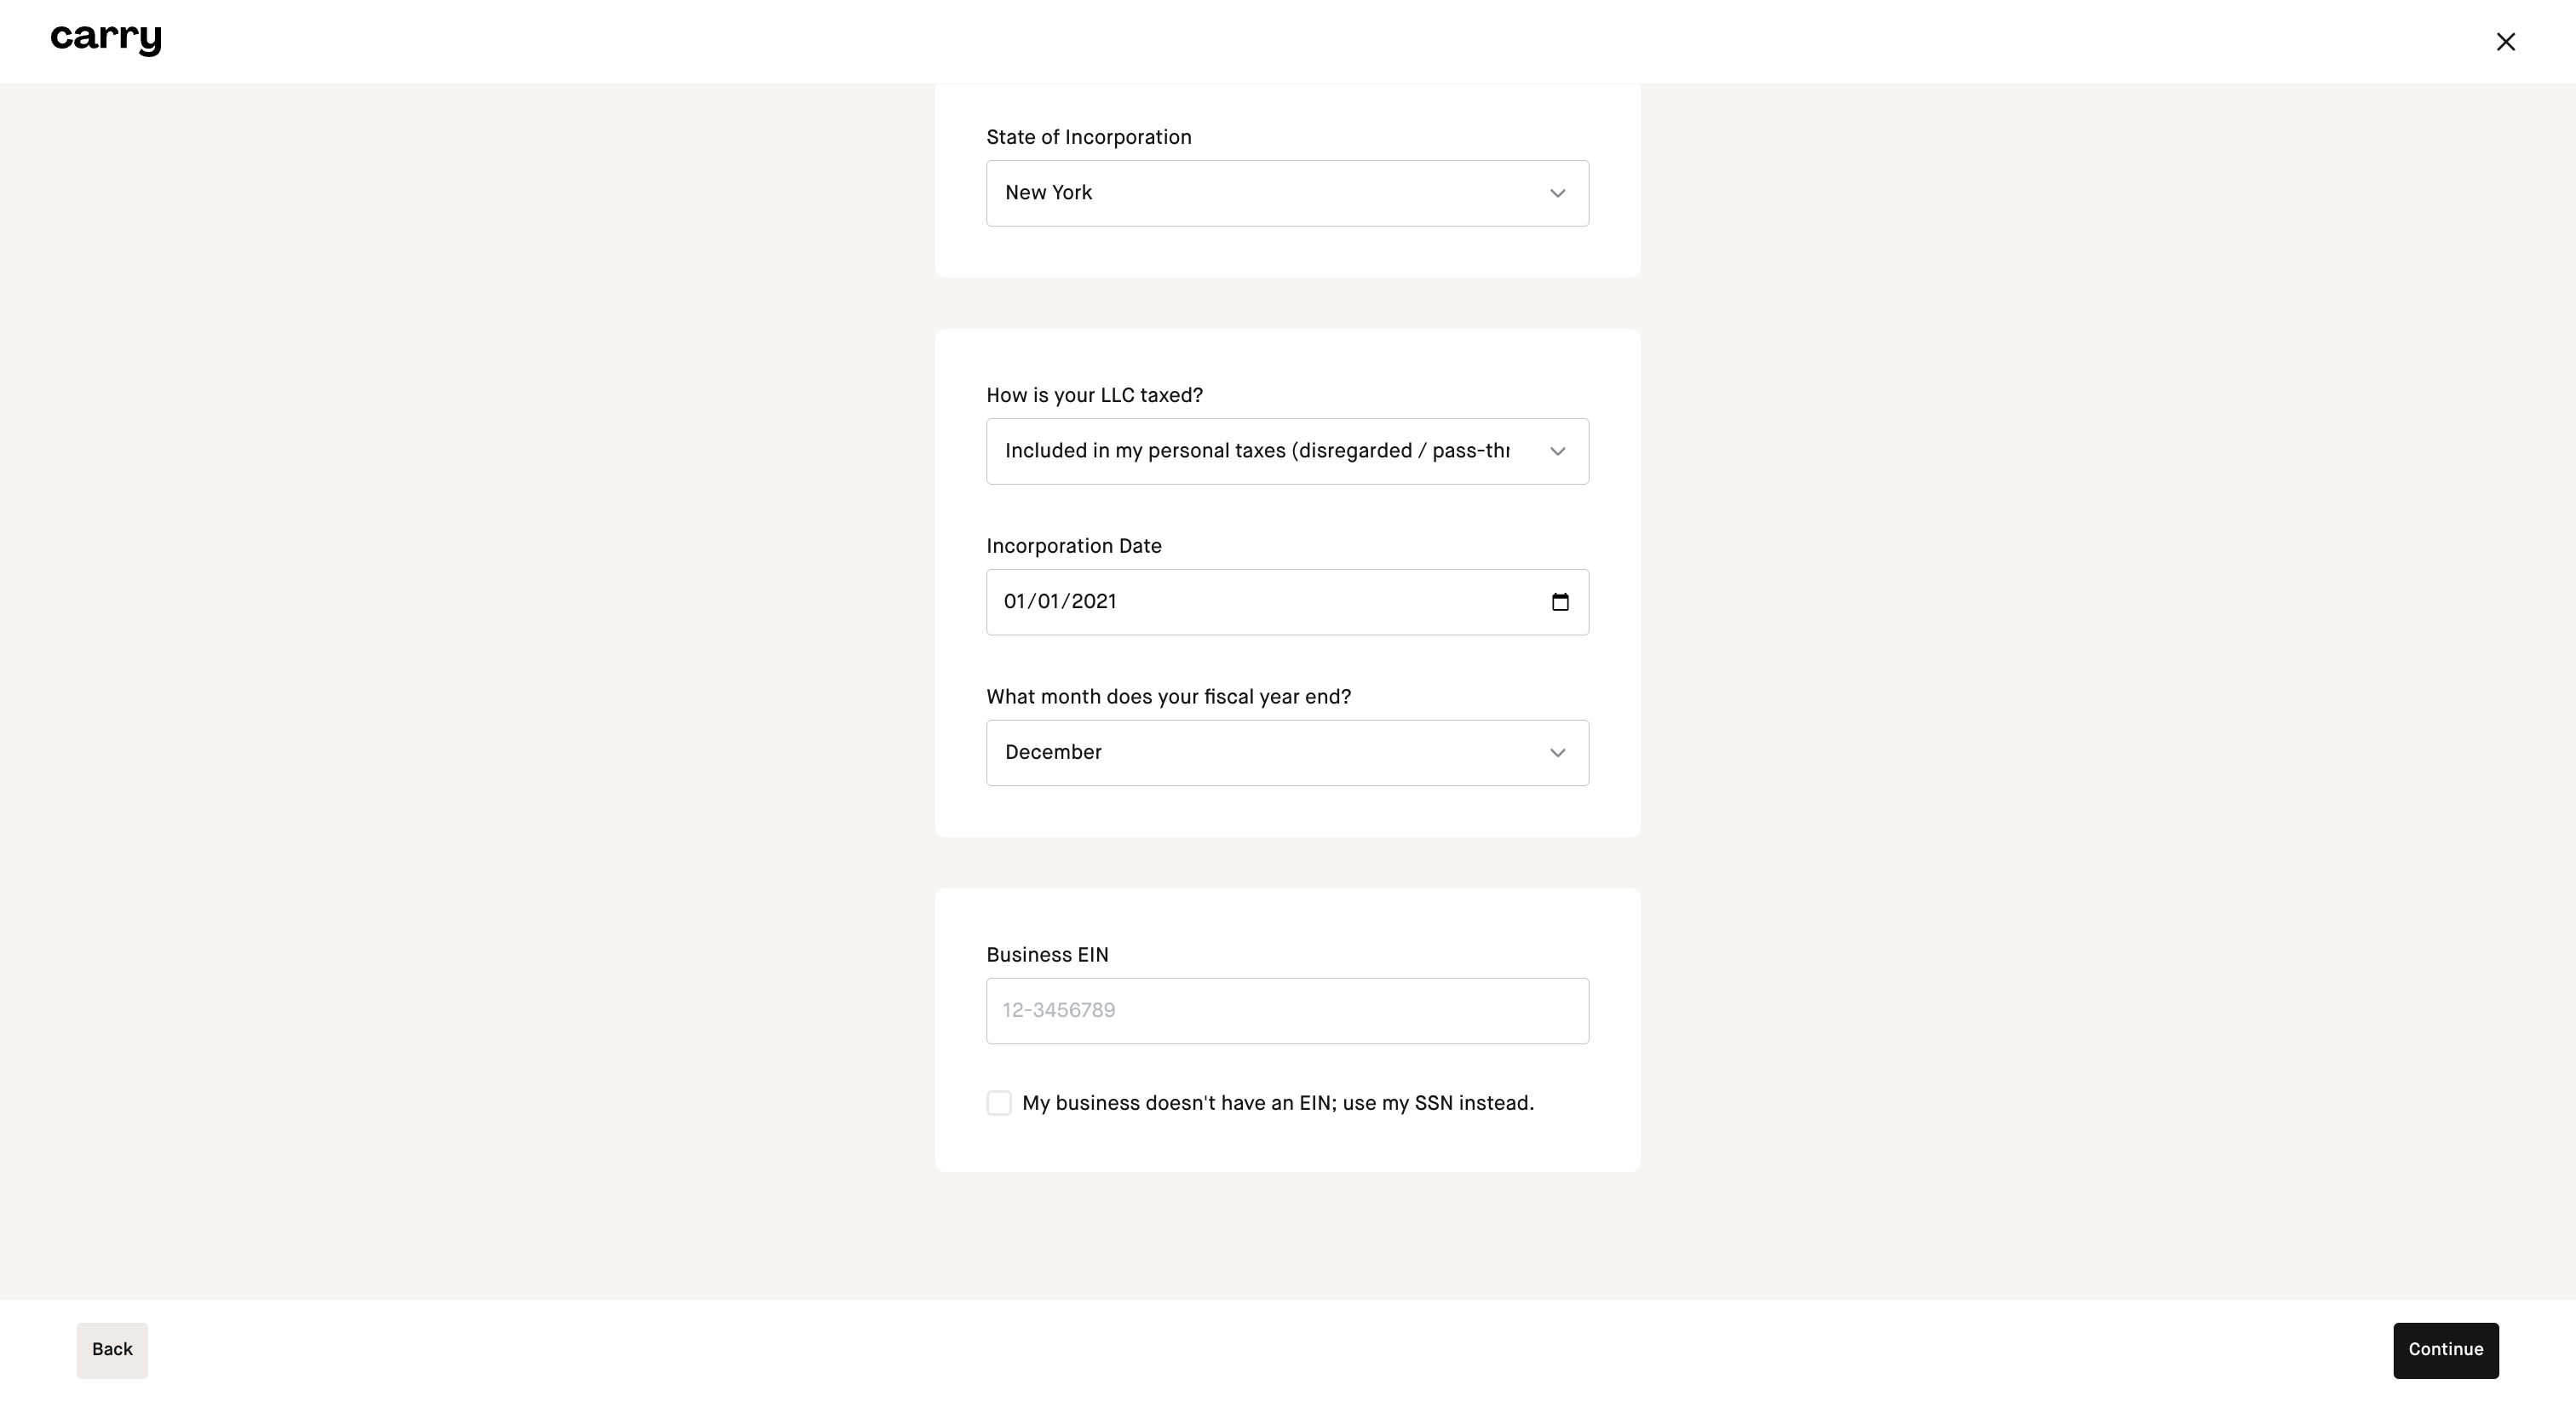
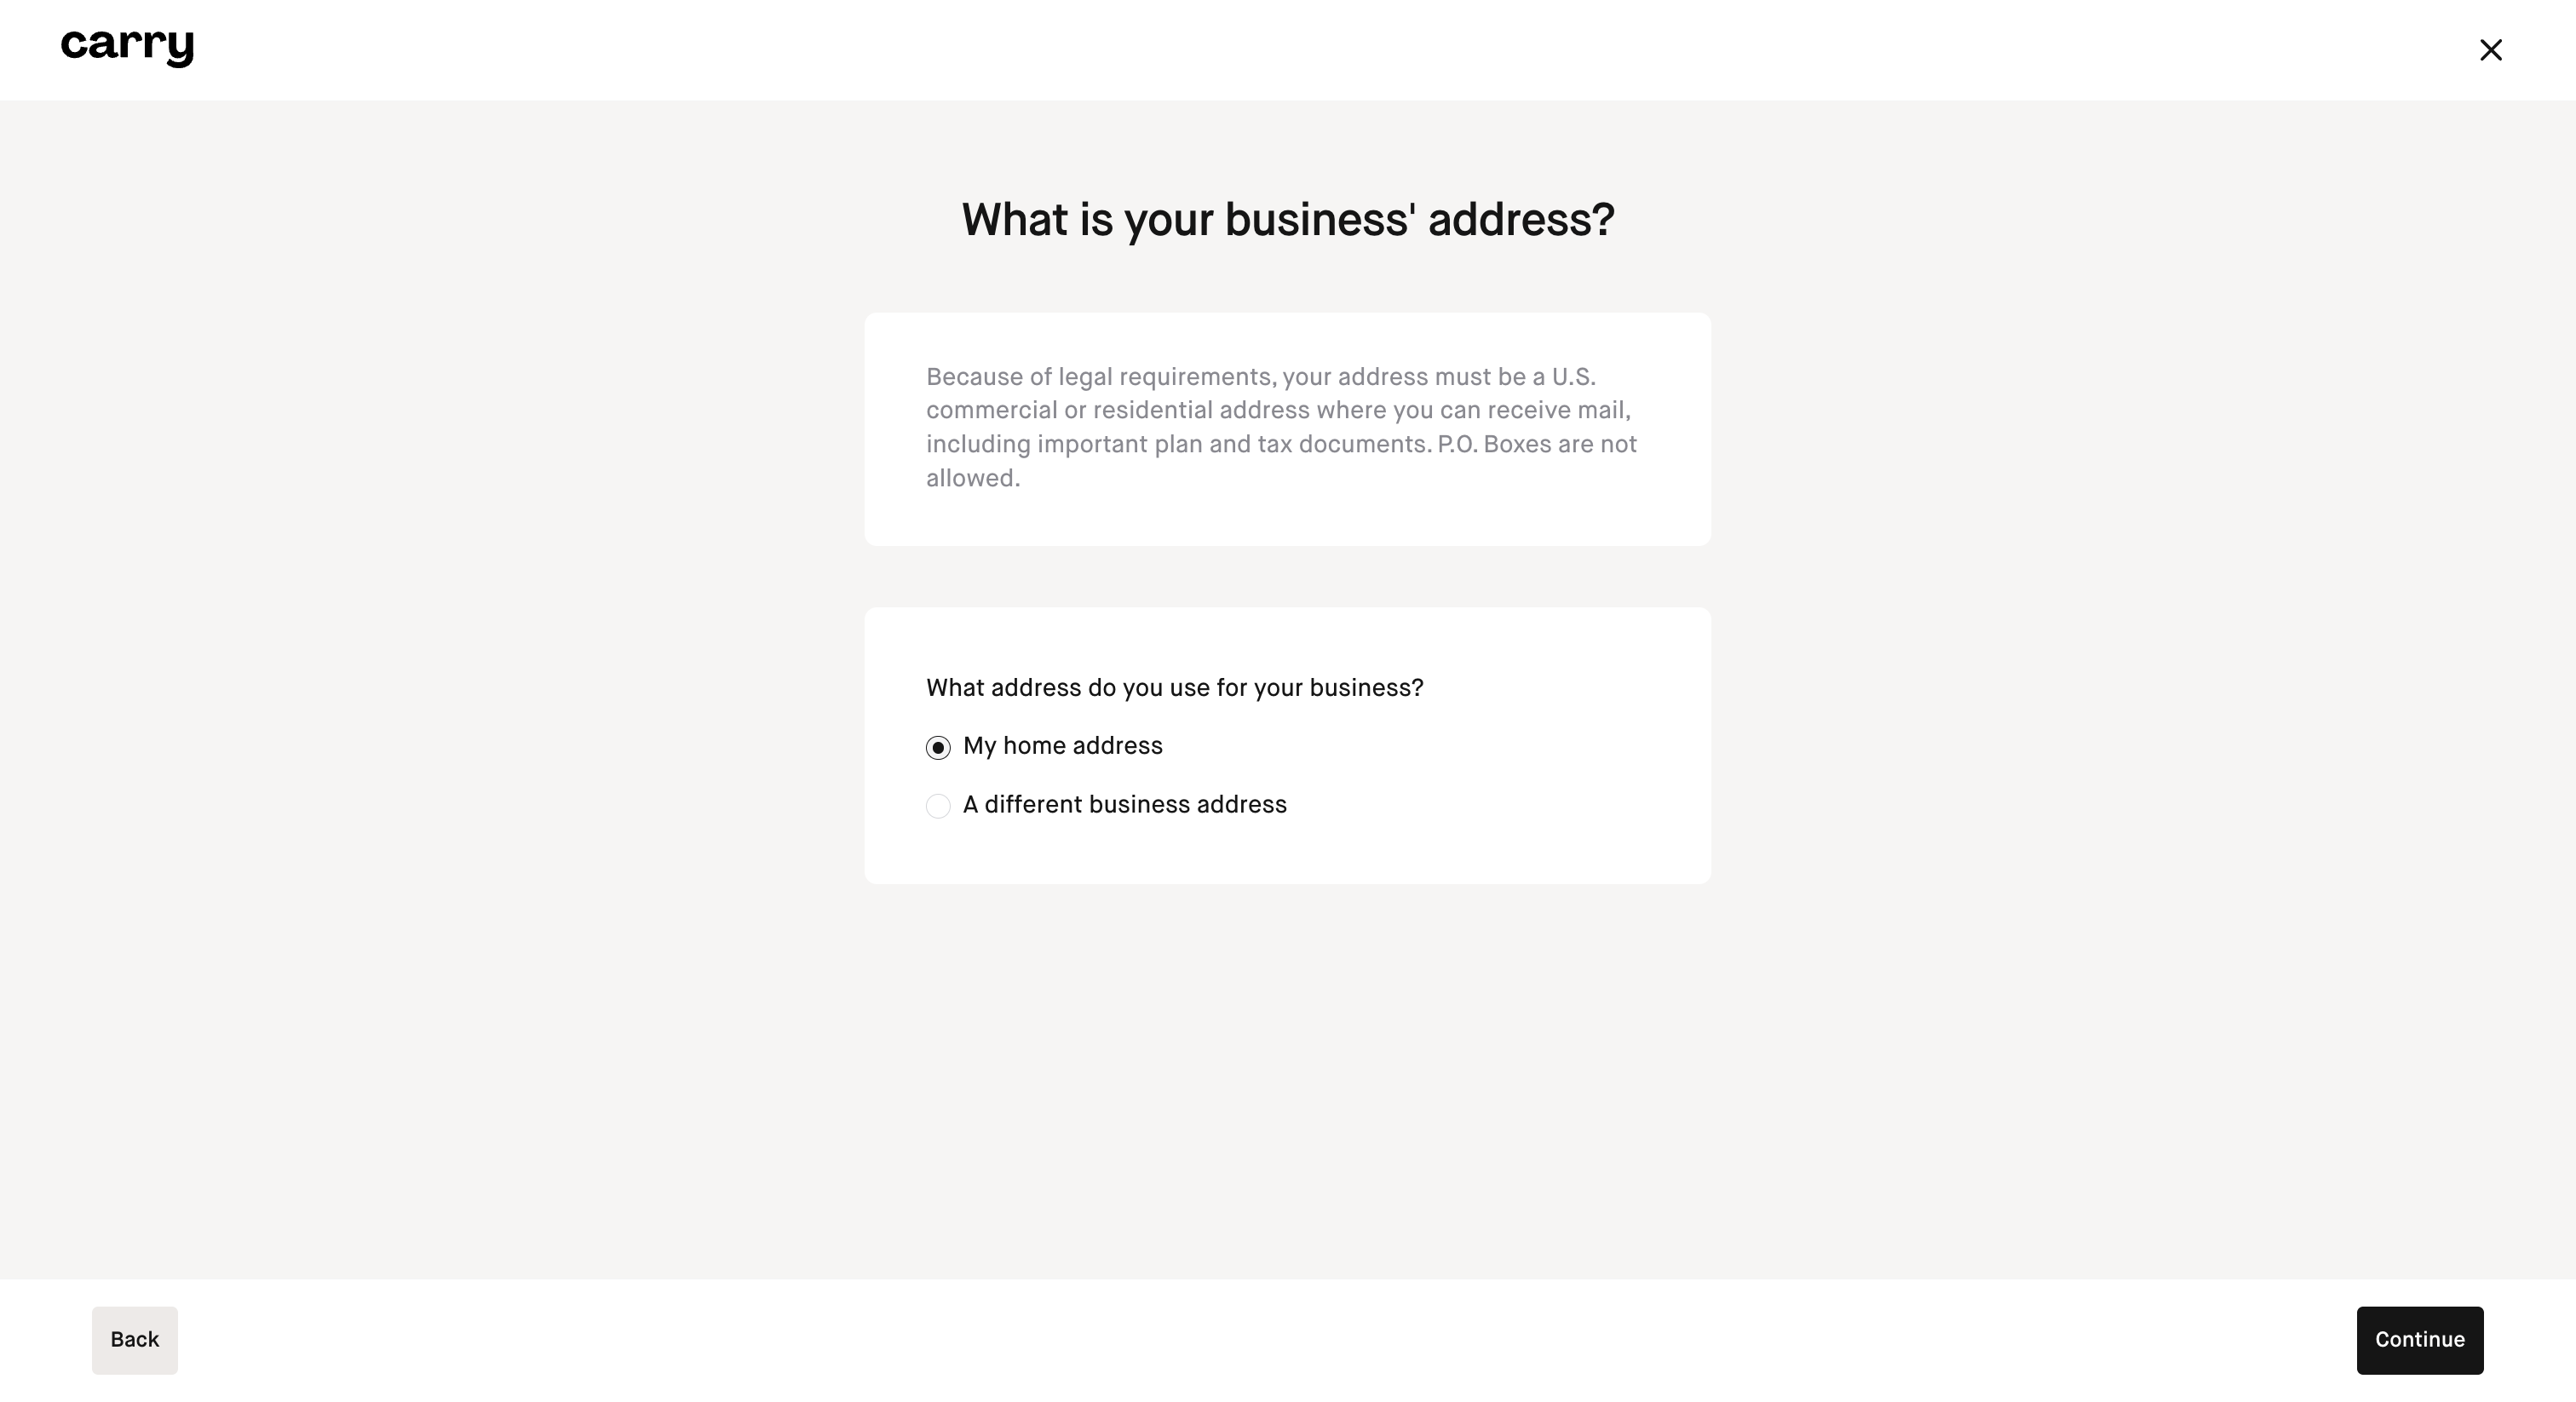
Step 4: Input the required personal and business information and click 'Continue'
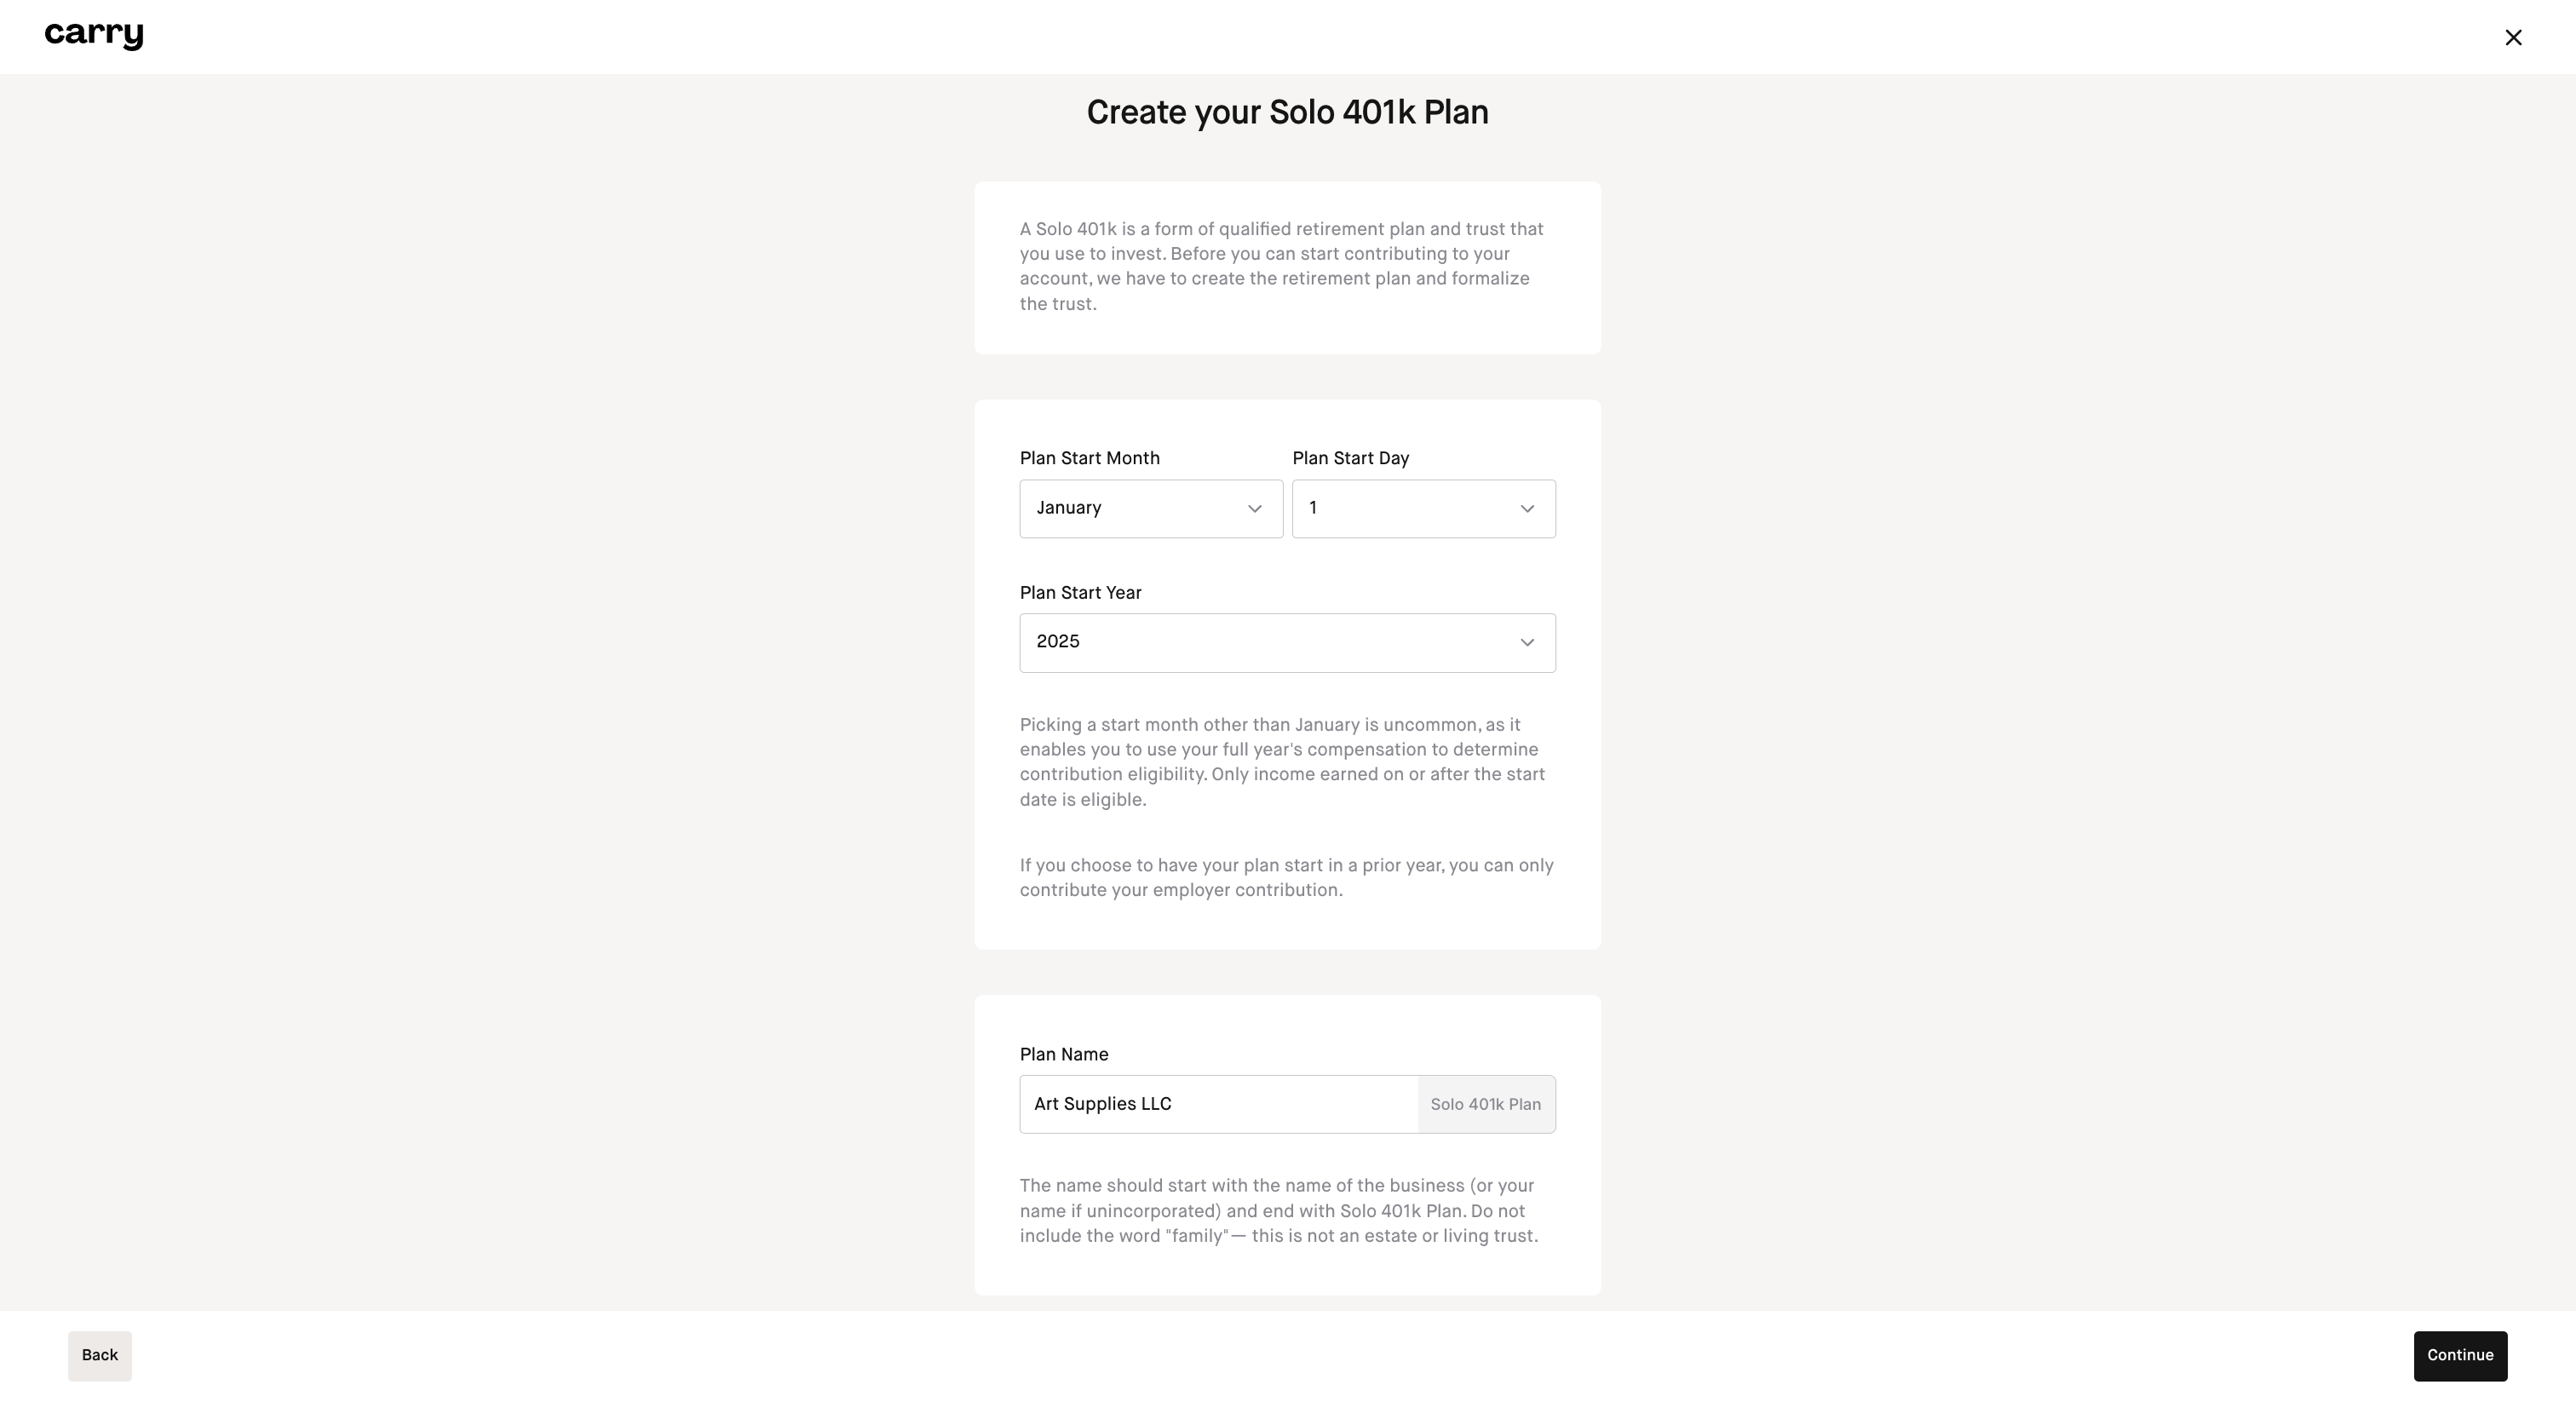
Step 5: Create your Solo 401k plan details by inputting the details and clicking 'Continue'
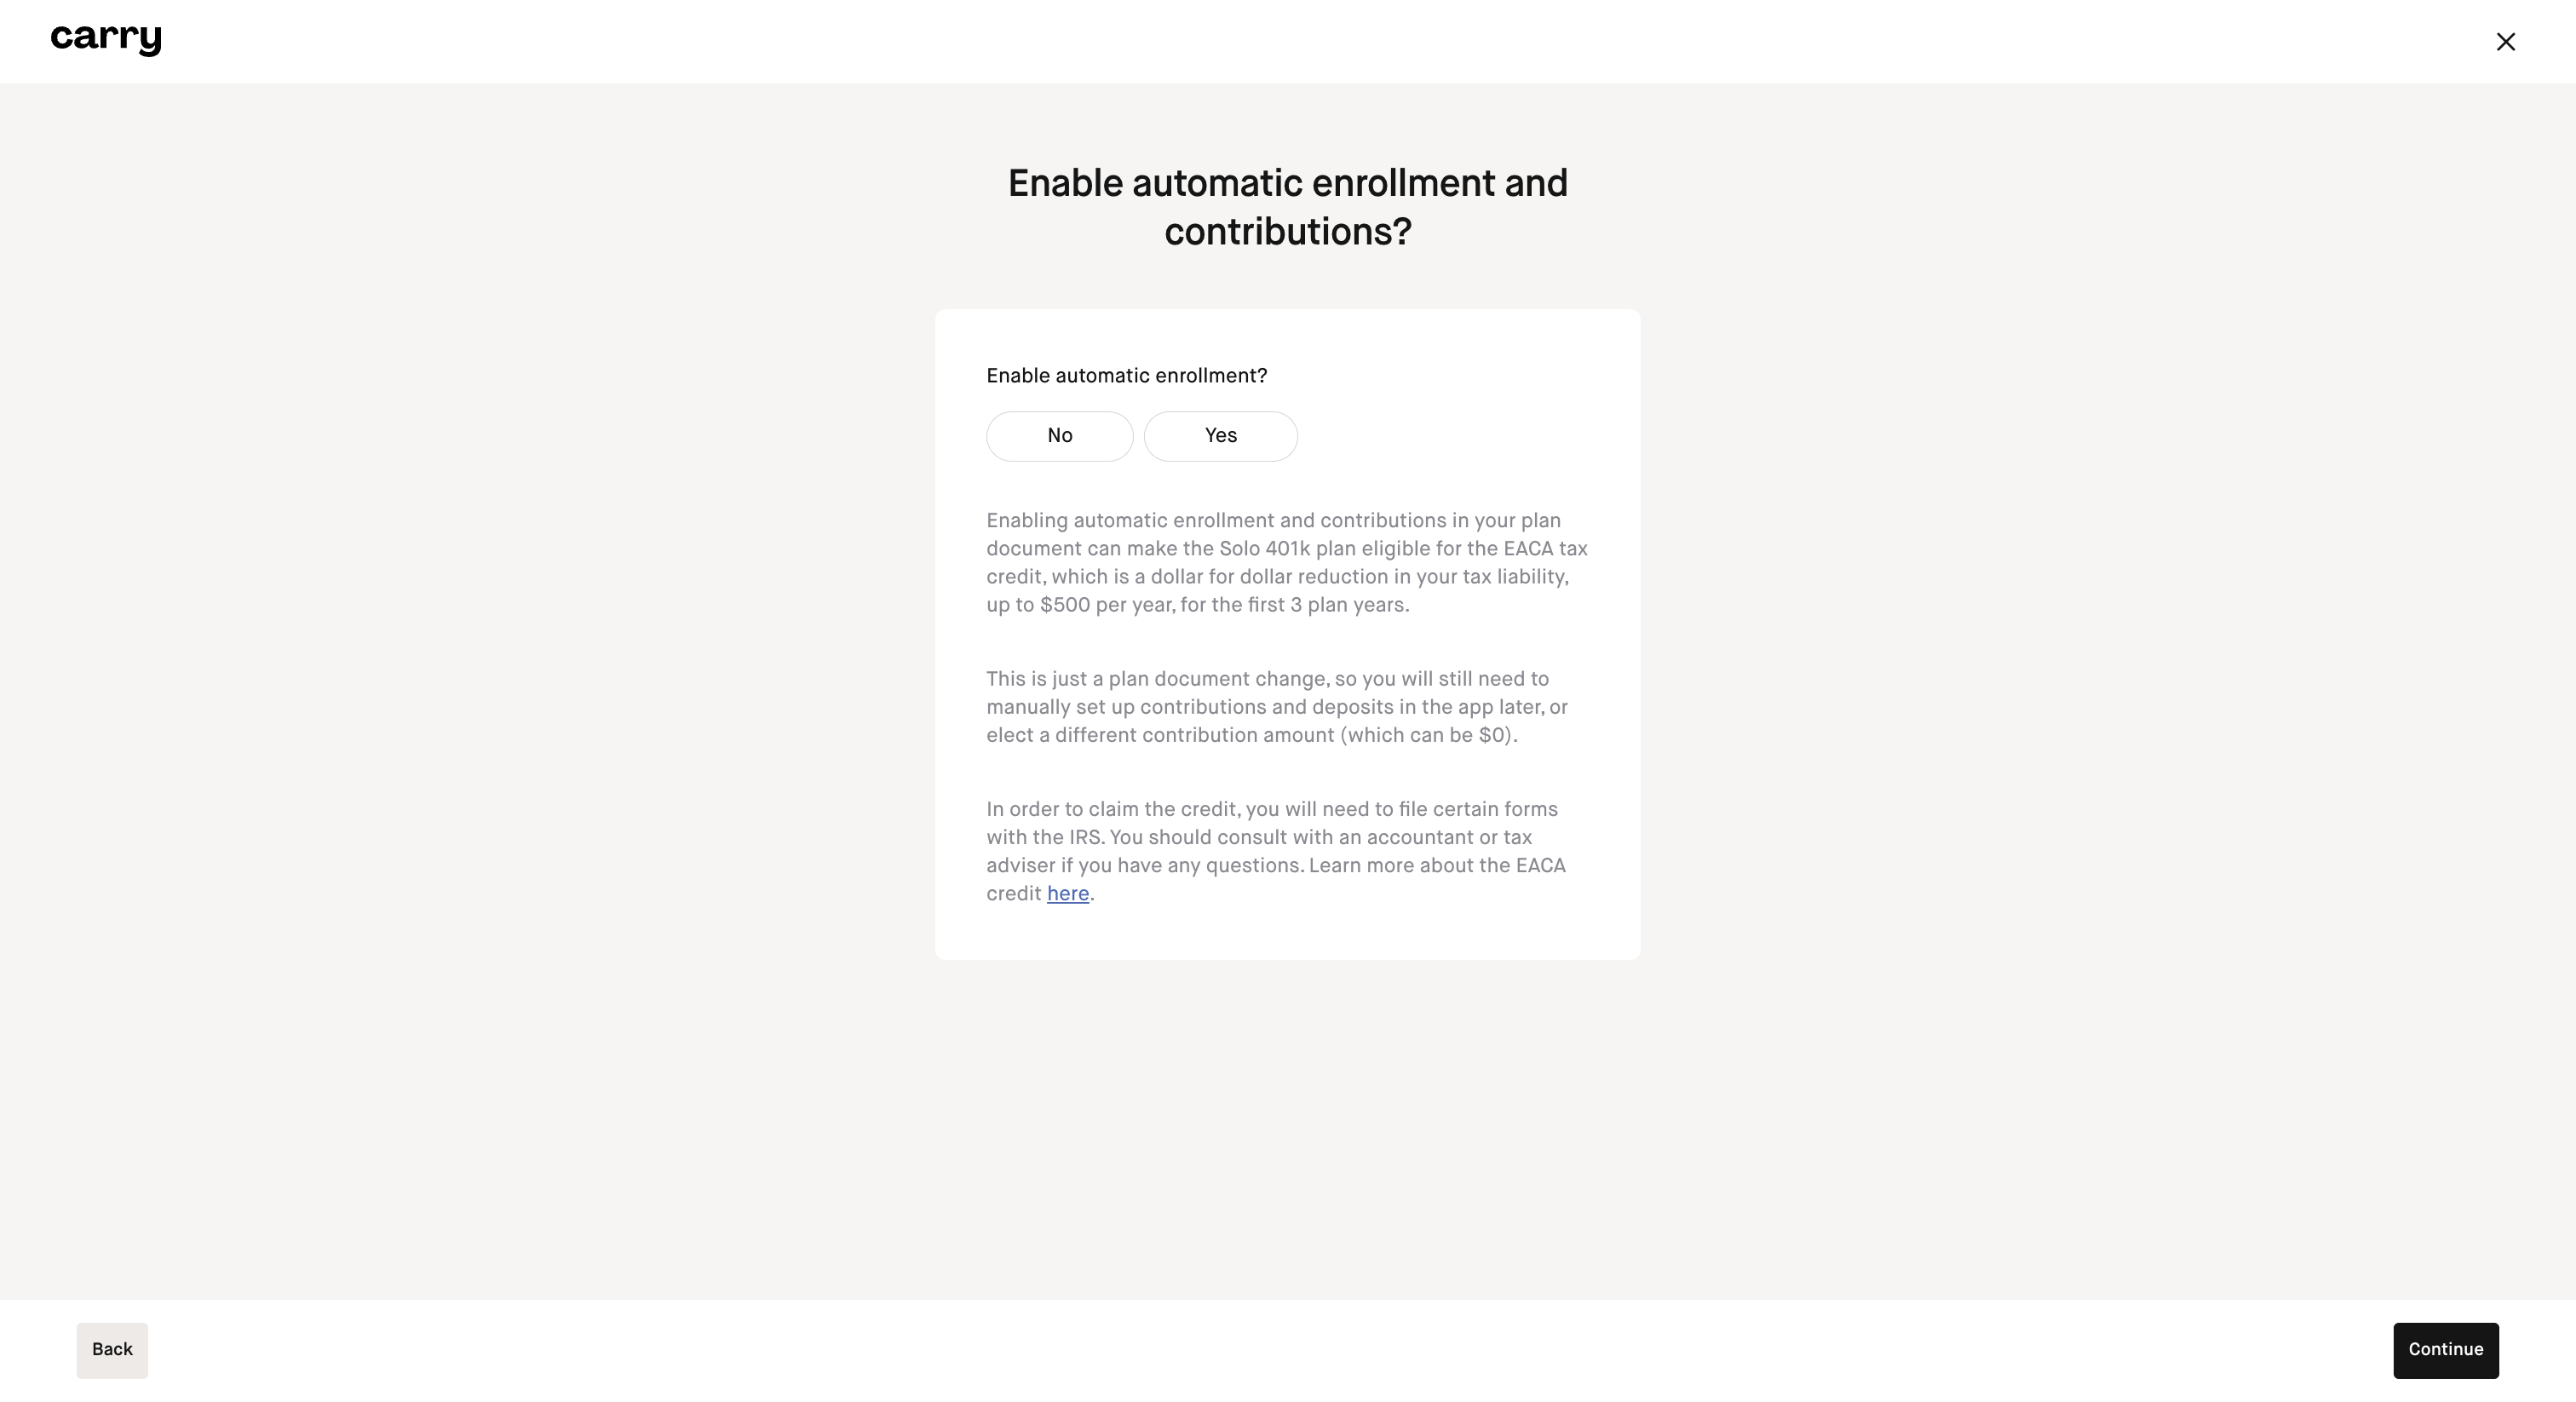
Step 6: Answer whether to enable automatic enrollment and contributions to be eligible for the EACA credit and click 'Continue'
If you're unsure of whether you want to do this, you can learn more about the EACA credit here.
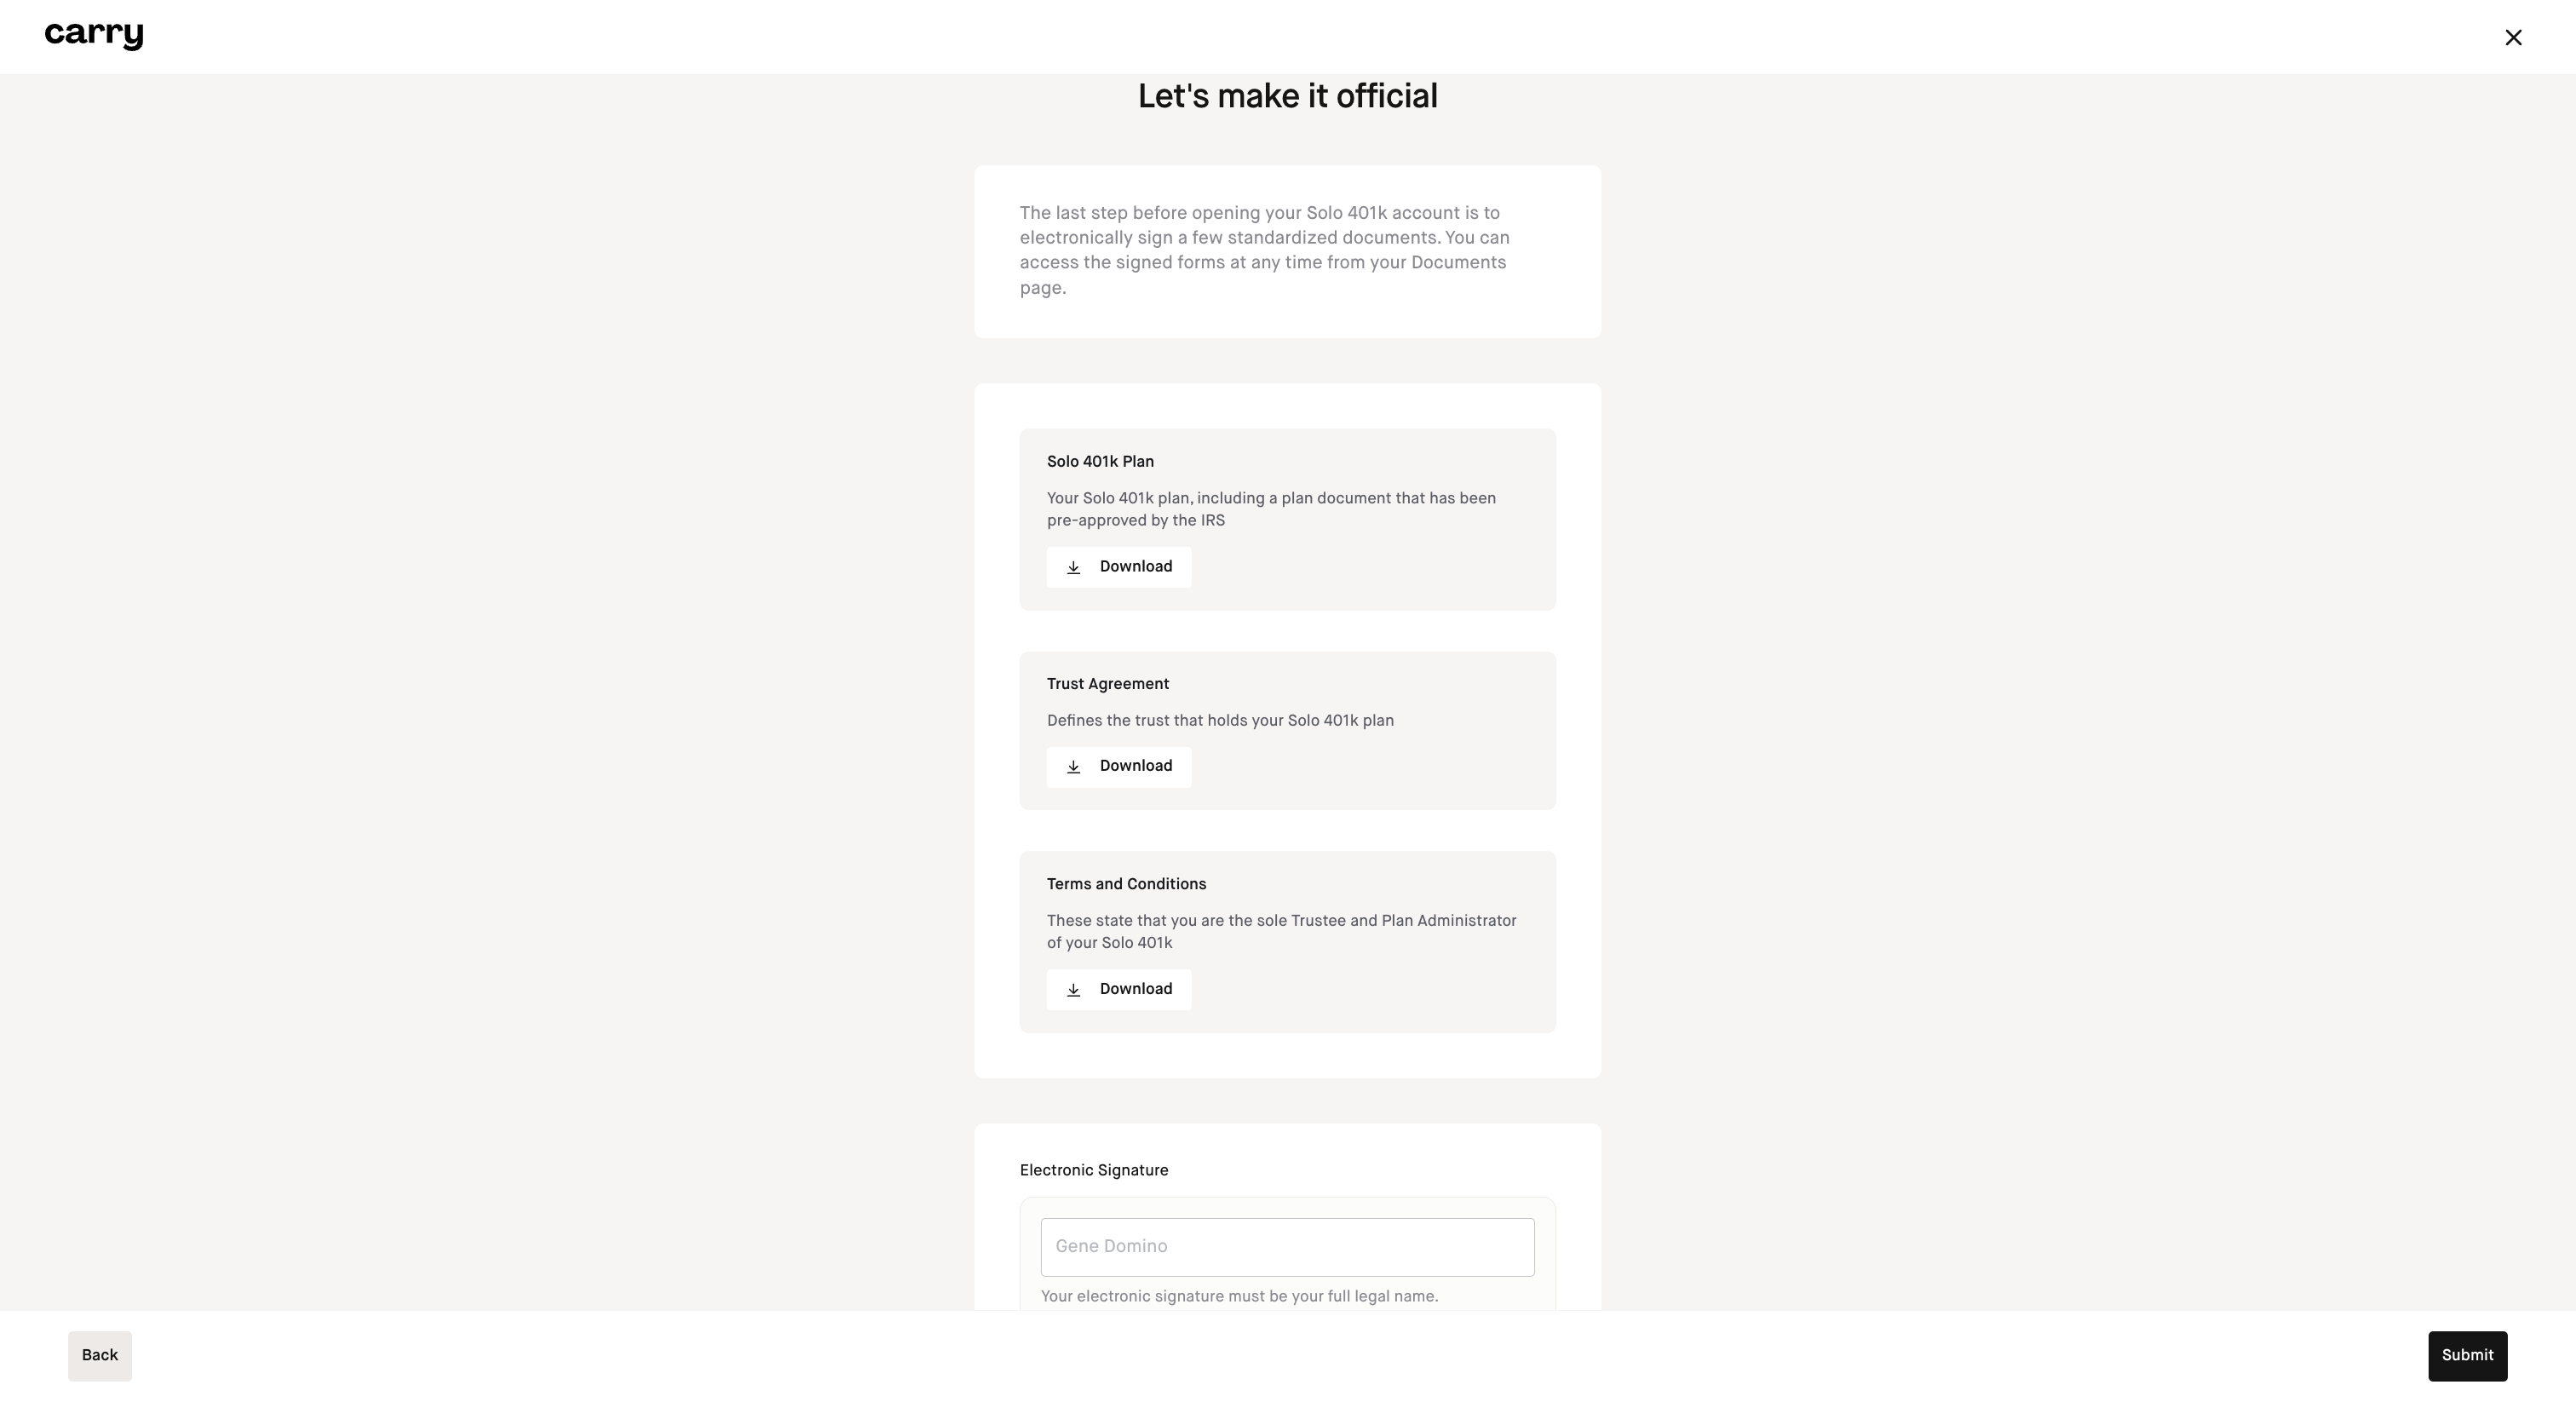
Step 7: Finalize your application
Preview and download your plan documents, and sign them electronically. Click Submit to submit your application for review.
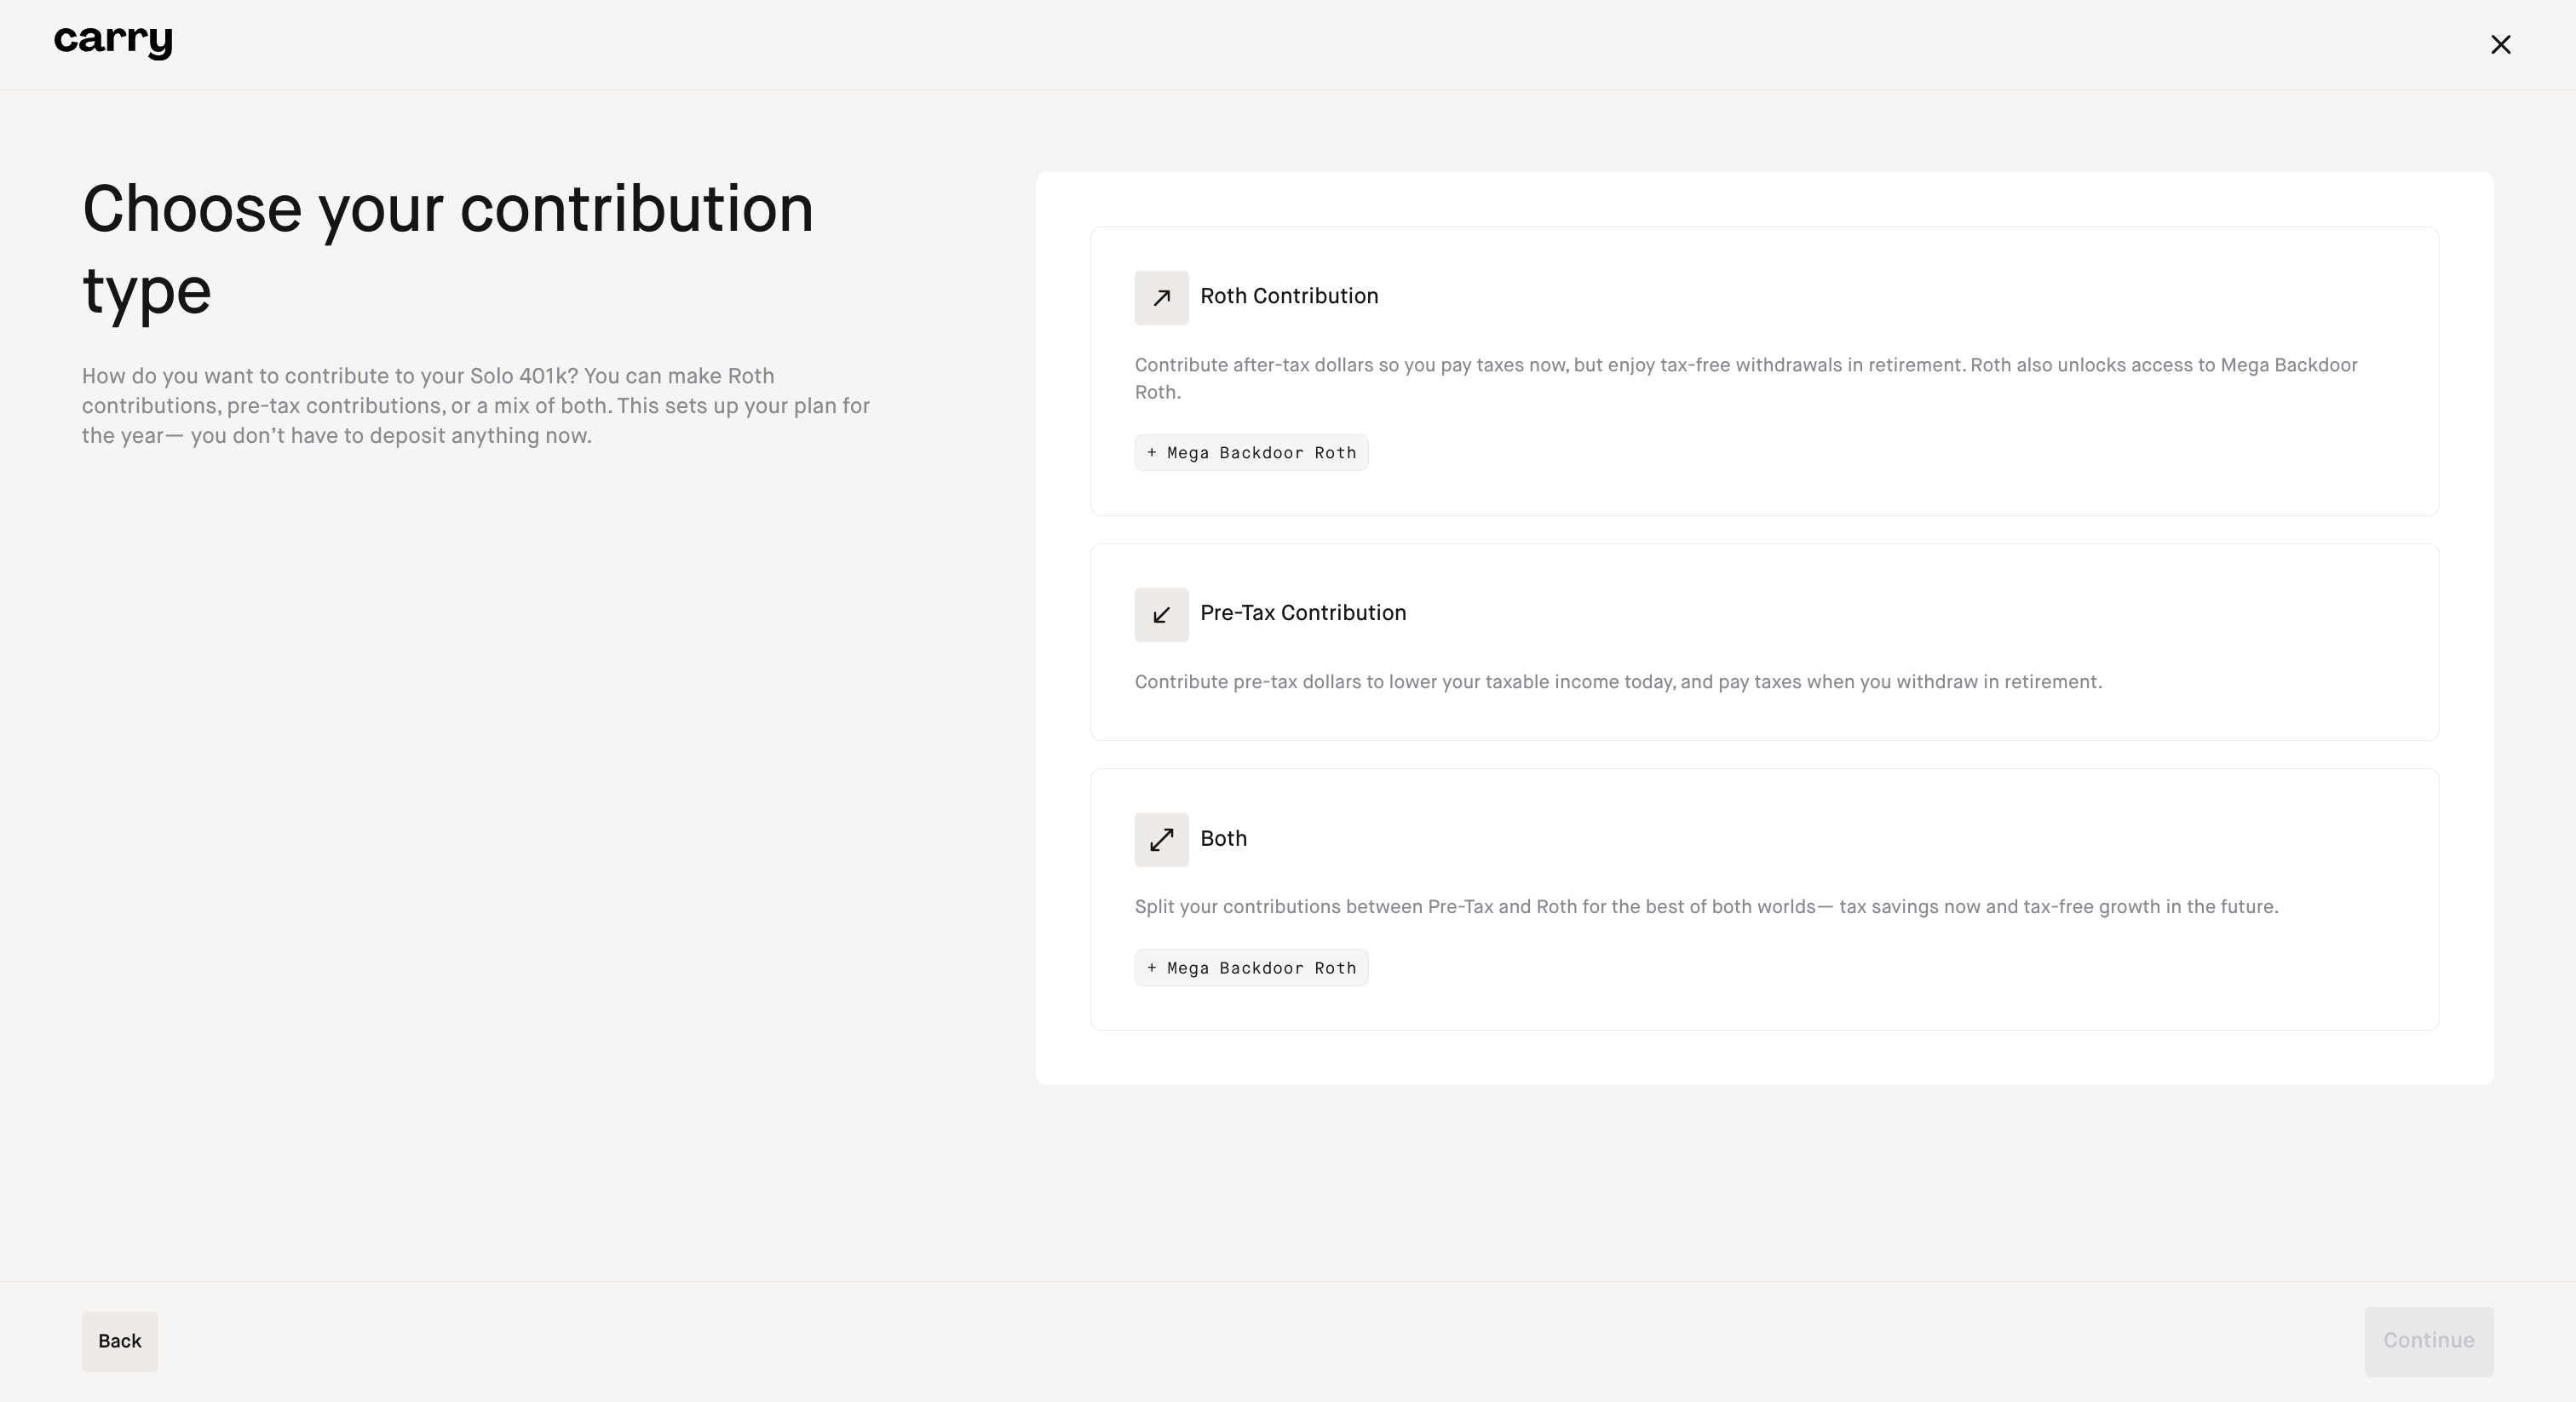
Step 8: You will now proceed through the Contribution election flow. Choose your contribution type(s)
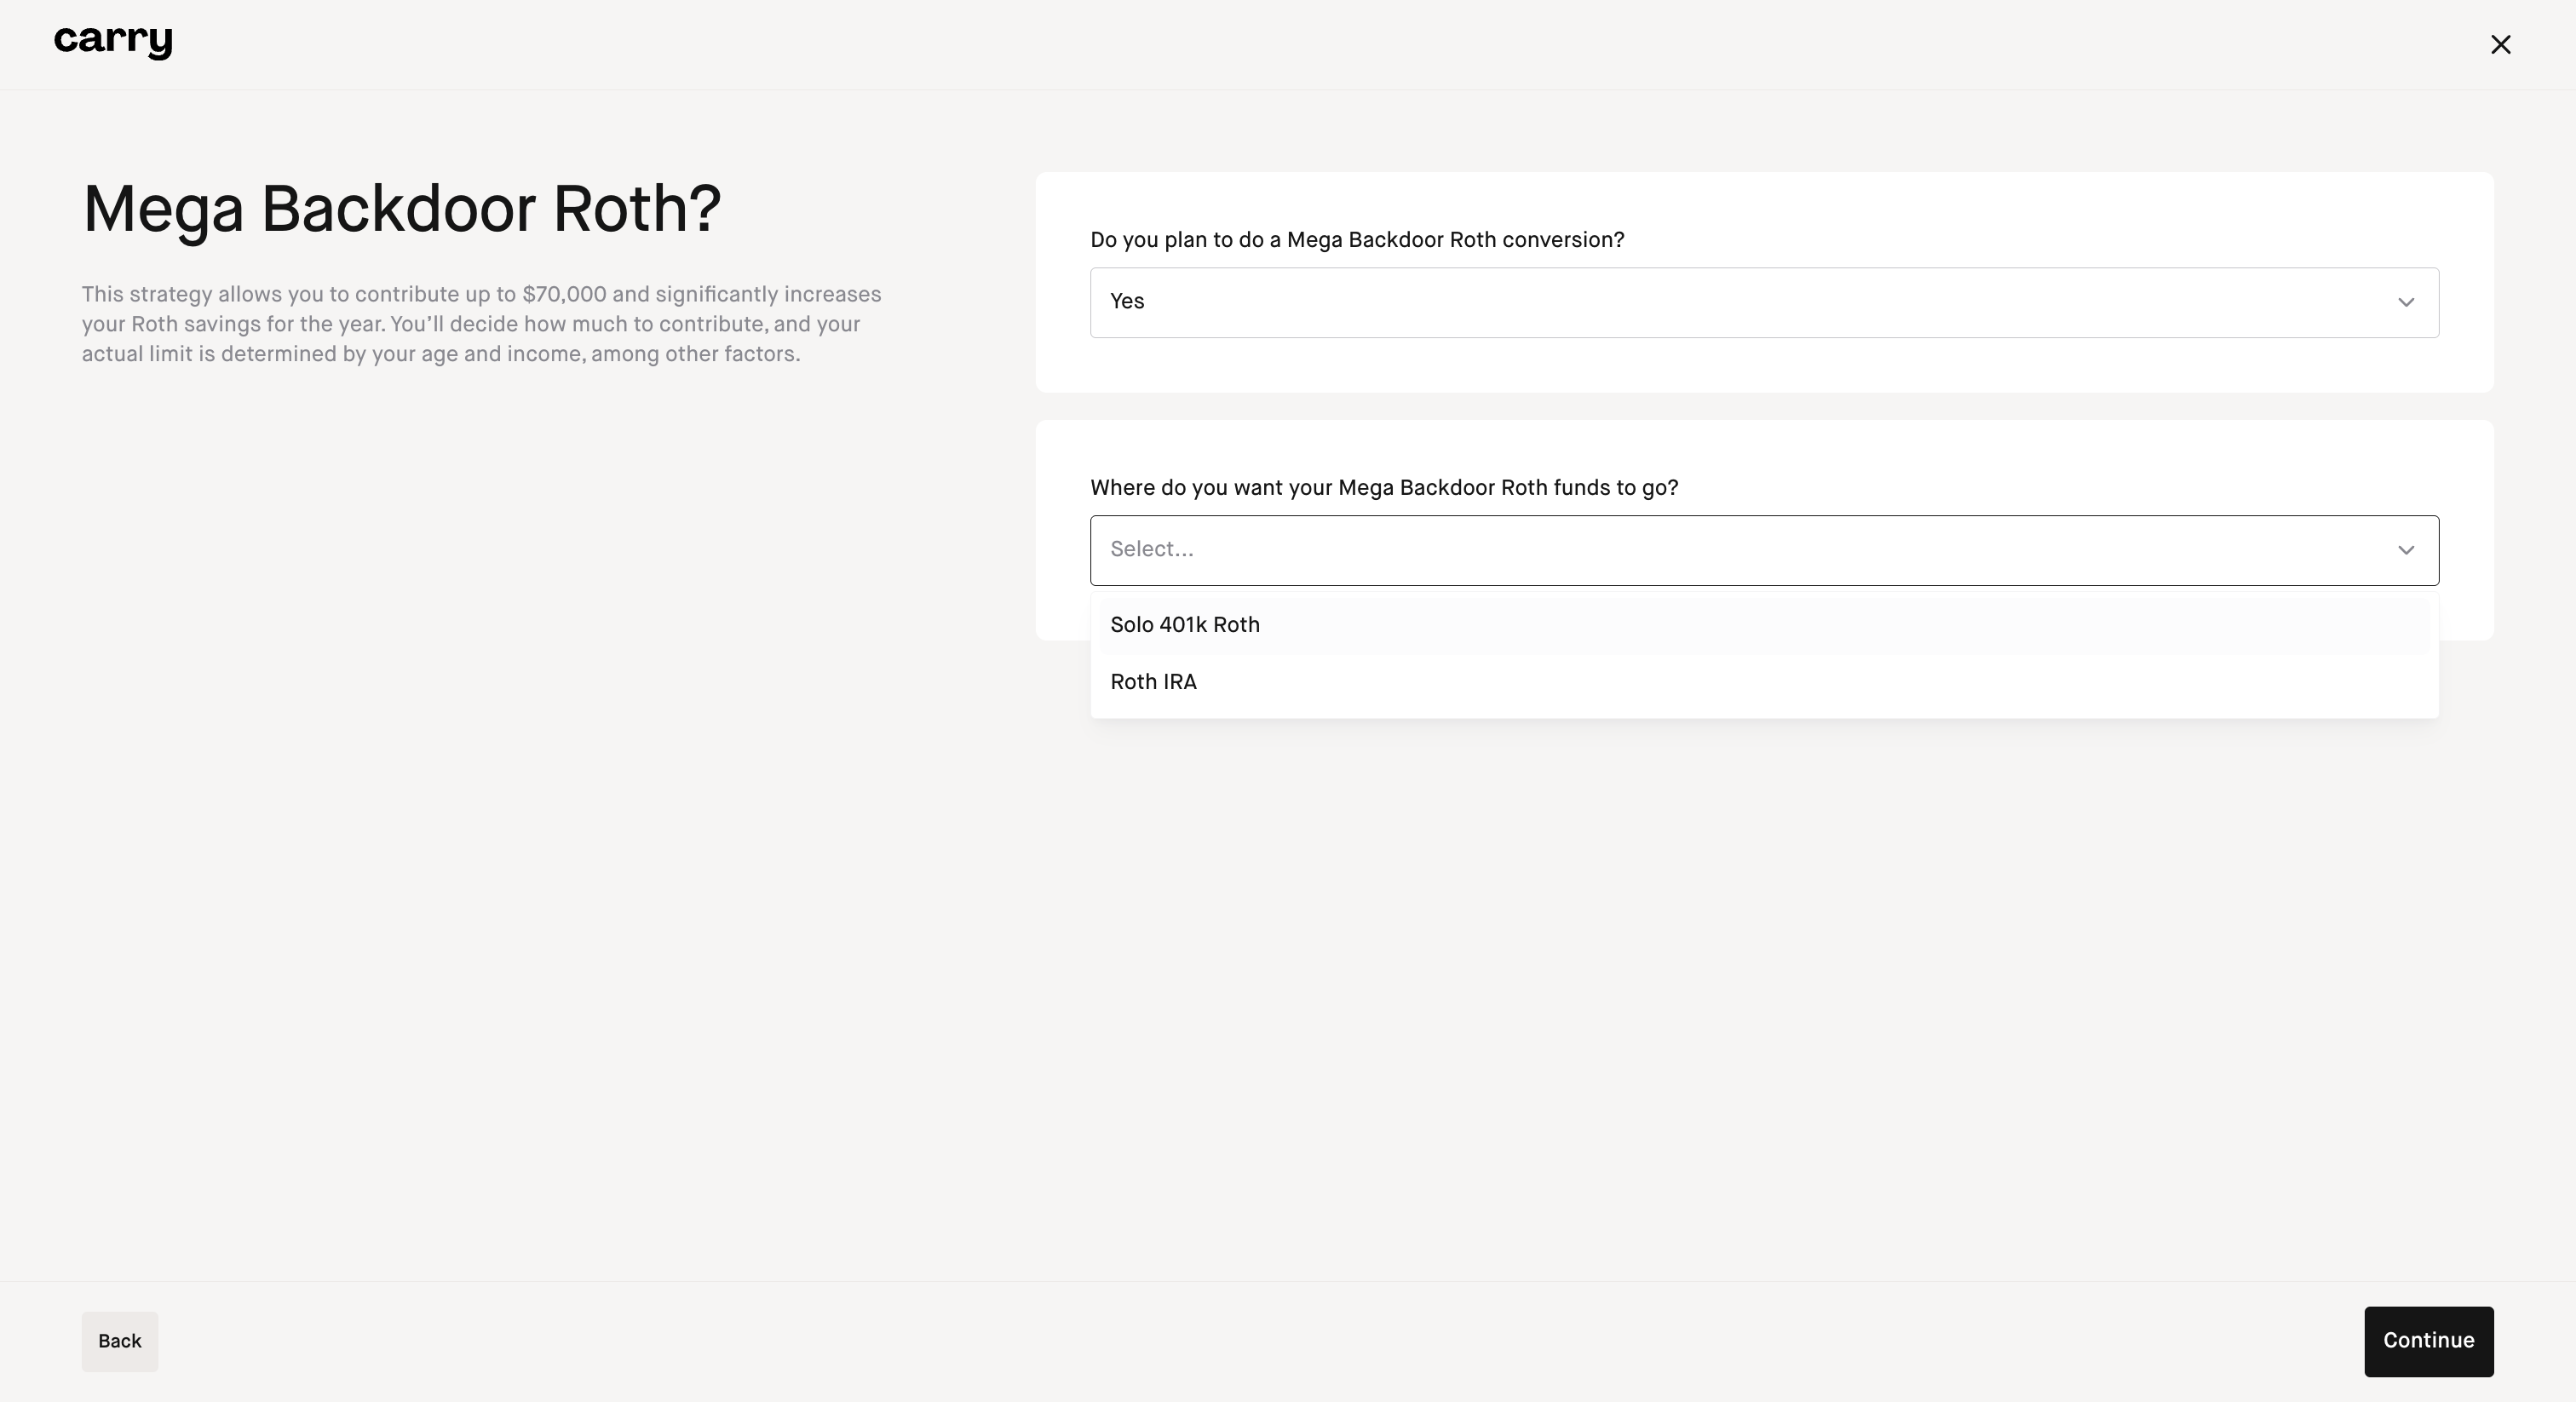
Step 9: If you selected an option that included a Mega Backdoor Roth election, complete the questions on this screen
Step 10: Complete the business information
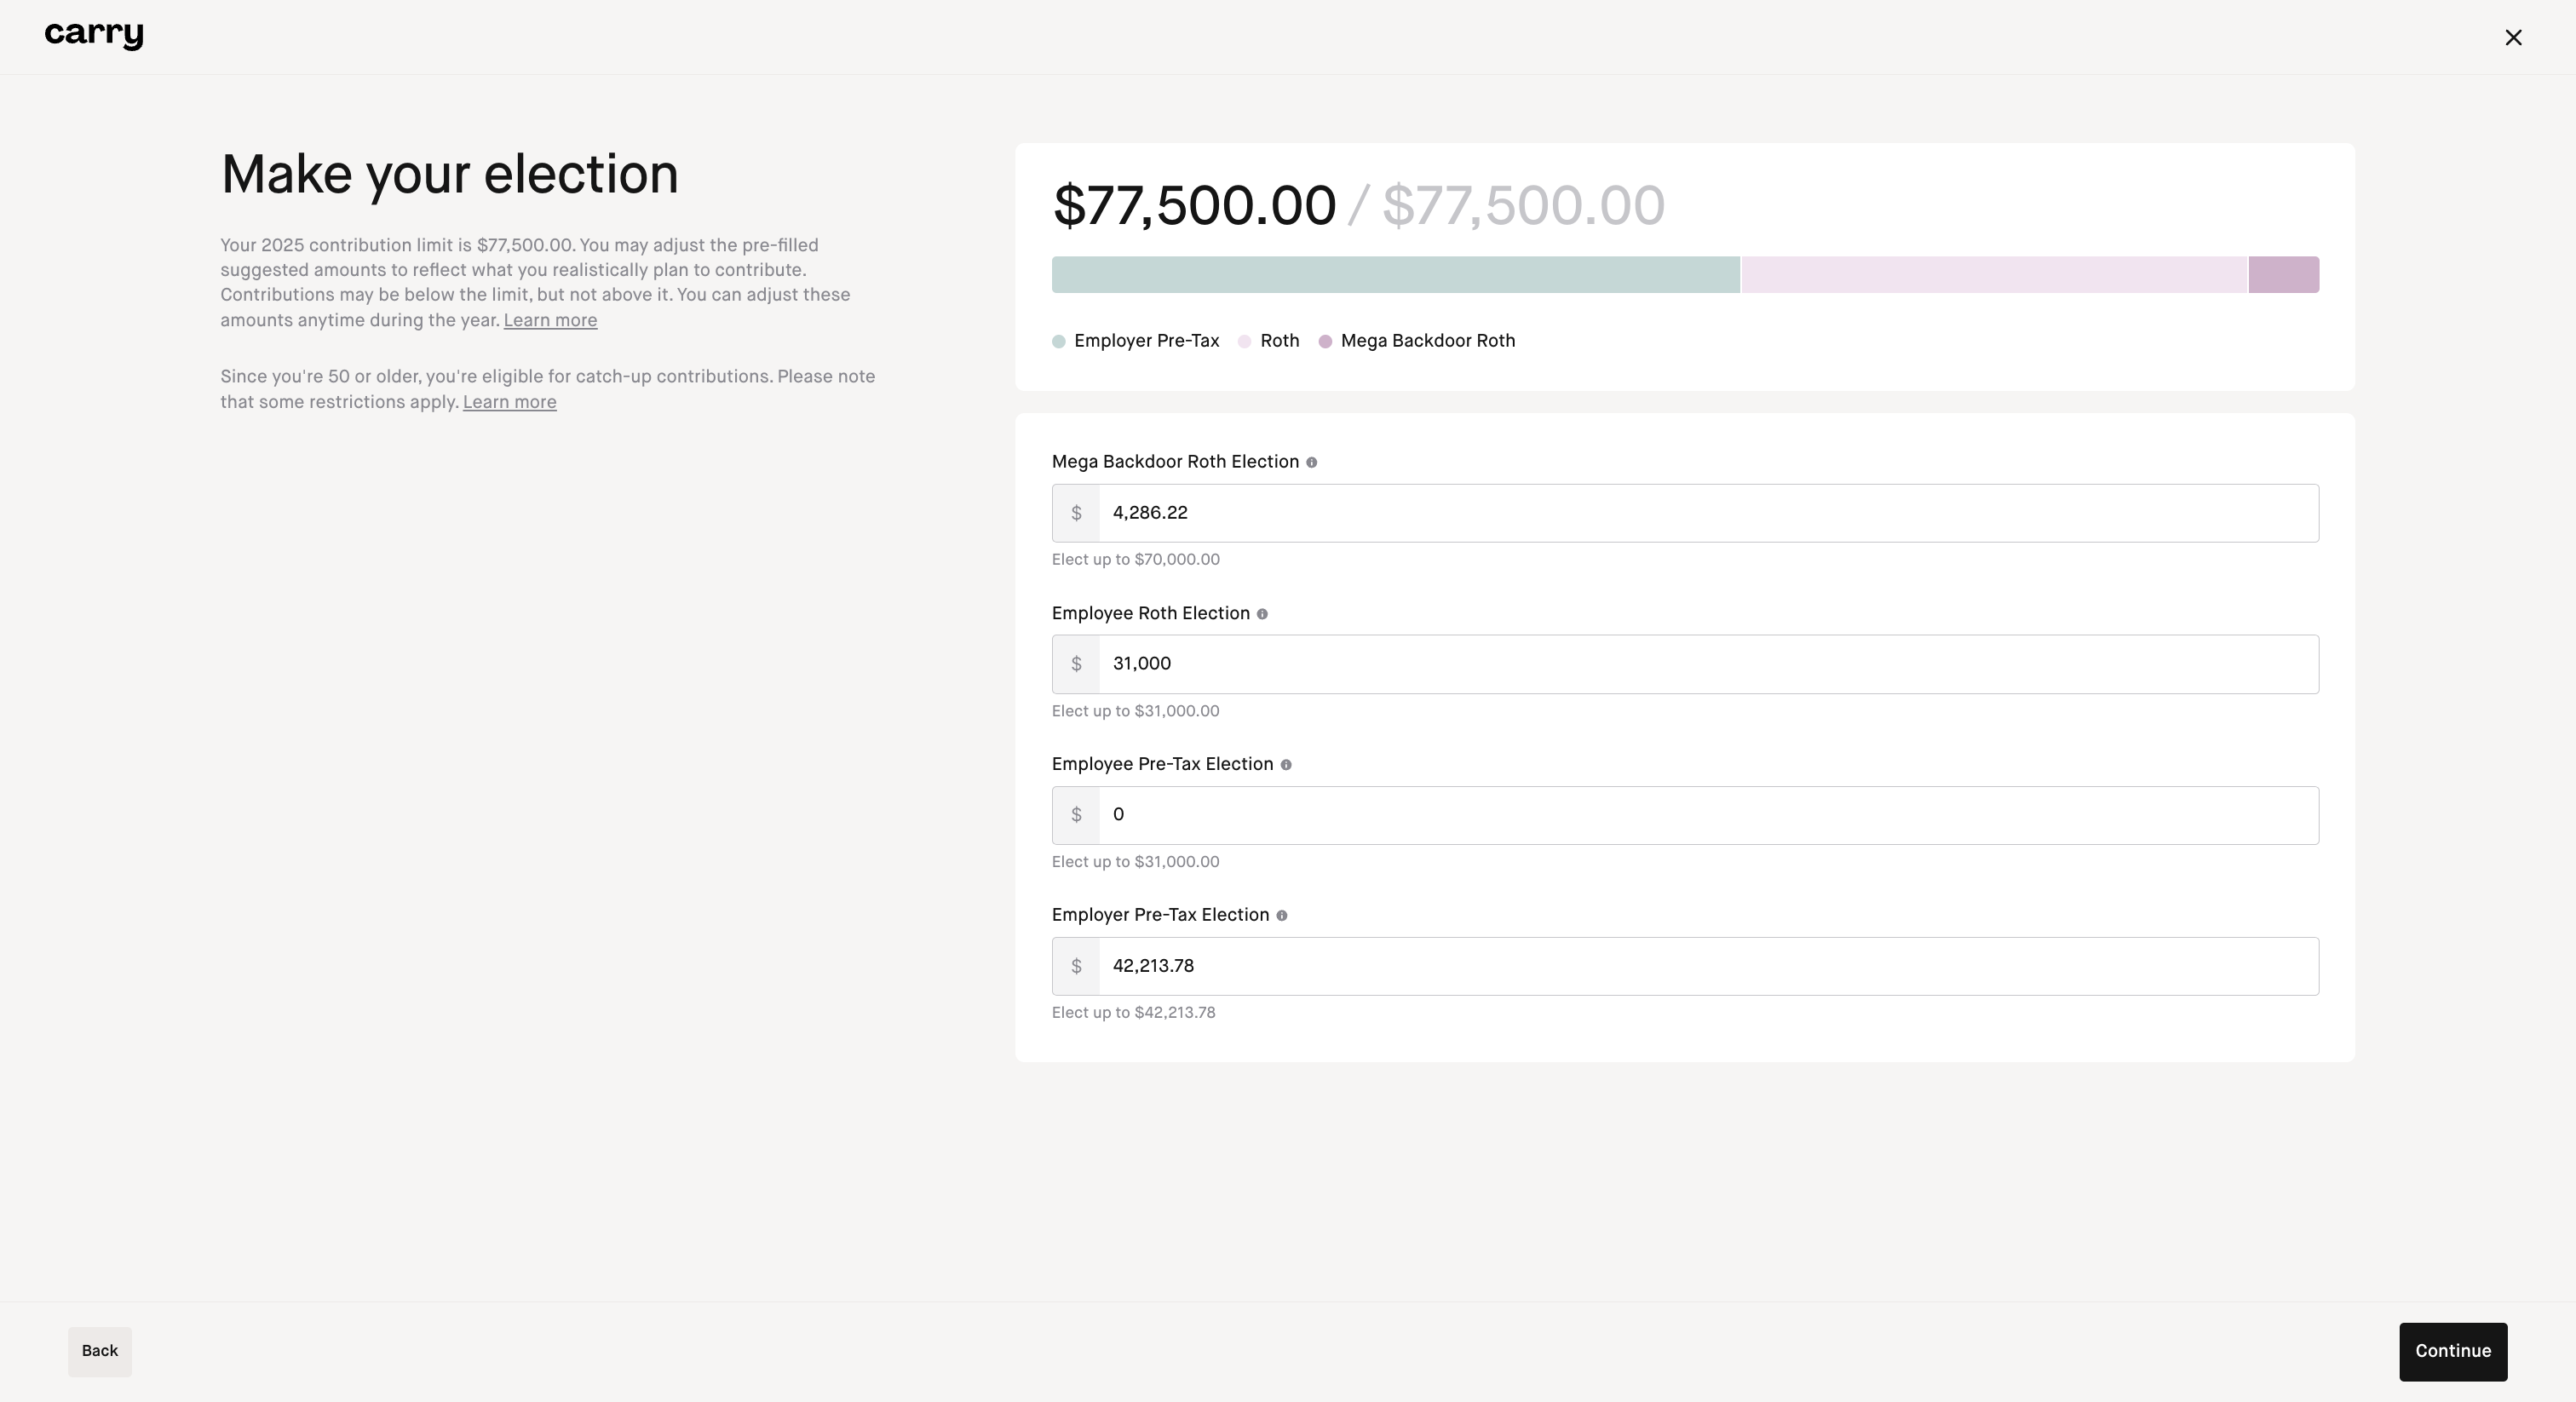
Step 11: Input your contribution election amounts
Step 12: Confirm your election
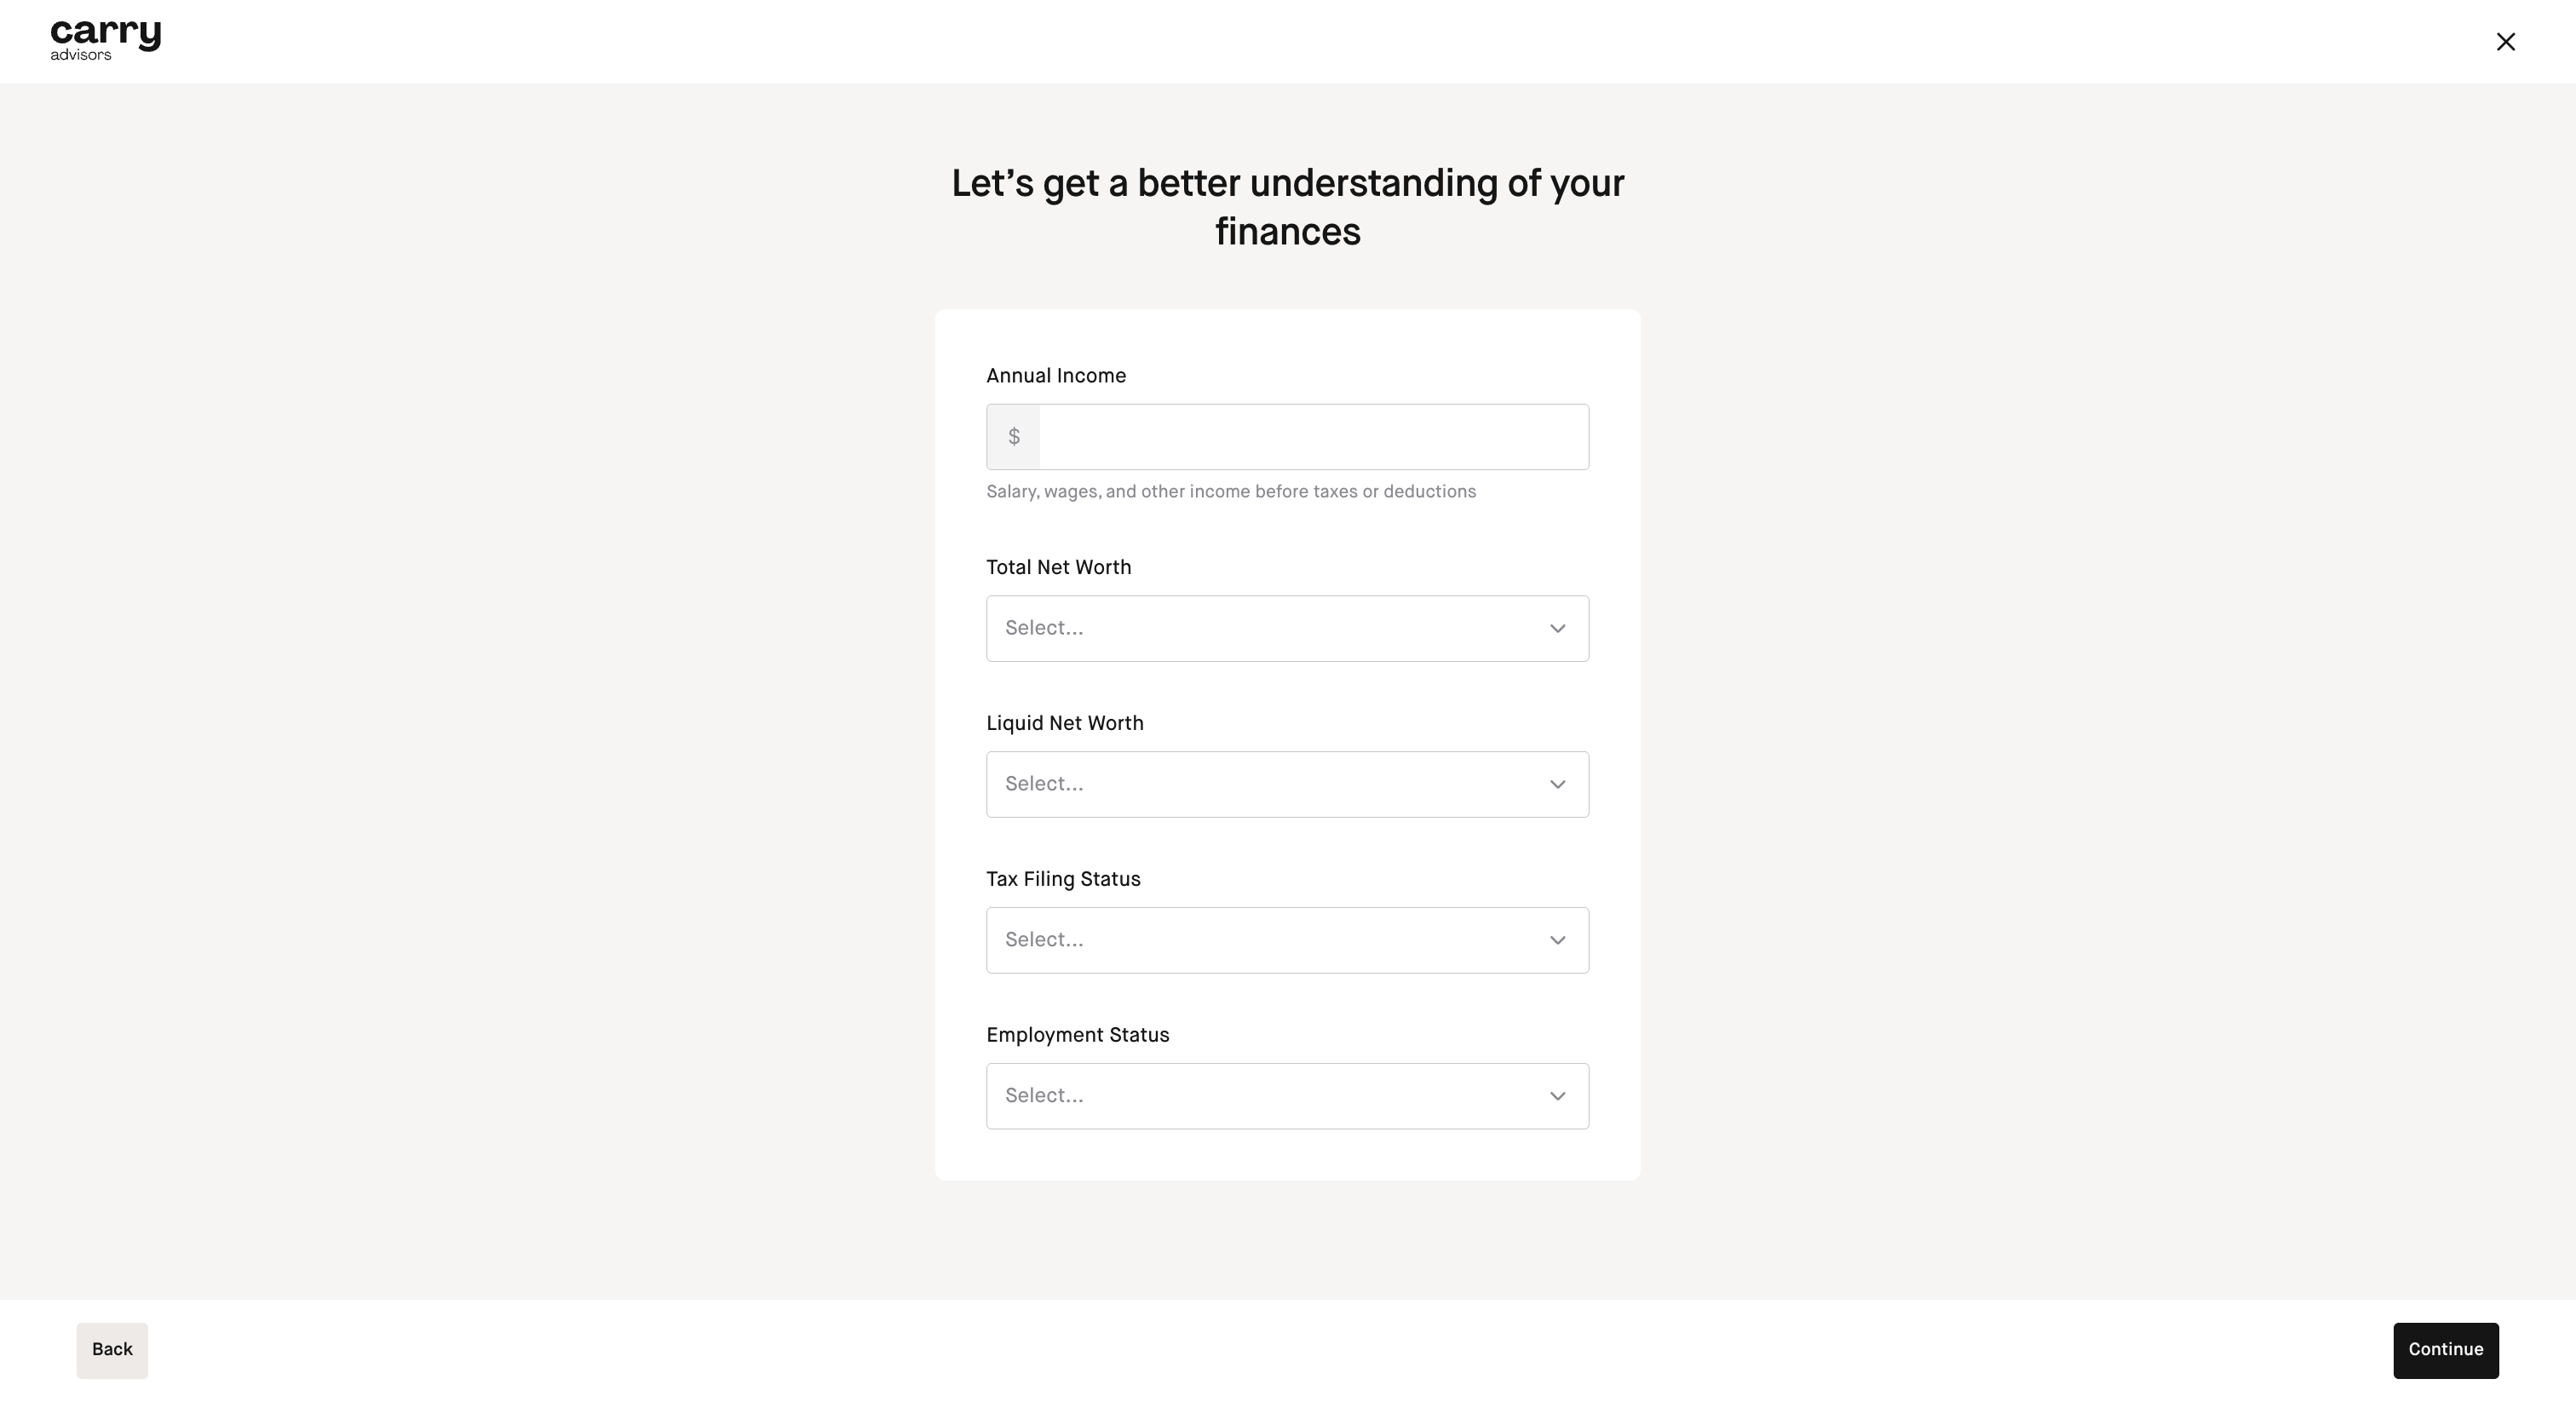
Step 13: Answer the profile questions and click 'Continue'
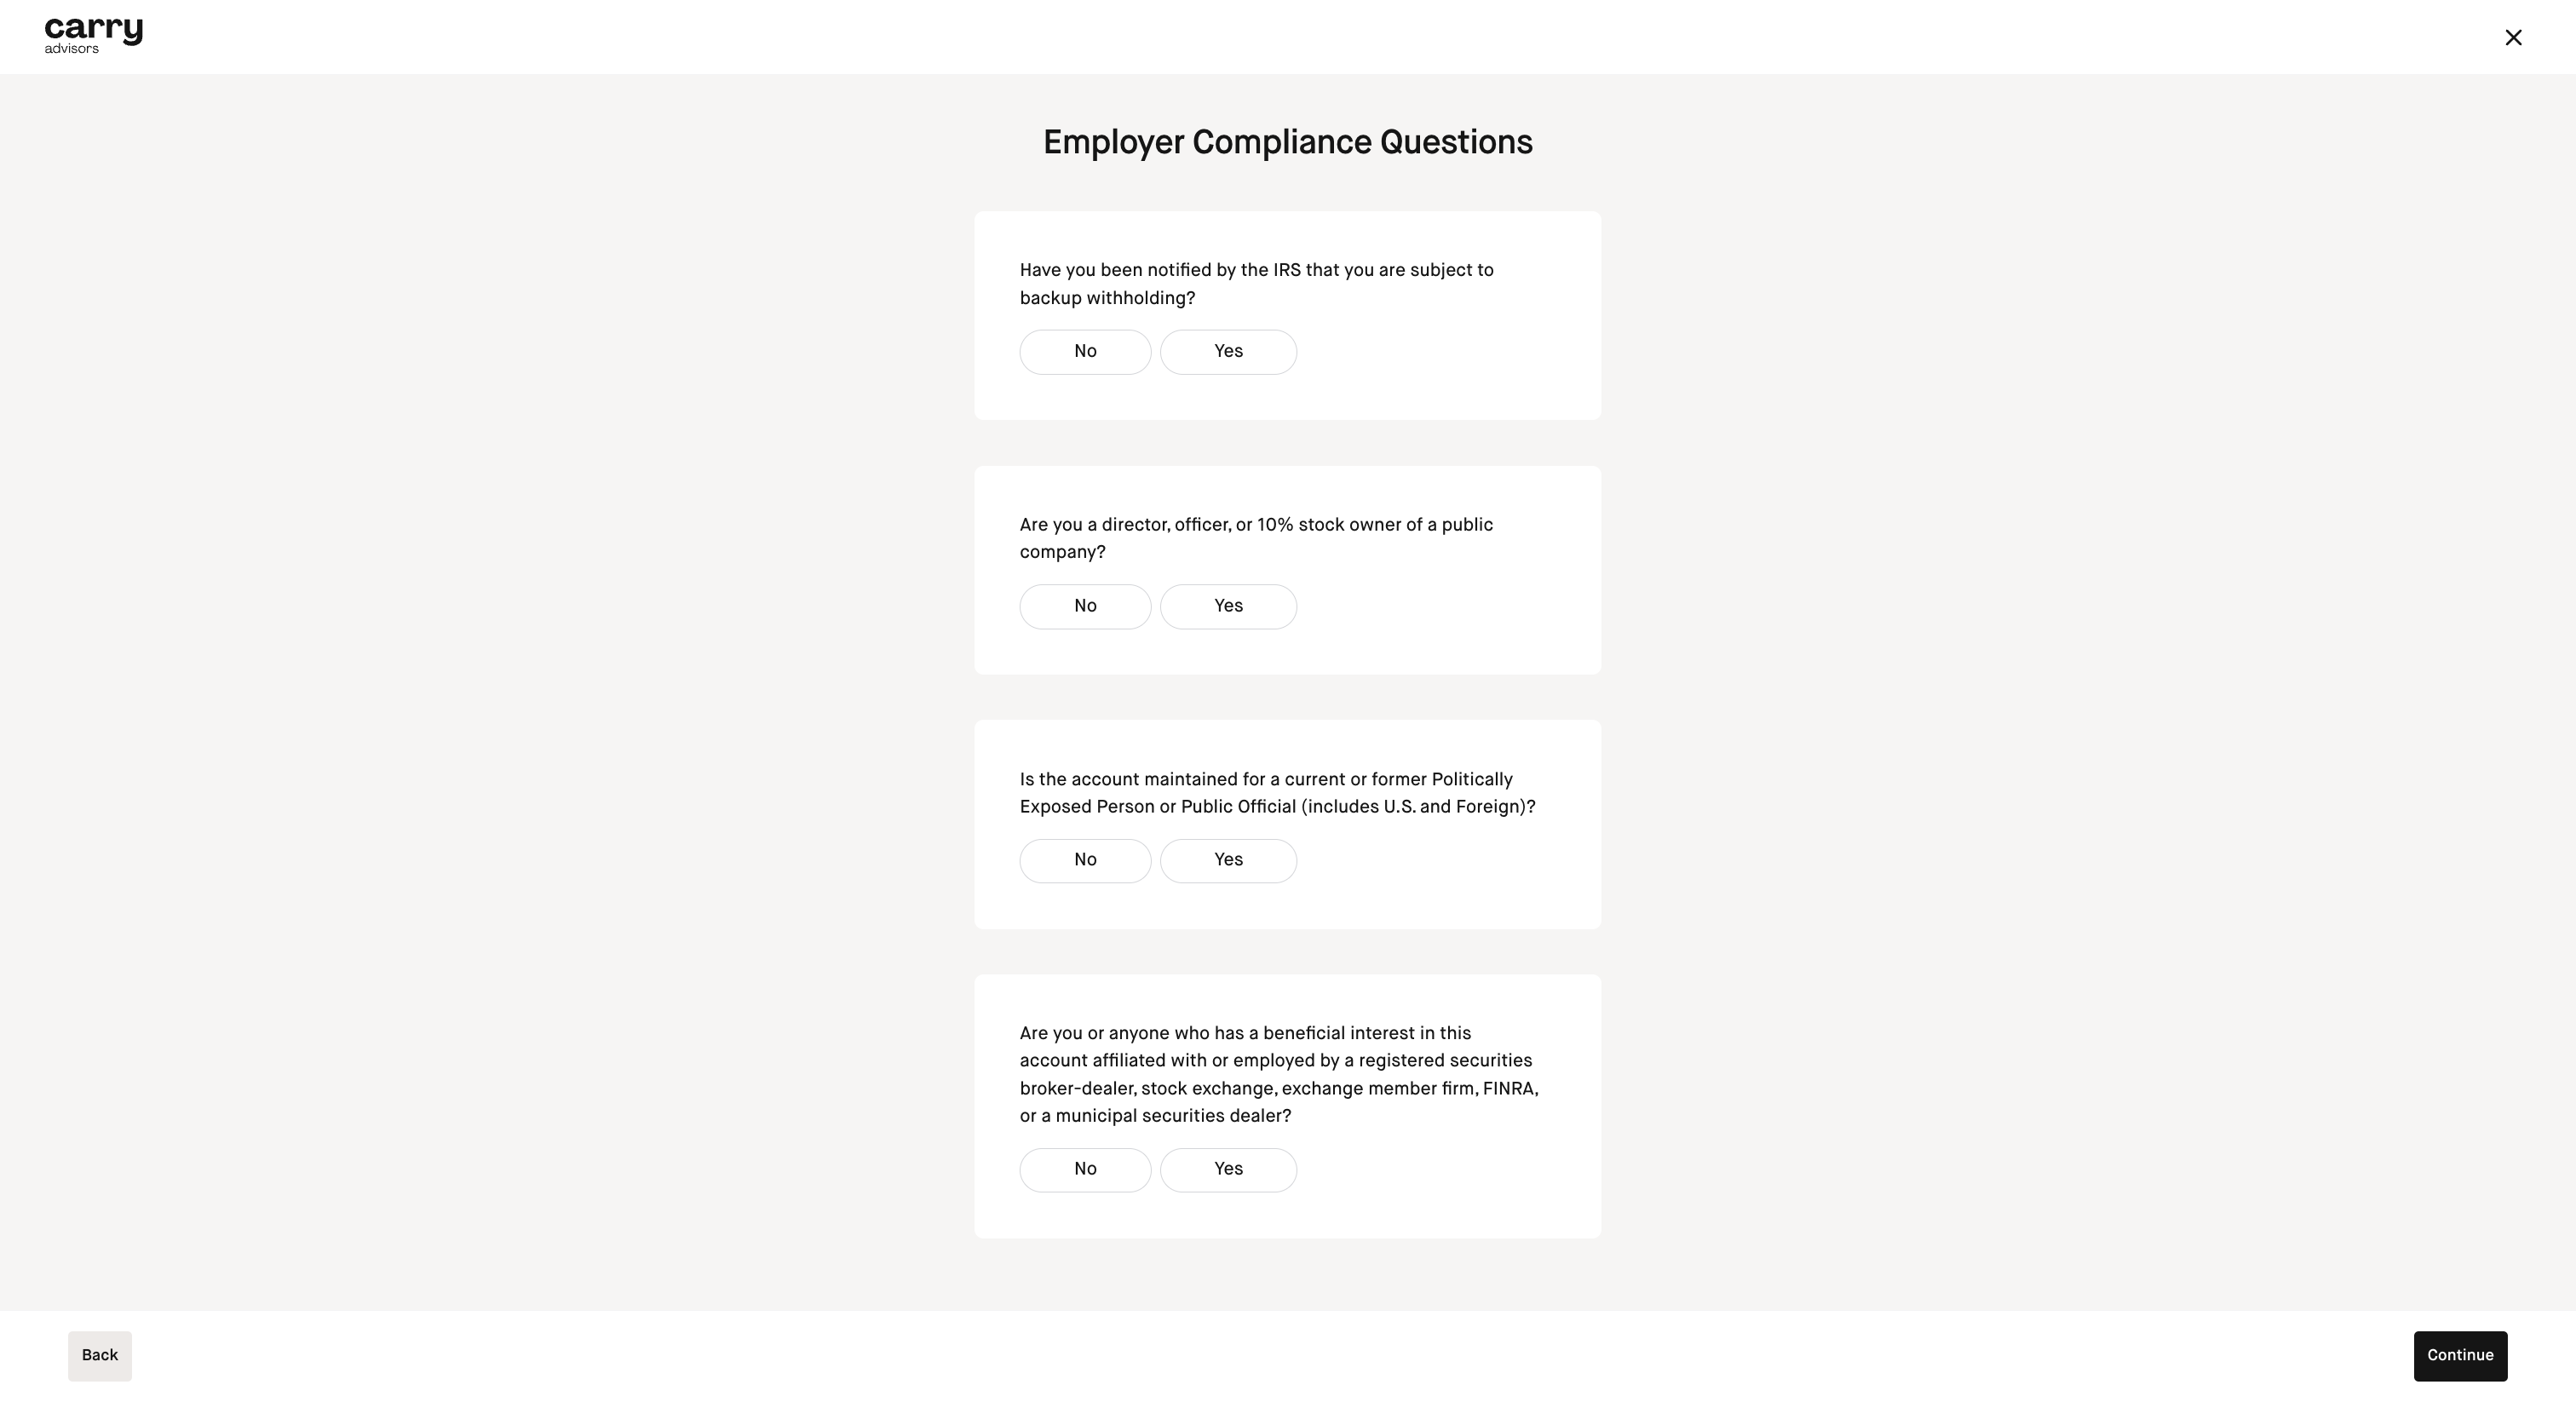
Step 14: Answer the Employer Compliance questions and click 'Continue'
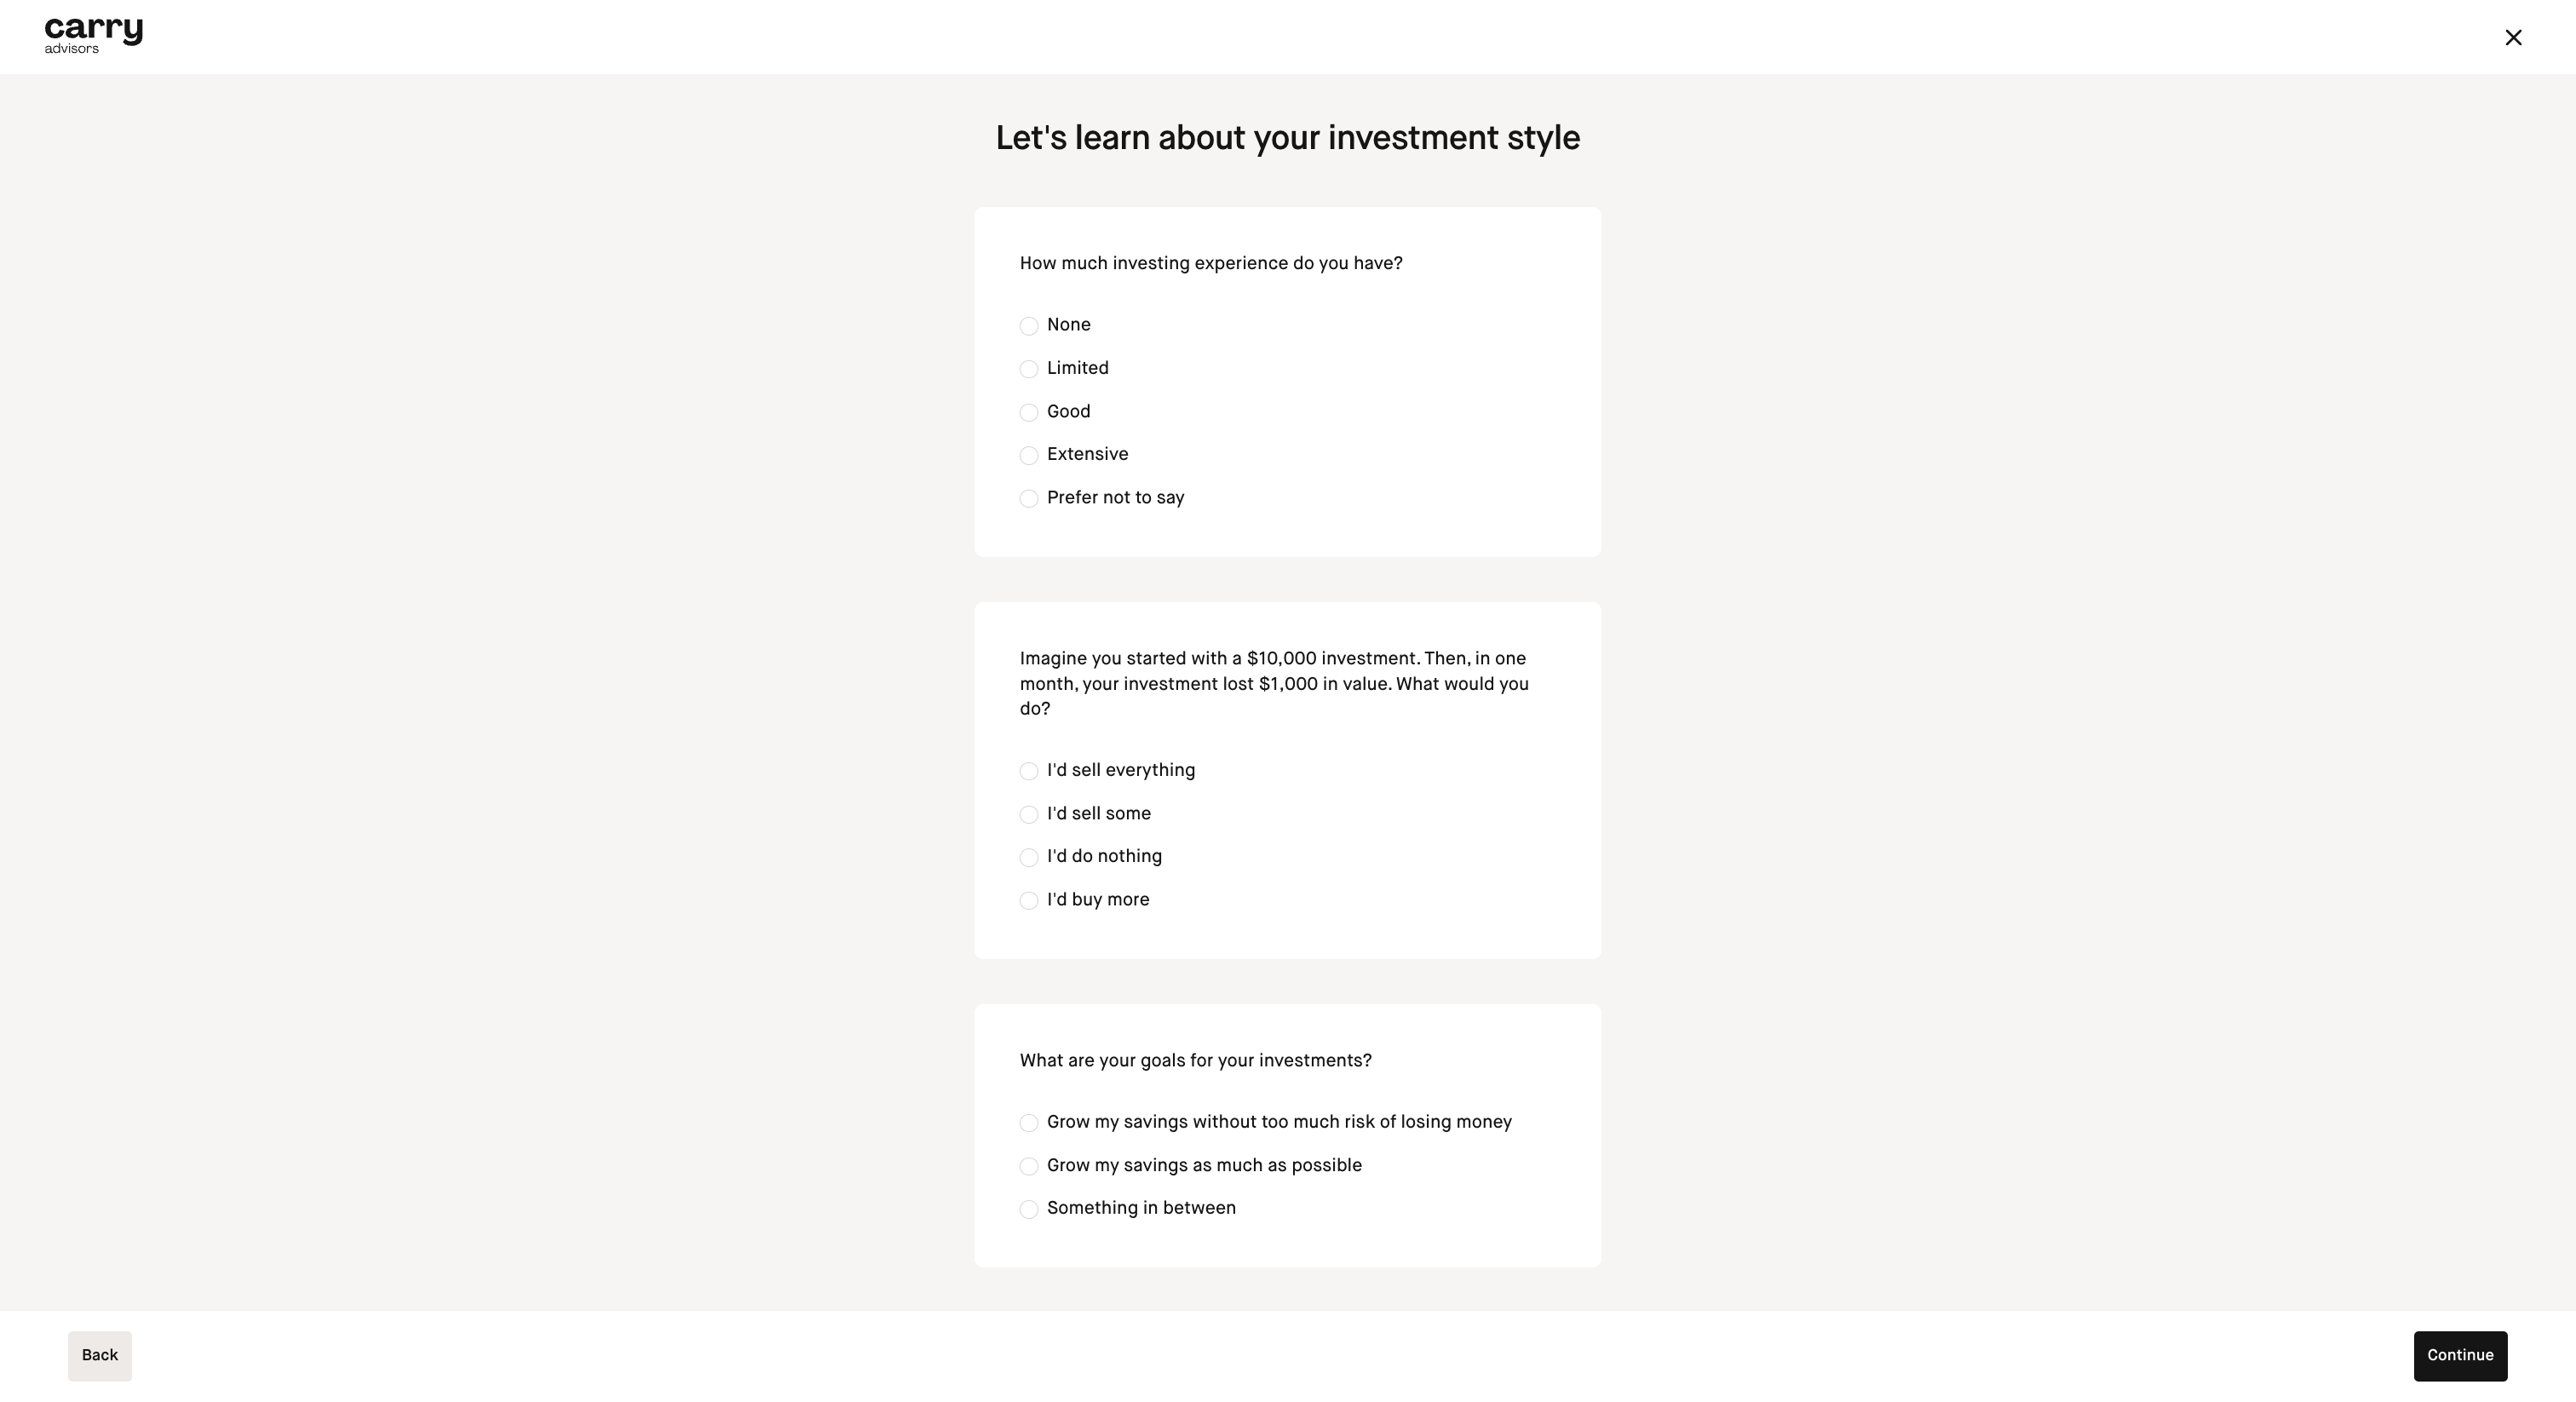
Step 15: Answer the investment style questions and click 'Continue'
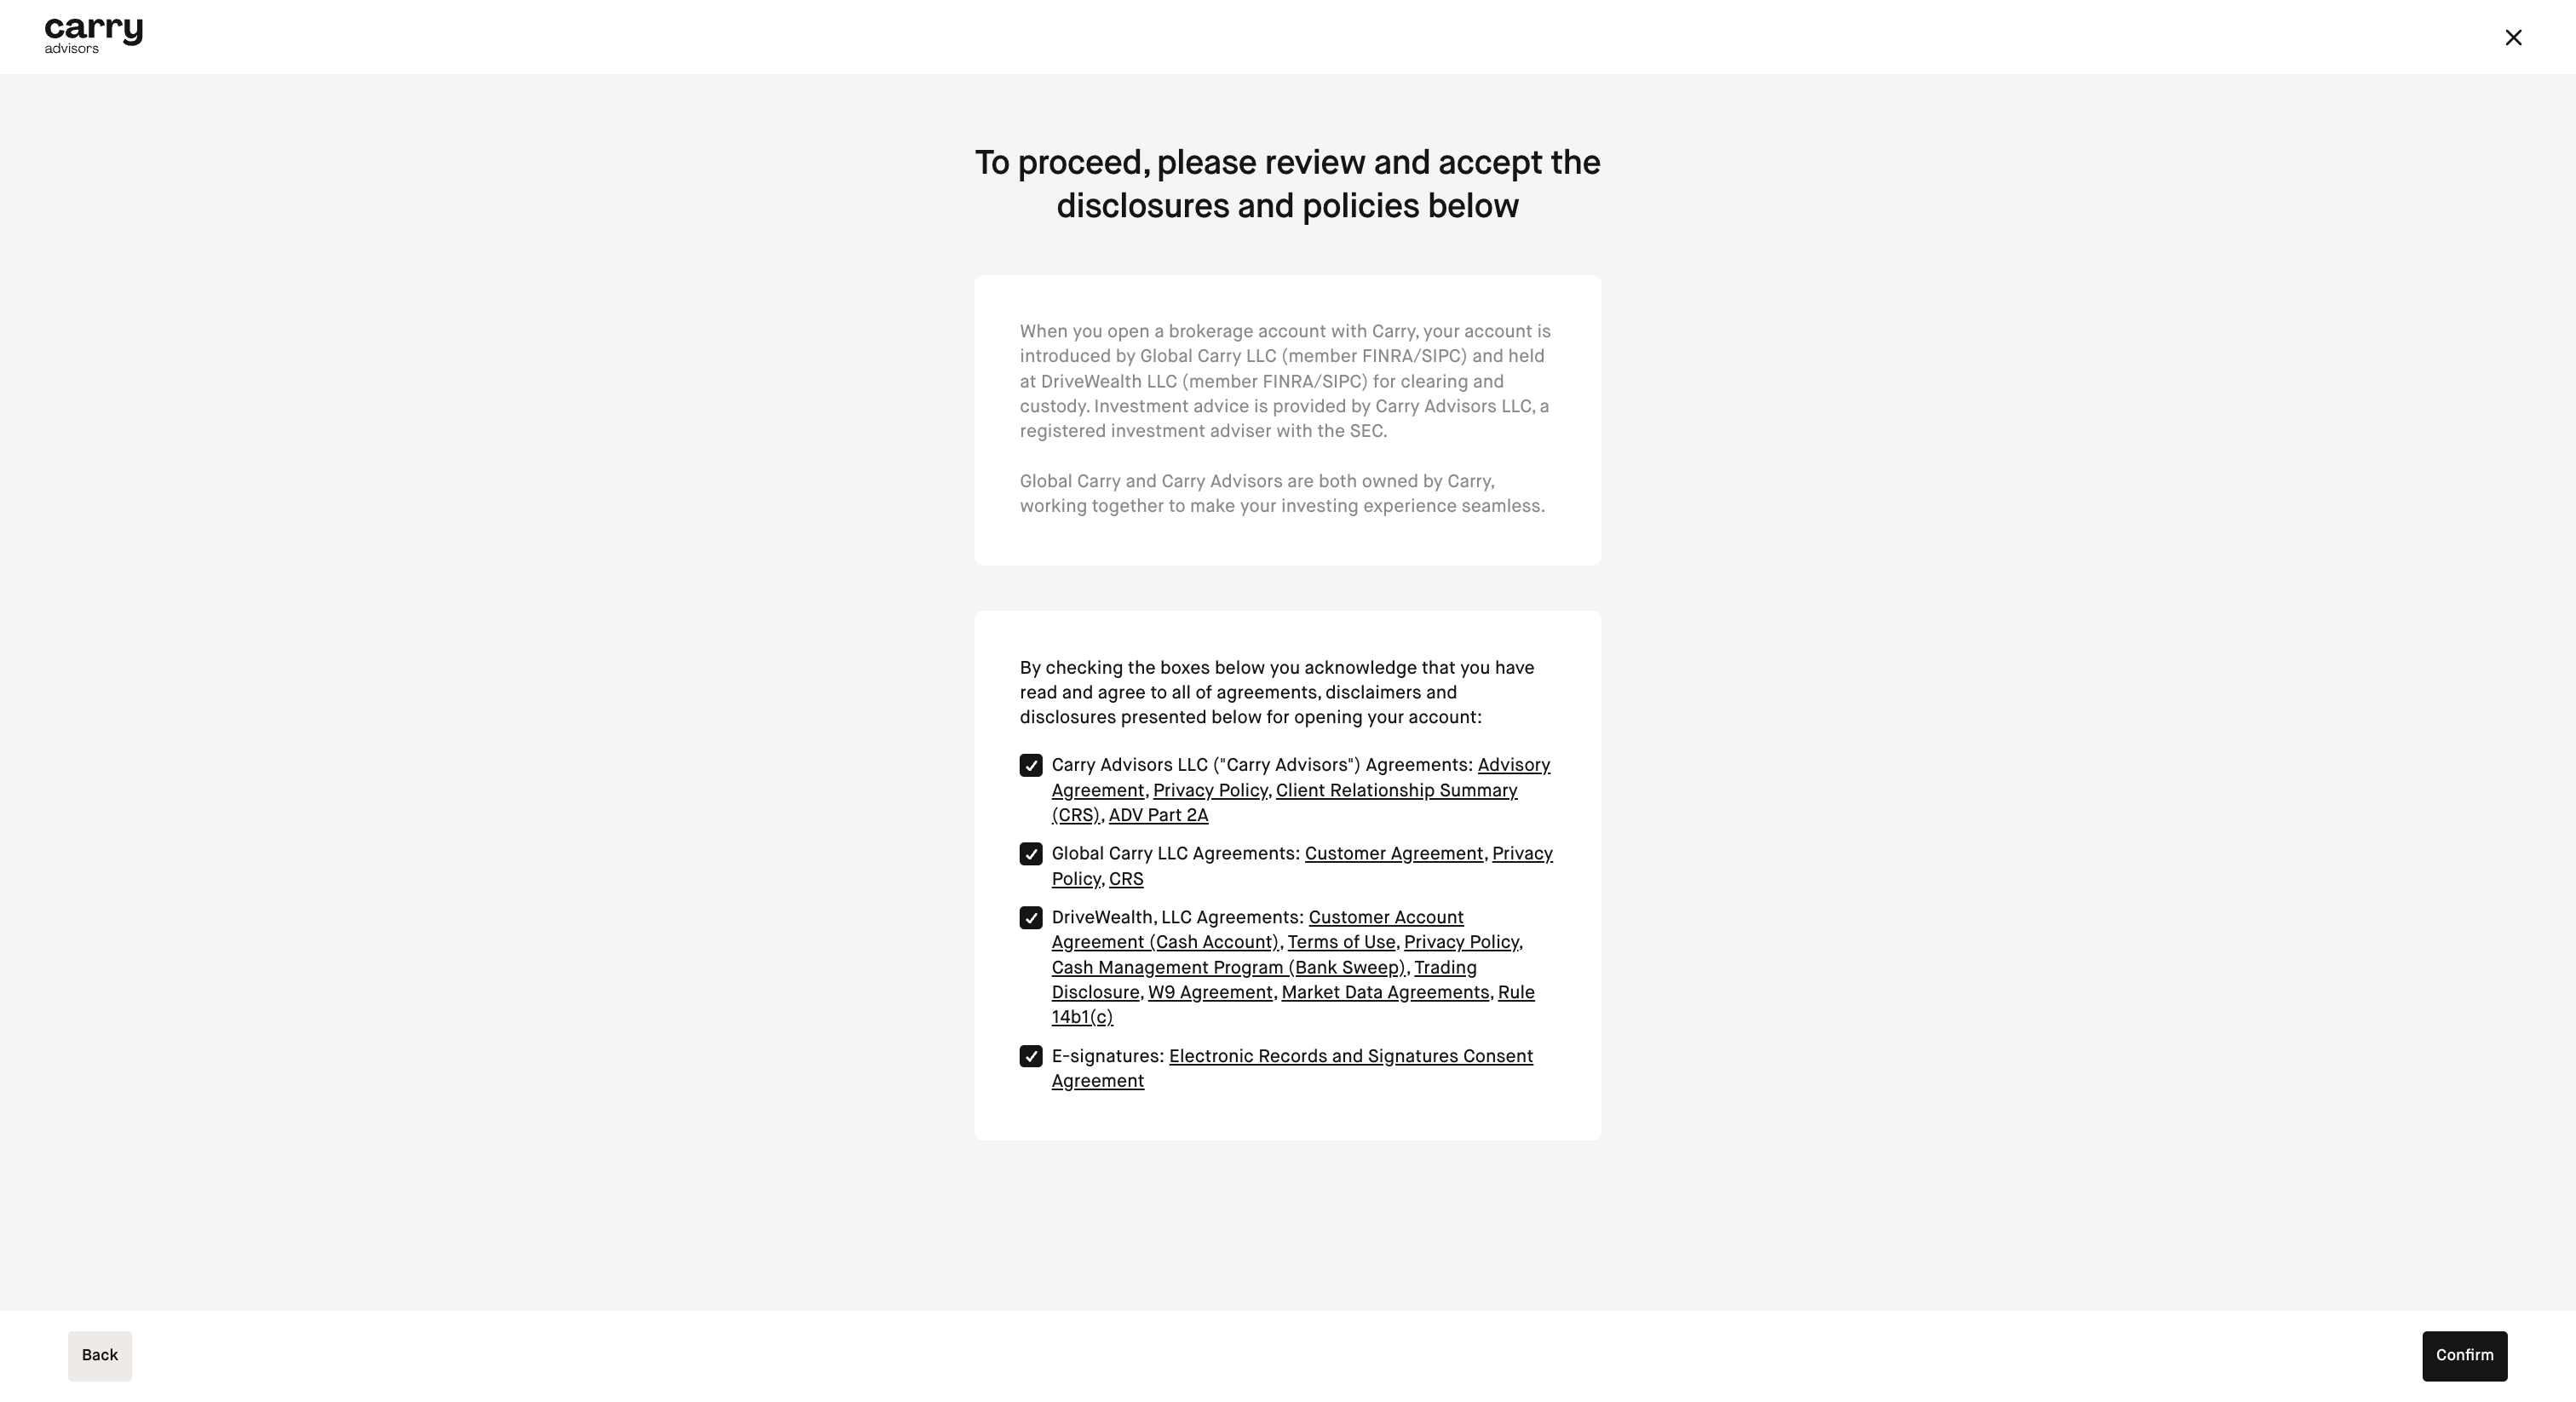
Step 16: Review and accept the disclosures and click 'Confirm'
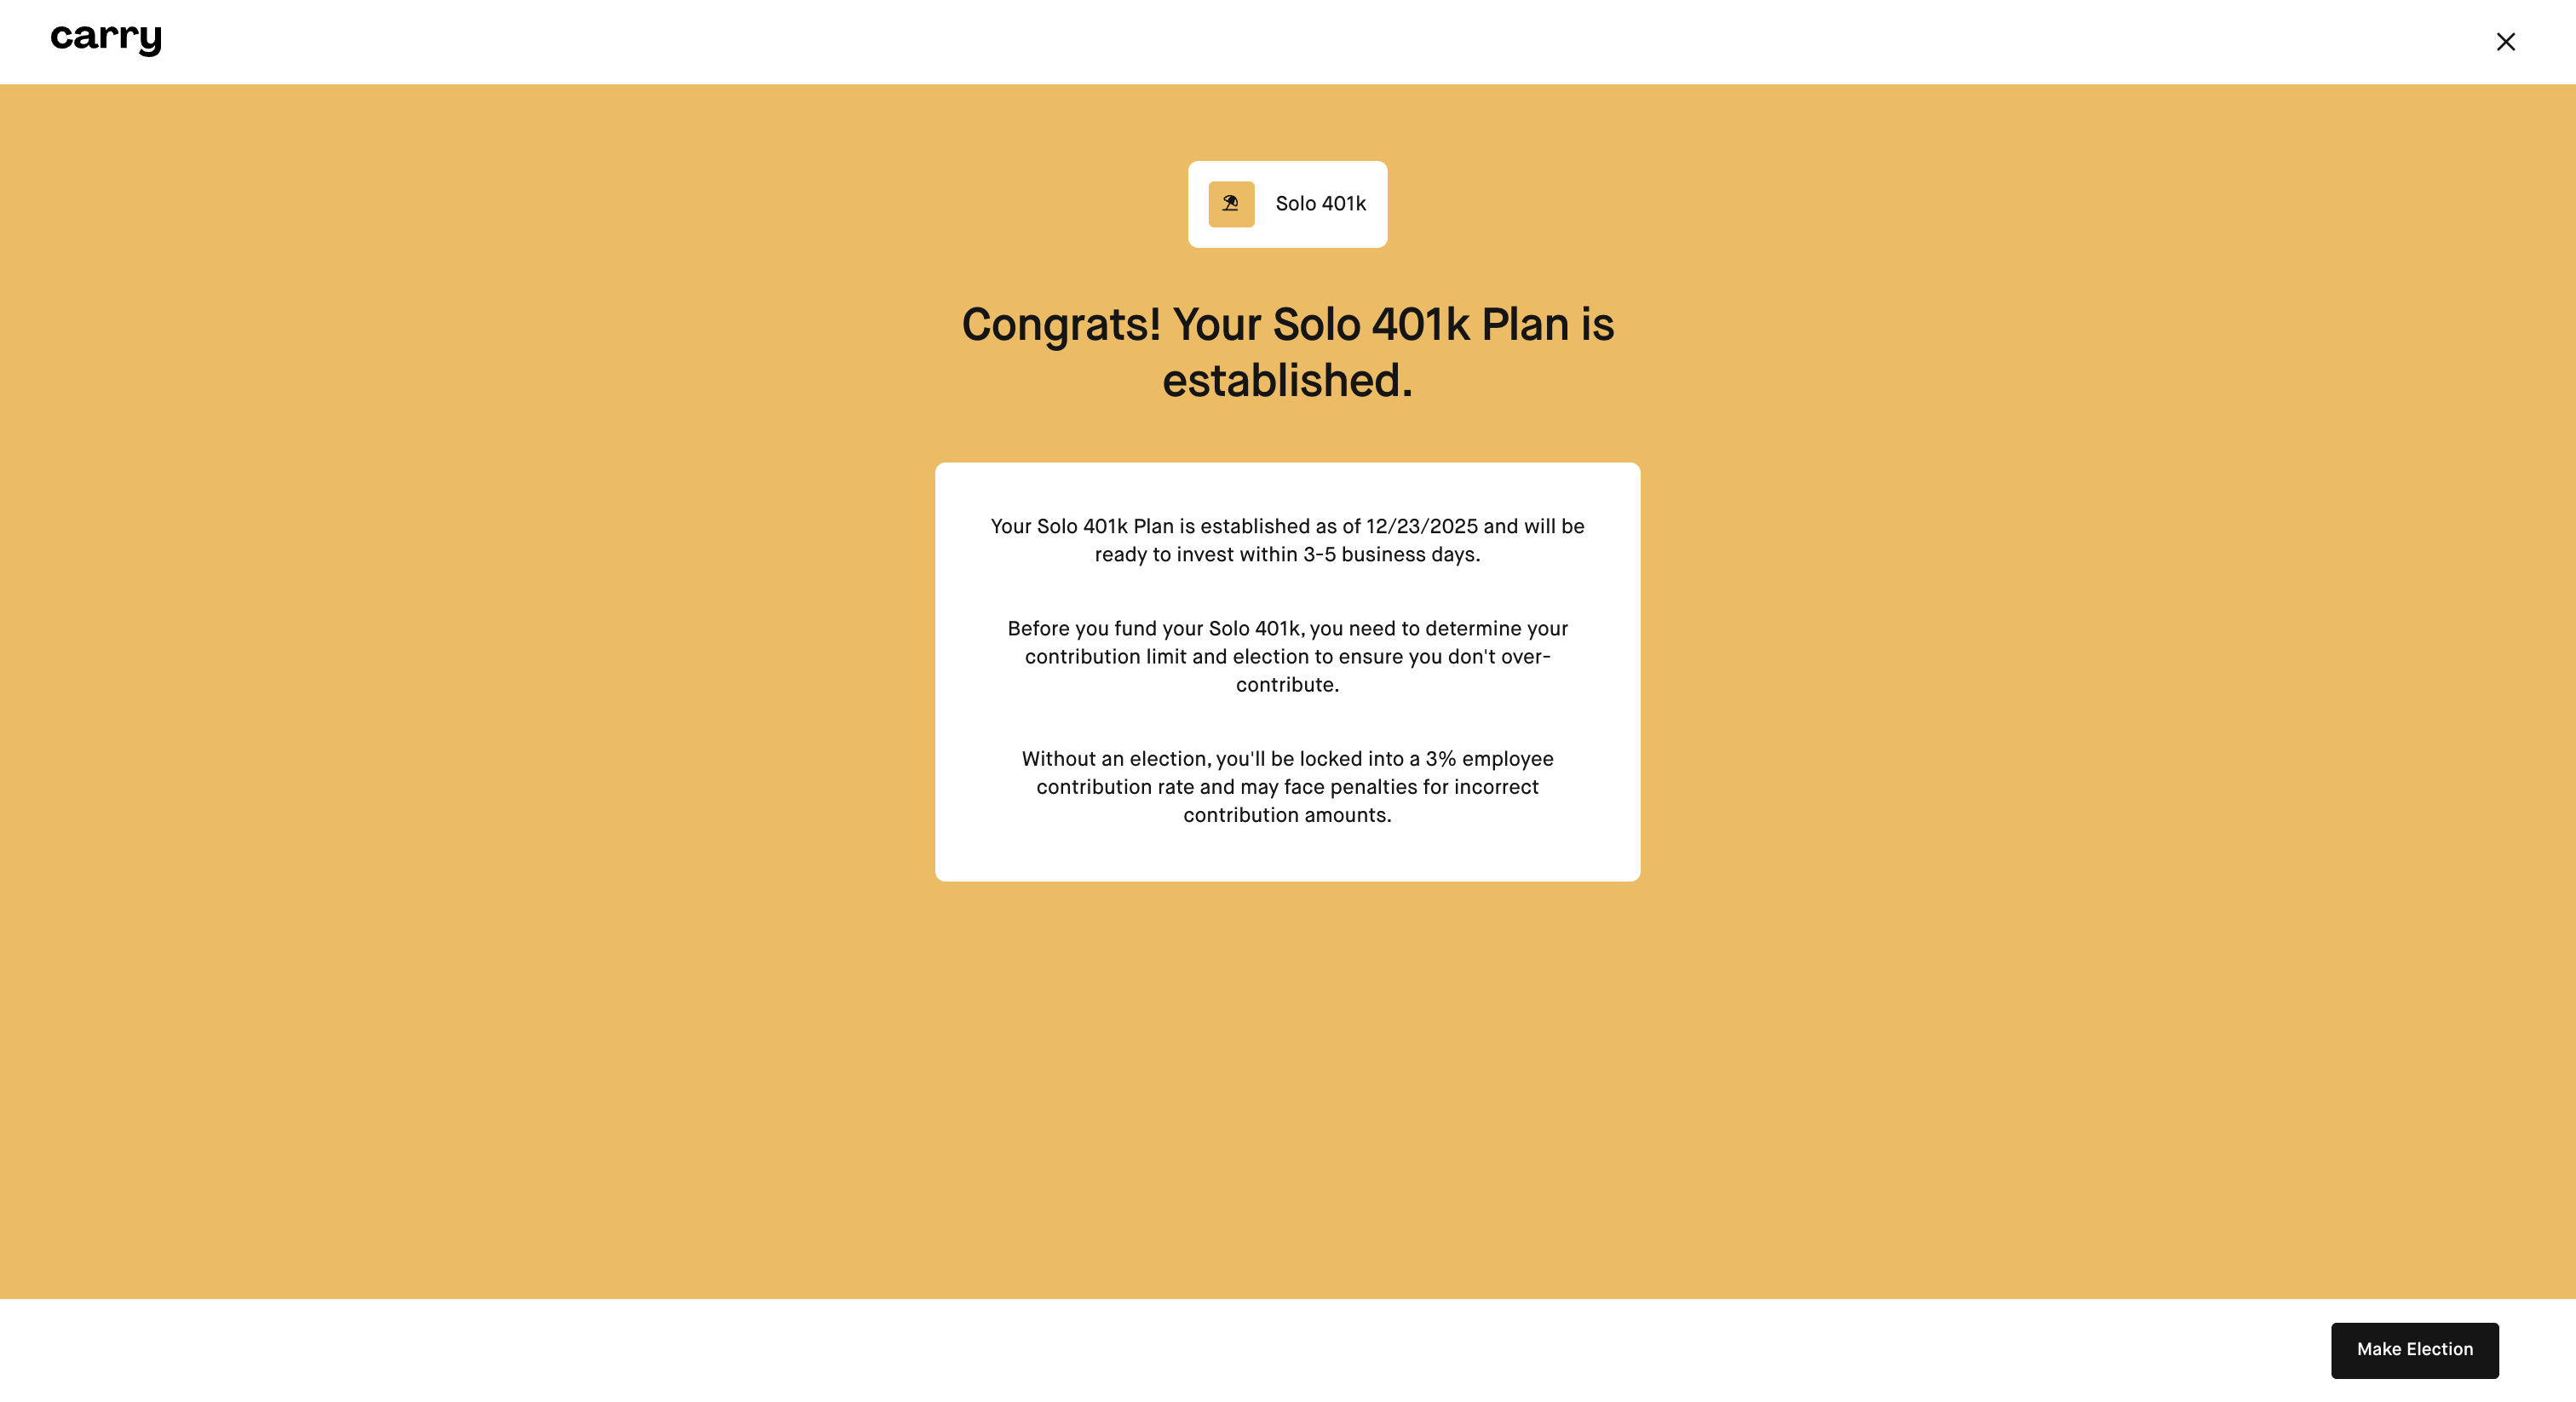
Once you complete this you will be brought to the Home screen with an estimated timeline on when the Solo 401k plan will be opened.
Once your Solo 401k application is submitted, our team will review it and let you know if we need any additional documents, or otherwise notify you when your application is approved. An approximate timeline for the Solo 401k plan setup to be completed will be shown below the Solo 401k on your Home page. For Solo 401k deadline information check out this article.
*Please note we do not support any Solo 401k plan customizations at this time.

